Your Labour Weekend planting guide.
Words & images by Elly Keen (@daydream.green)
The 2025 Spring Gardening Series is supported by Gubba Garden Store.
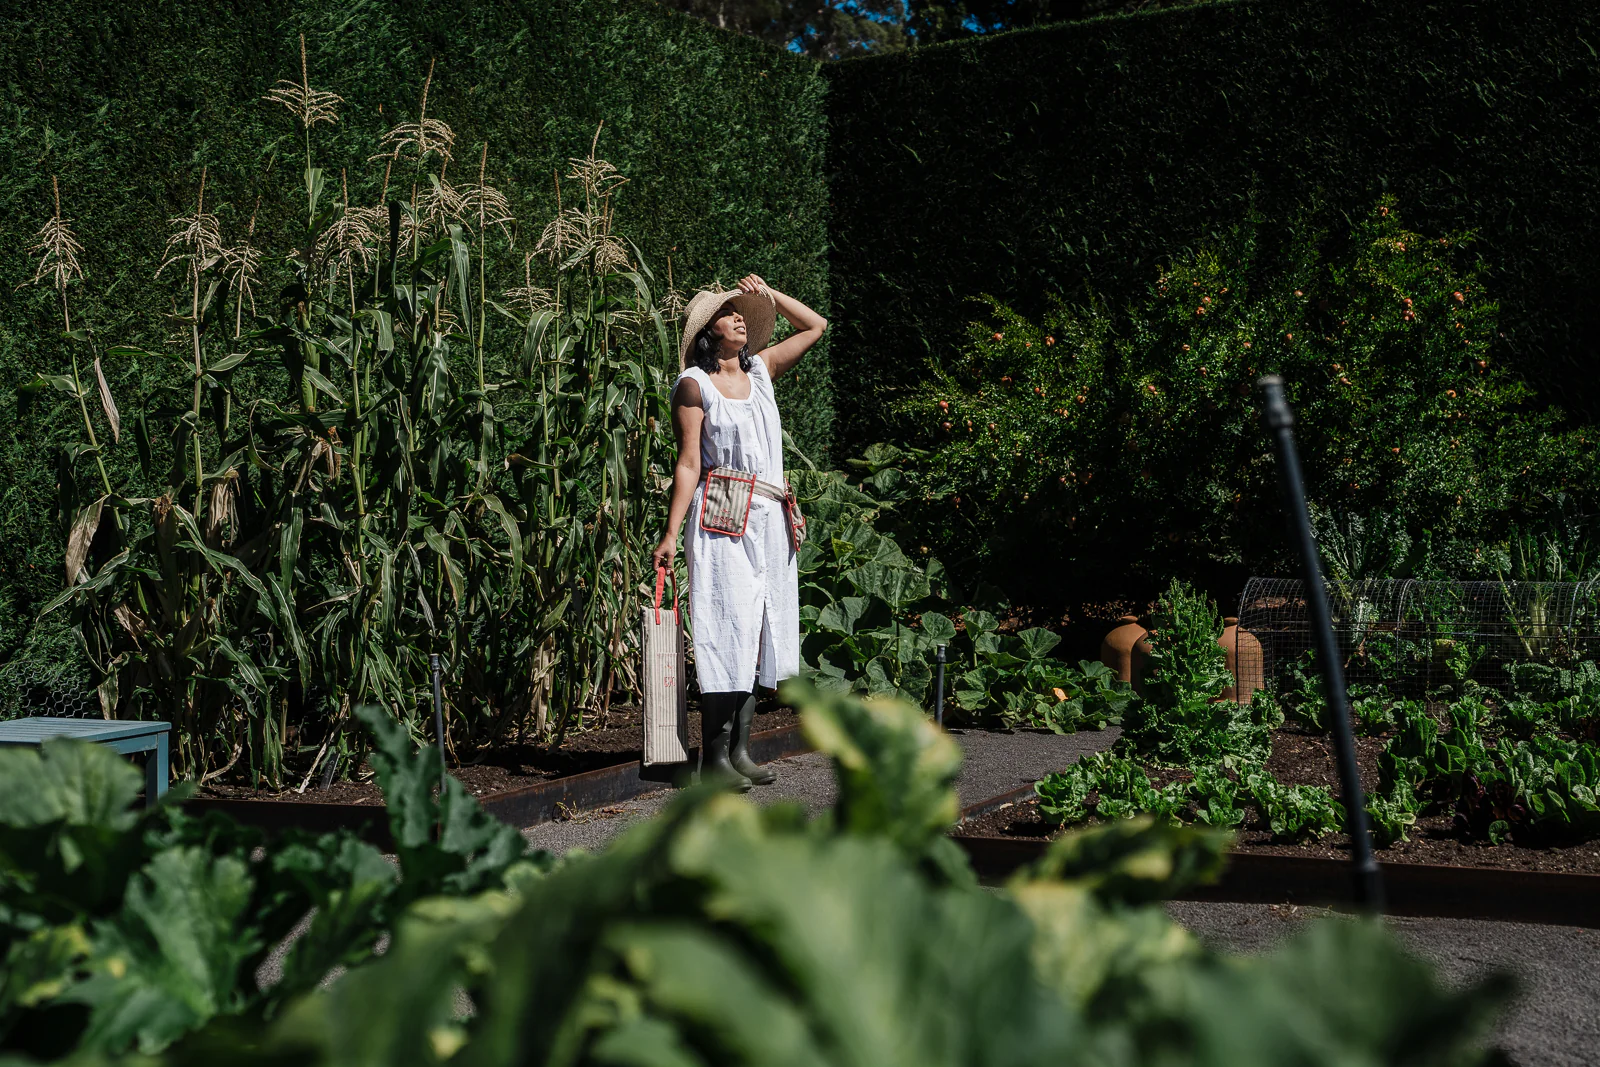
We’ve hit mid spring – a time of immense growth and productivity in the garden. In early spring, we’ve often spent the previous weeks weeding, sowing seeds, tackling the beginning of diseases and preparing the soil. Finally, the time has come (for most regions) to plant out your summer vegetables and flower seedlings.
In this Labour Weekend planting guide, we’re focussing on how to plant out annual seedlings in your garden to give them the best chance at life throughout the summer months.
[If you’re in Aotearoa New Zealand and live below Ōtautahi Christchurch, use this advice in a few weeks once the risk of frost has passed.]

Labour weekend planting
Traditionally Labour Weekend is when, for at least the North Island, the risk of frost has passed, and we can safely plant out tender crops such as tomatoes or dahlias. For the South Island, often the risk of frost continues until early next month, so waiting until mid-November is prudent.
However, if you are keen to get going, keeping the soil warm with wool mats. And having the frost cloth ready for protection on cold nights are all extra precautions you can take.

Planting out your summer seedlings
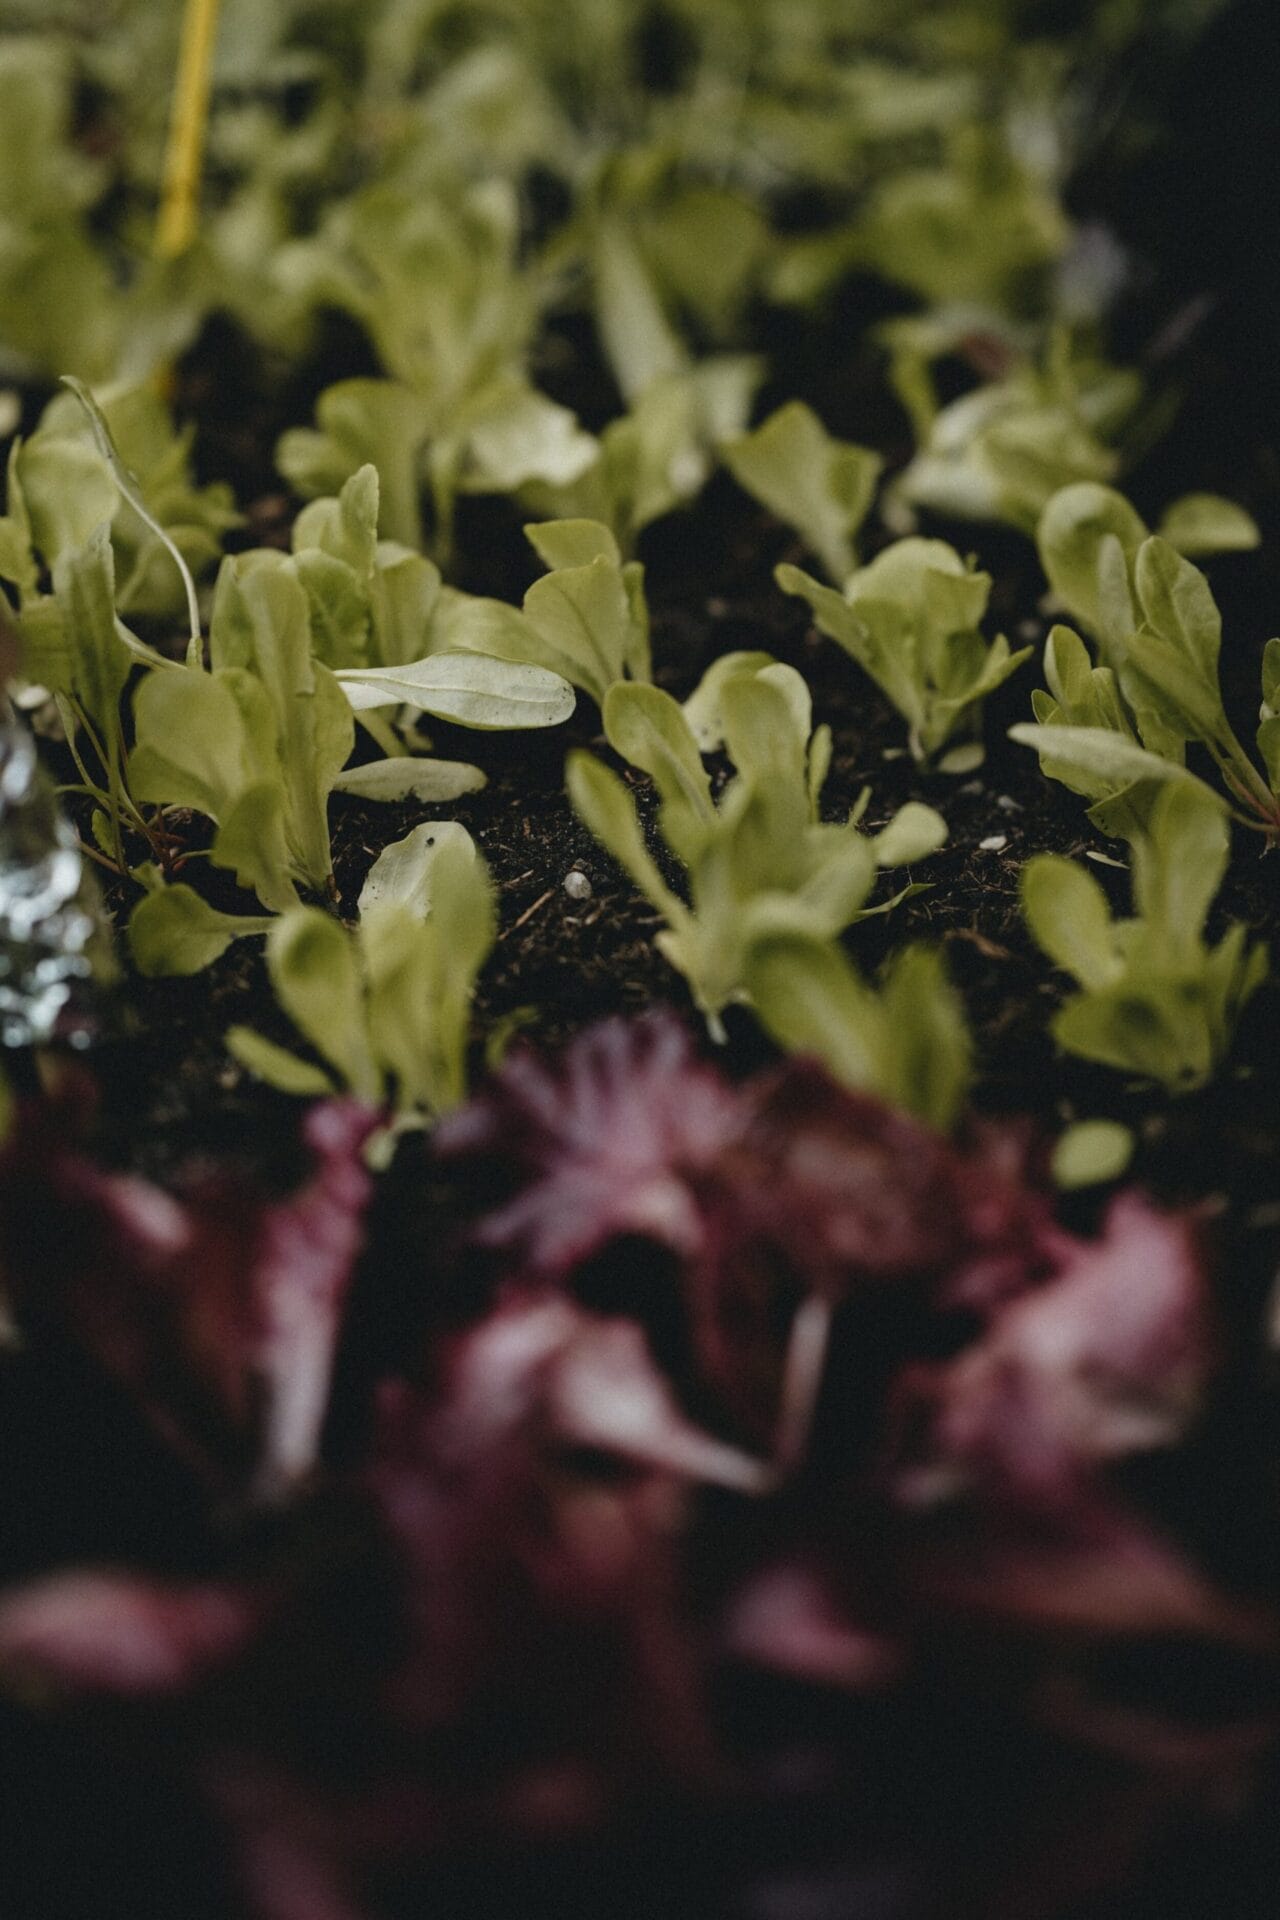
Whether you’ve sown your own seeds or bought punnets from your local nursery, planting time is one of the most crucial stages of the process and there are some things that we can do to ensure our seedlings get off to the best start possible and thrive in the summer months.
Key planting tips:
1. Soak your seedlings
First, always soak your seedling in a diluted seaweed mix for 15 minutes prior to planting. This not only ensures the root ball of the plant is completely saturated by the seaweed, but helps with transplant shock.
Seaweed extracts contain several active compounds, like polysaccharides, polyphenols and phytohormones. These plant hormones are bio stimulants, promoting growth of lateral roots as well as microbial activity.
2. Add soil amendments
Add amendments such as Blood & Bone, compost or rotted manure at the time of planting. Lightly work these into the soil with a hand rake to create a rich, loamy soil.
Tomatoes may benefit from additional calcium that helps to prevent Blossom End Rot. There is an old wives’ tale that has people swearing by a raw egg (including the shell) in the bottom of the hole at planting time. (I tried this last year and had my best crop of tomatoes yet.) But if you’re less than convinced, adding gypsum if the soil is alkaline or lime if it is acidic, are more reliable methods.
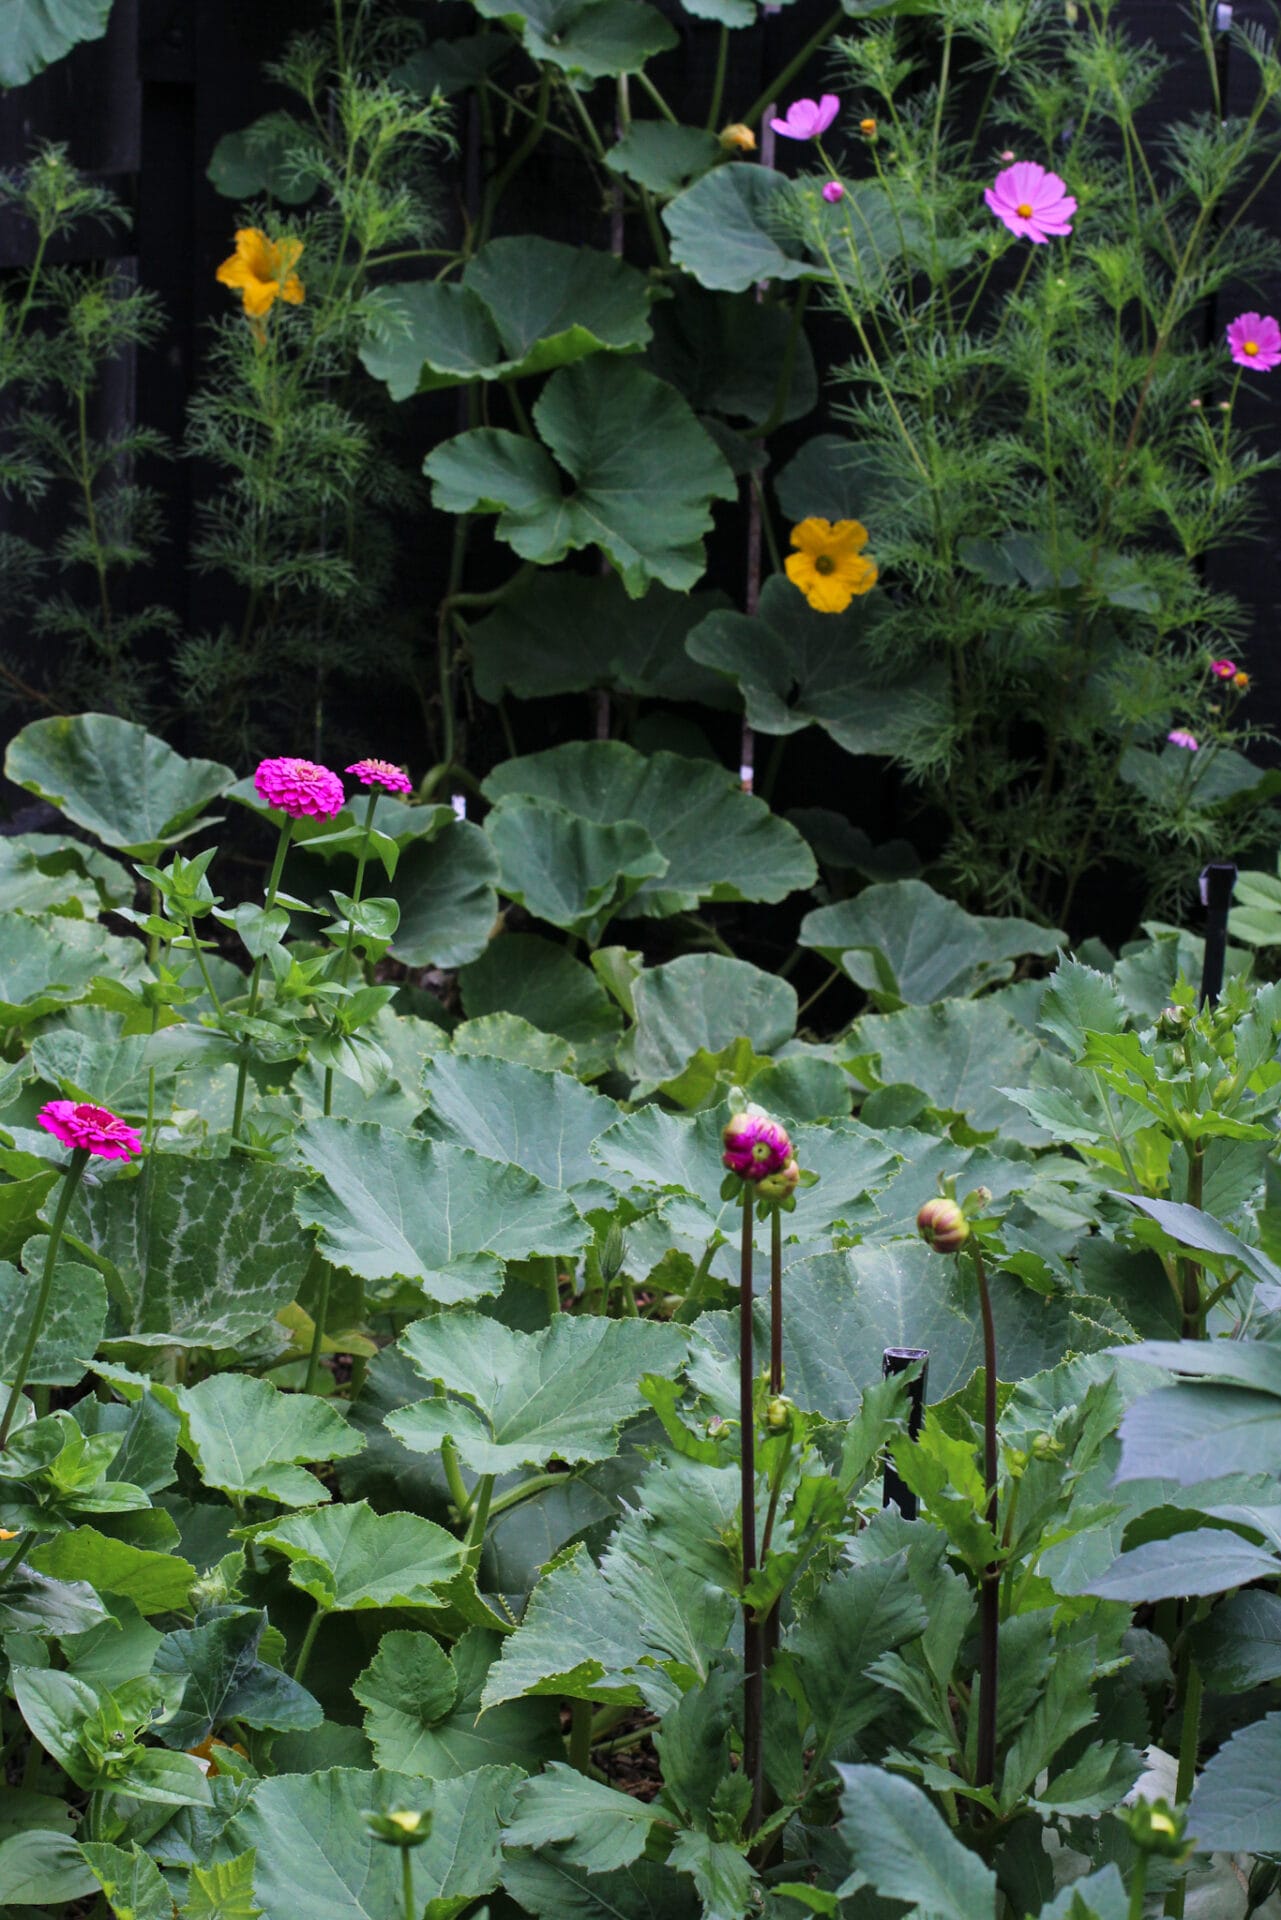
Pumpkin and squash are incredibly hungry feeders and rely on a decent amount of nitrogen in the beginning to put of leafy growth, form vines and put down strong roots in the beginning. When planting out your pumpkins, digging a big hole or deep trench and filling it with things like well-rotted manure, compost and bokashi scraps will see your seedlings thrive throughout the season.
A handful of worm castings into the soil at the time of planting for all seedlings is one of the easiest ways to enrich the soil and increase microbial activity around the roots.


3. Climbing structures
Erect climbing structures at least 2m high for tomatoes, beans, cucumbers and squash (even courgettes can be trained to grow up which can be valuable for small space gardeners).
It is wise to make sure a strong structure is in place prior to planting as you risk damaging the root system by leaving it too late.
Flowers such as dahlias also benefit from staking as the heavy heads can quickly topple over in high winds.
4. Spacing
Space your seedlings appropriately. If you are planting into a raised bed, you may be able to space closer together as it’s easier for the roots to grow deeper into the soil. Bear in mind that closer planting will require increased pruning to promote good airflow and reduce the risk of disease.
In ground tomatoes should be planted at least 40cm apart to allow for good ventilation. Raised bed tomatoes can be spaced slightly closer together, but you must train them vertically and remove the lower leaves and suckers of indeterminate varieties to be successful.

5. Planting depth
When it comes to planting, remove lower leaves of the seedlings and bury stems deep into the soil.
Tomatoes and brassicas can grow new roots from their stems, and this will help to create an extra strong plant. However, this action can be taken for all other seedlings regardless to correct legginess and help to support weak stems from snapping in the wind.
6. Watering
Always water the seedling directly after planting, even if it is forecast for rain, as this will help settle the roots and remove any air pockets in the soil. A consistent watering schedule thereafter is critical.
Tomatoes can be extra sensitive to under or over watering. Too much, they become flavourless with yellow or wilting leaves, but too little or inconsistent watering may end in Blossom End Rot or splitting fruit.
Watering recommendations:
- A regular watering schedule should be maintained directly after the seedling is planted. A general rule of thumb to knowing if a young seedling needs water, is to poke your finger down into the soil 3cm and if you cannot feel any moisture, then it is time to water. Ensuring that the soil is nice and moist down below during these early days will encourage the development of root growth.
- When the seedling begins to establish and mature, you may pull back on the watering to encourage a more resilient plant. Focus on deep watering, once a week. This targeted stressing of the plant which will encourage the roots to grow downwards in search of water instead of shallow roots that sit at the surface of the soil. This helps to anchor the plant and gives them a greater ability to stand up against strong winds and drought, it also allows them to pull up more nutrients from deeper within the soil. (Do not stress leafy greens as this can cause bolting).
7. Mulch
Finally, once you have planted and watered your seedlings in it is always good practice to mulch the area. Water evaporates quickly from bare soil, but mulching will protect the soil from moisture loss, erosion and regulates temperature.


The Spring Gardening Series is proudly supported by Gubba Garden Store.
www.gubba.co.nz | @gubbagardenstorenz