

In Ashley James’ latest Field Notes column, he shares the three pruning cuts every gardener should know, his favourite tools, and practical advice for everything from roses and hydrangeas to fruit trees and wisteria.
Winter is a funny time in the garden. The borders are quieter, the colour has faded and the pace slows right down.
It’s easy to look out the window and think not much is happening but I don’t think that’s true at all. Winter is when the garden shows you what it’s really made of. Without the leaves and flowers stealing the show, you’re left with the structure. The bones. There’s something incredibly satisfying about that.
It’s probably why winter pruning has become my favourite job of the year. Hand me a pair of secateurs on a crisp winter morning and I’m happy. There are few jobs that reward patience quite like pruning. Every cut has a reason – some branches are making room for light, others for air and some have simply reached the end of their story. By the time spring arrives, all of those small decisions have shaped the season that’s about to unfold.
If you’re new to pruning, it can feel daunting. The fear of cutting off the wrong branch is something we’ve all had. The good news is, plants are often far more forgiving than we are.
Why prune in winter?
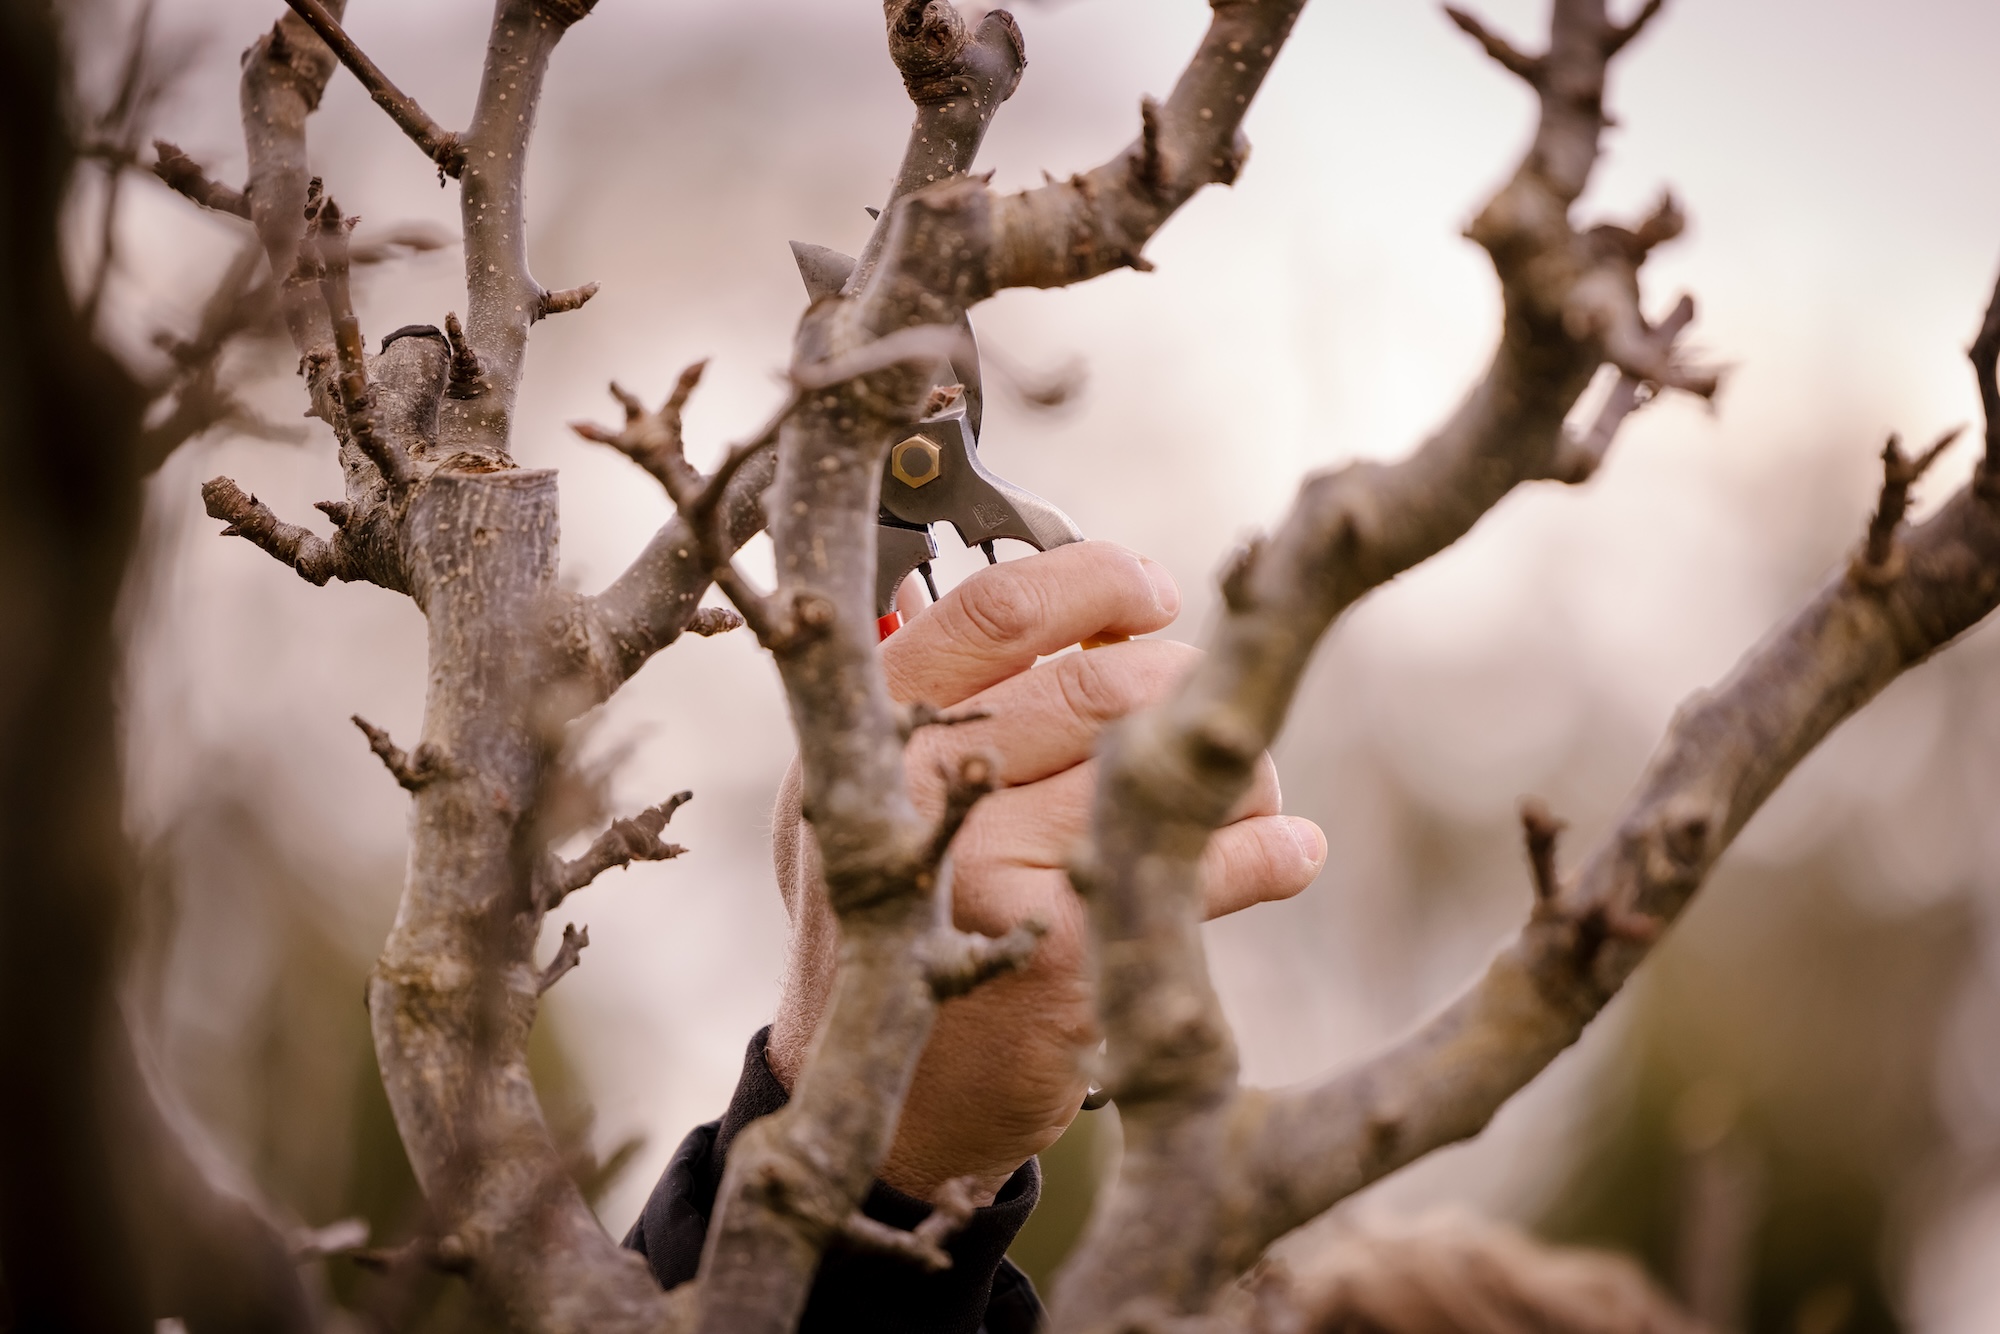
For most deciduous trees and shrubs, winter is the perfect time to prune because they’re dormant. Without leaves getting in the way, it’s much easier to see the framework of the plant and make thoughtful decisions.
The aim isn’t to make a plant smaller – that’s one of the biggest misconceptions about pruning. Good pruning is about improving the health and structure of a plant so it grows better, flowers better and has room to breathe.
As you work your way around the garden, start by removing anything that’s dead, damaged or diseased. From there, look for branches that cross over each other or crowd the centre of the plant. Opening up the canopy improves airflow, lets more light in and usually results in a much happier plant.
One piece of advice I’d give any gardener is this: before you make a cut, stop for a moment and ask yourself why you’re making it. If there’s a reason, it’s probably the right cut.
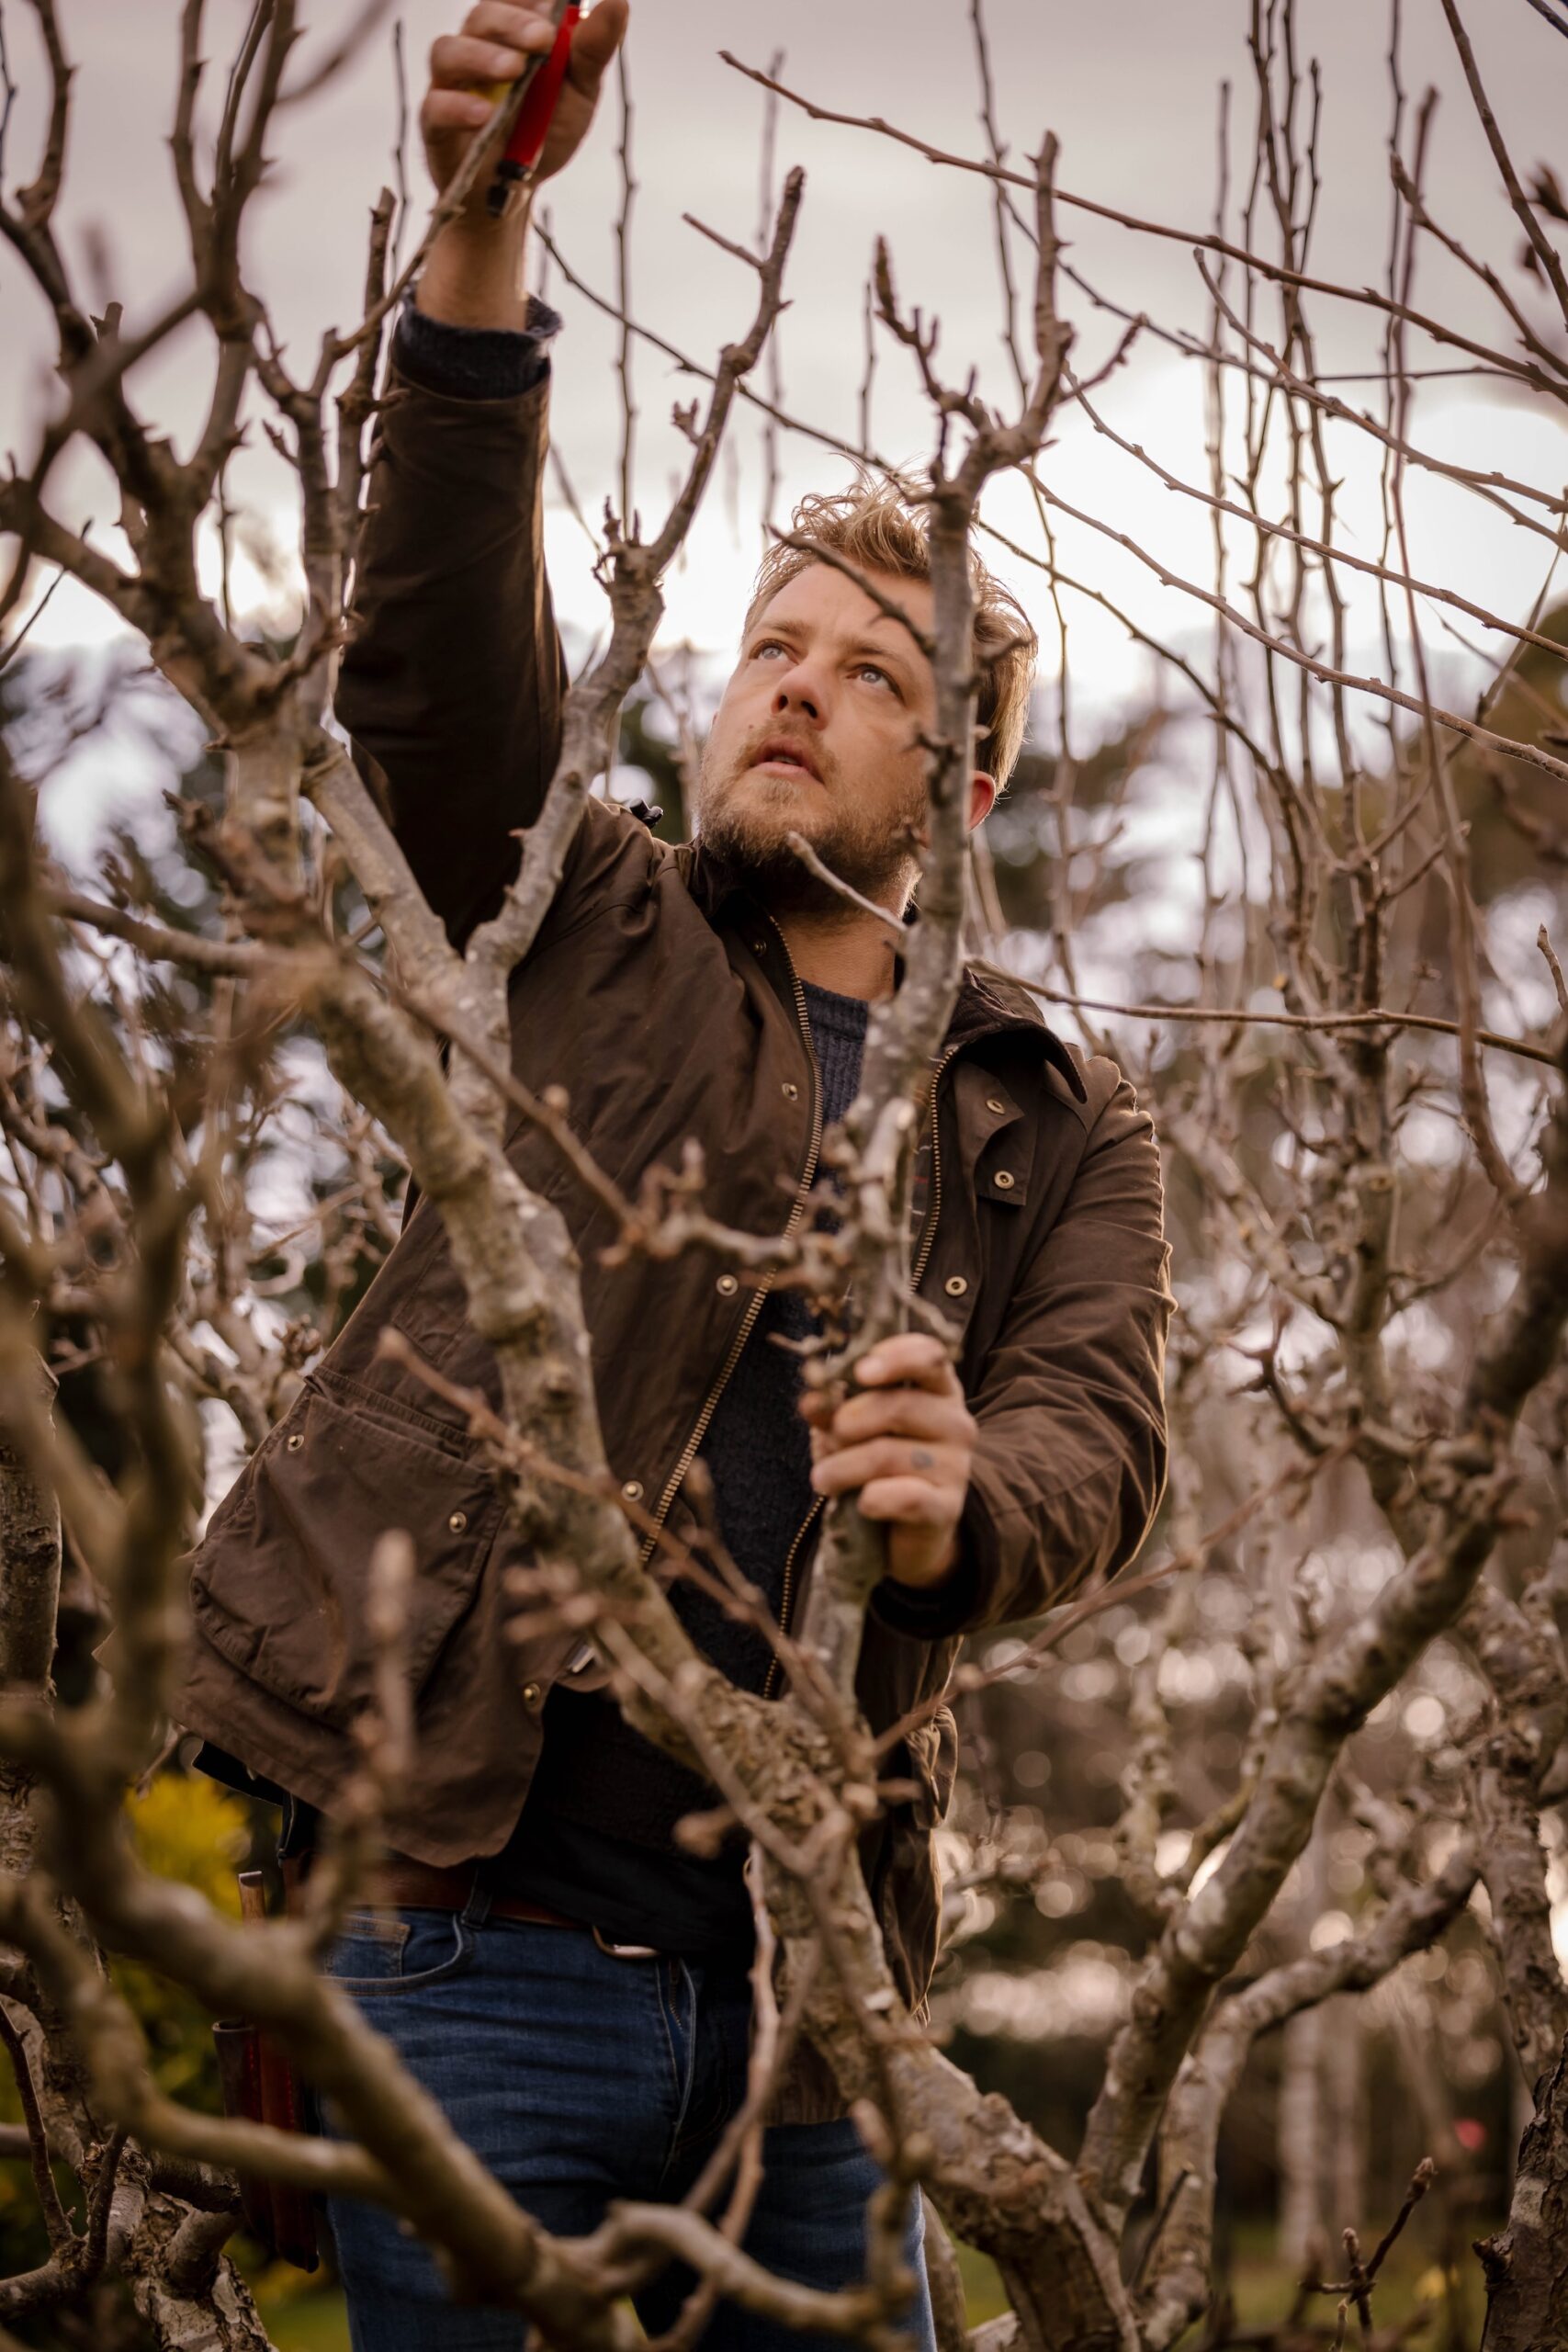
Three cuts worth knowing
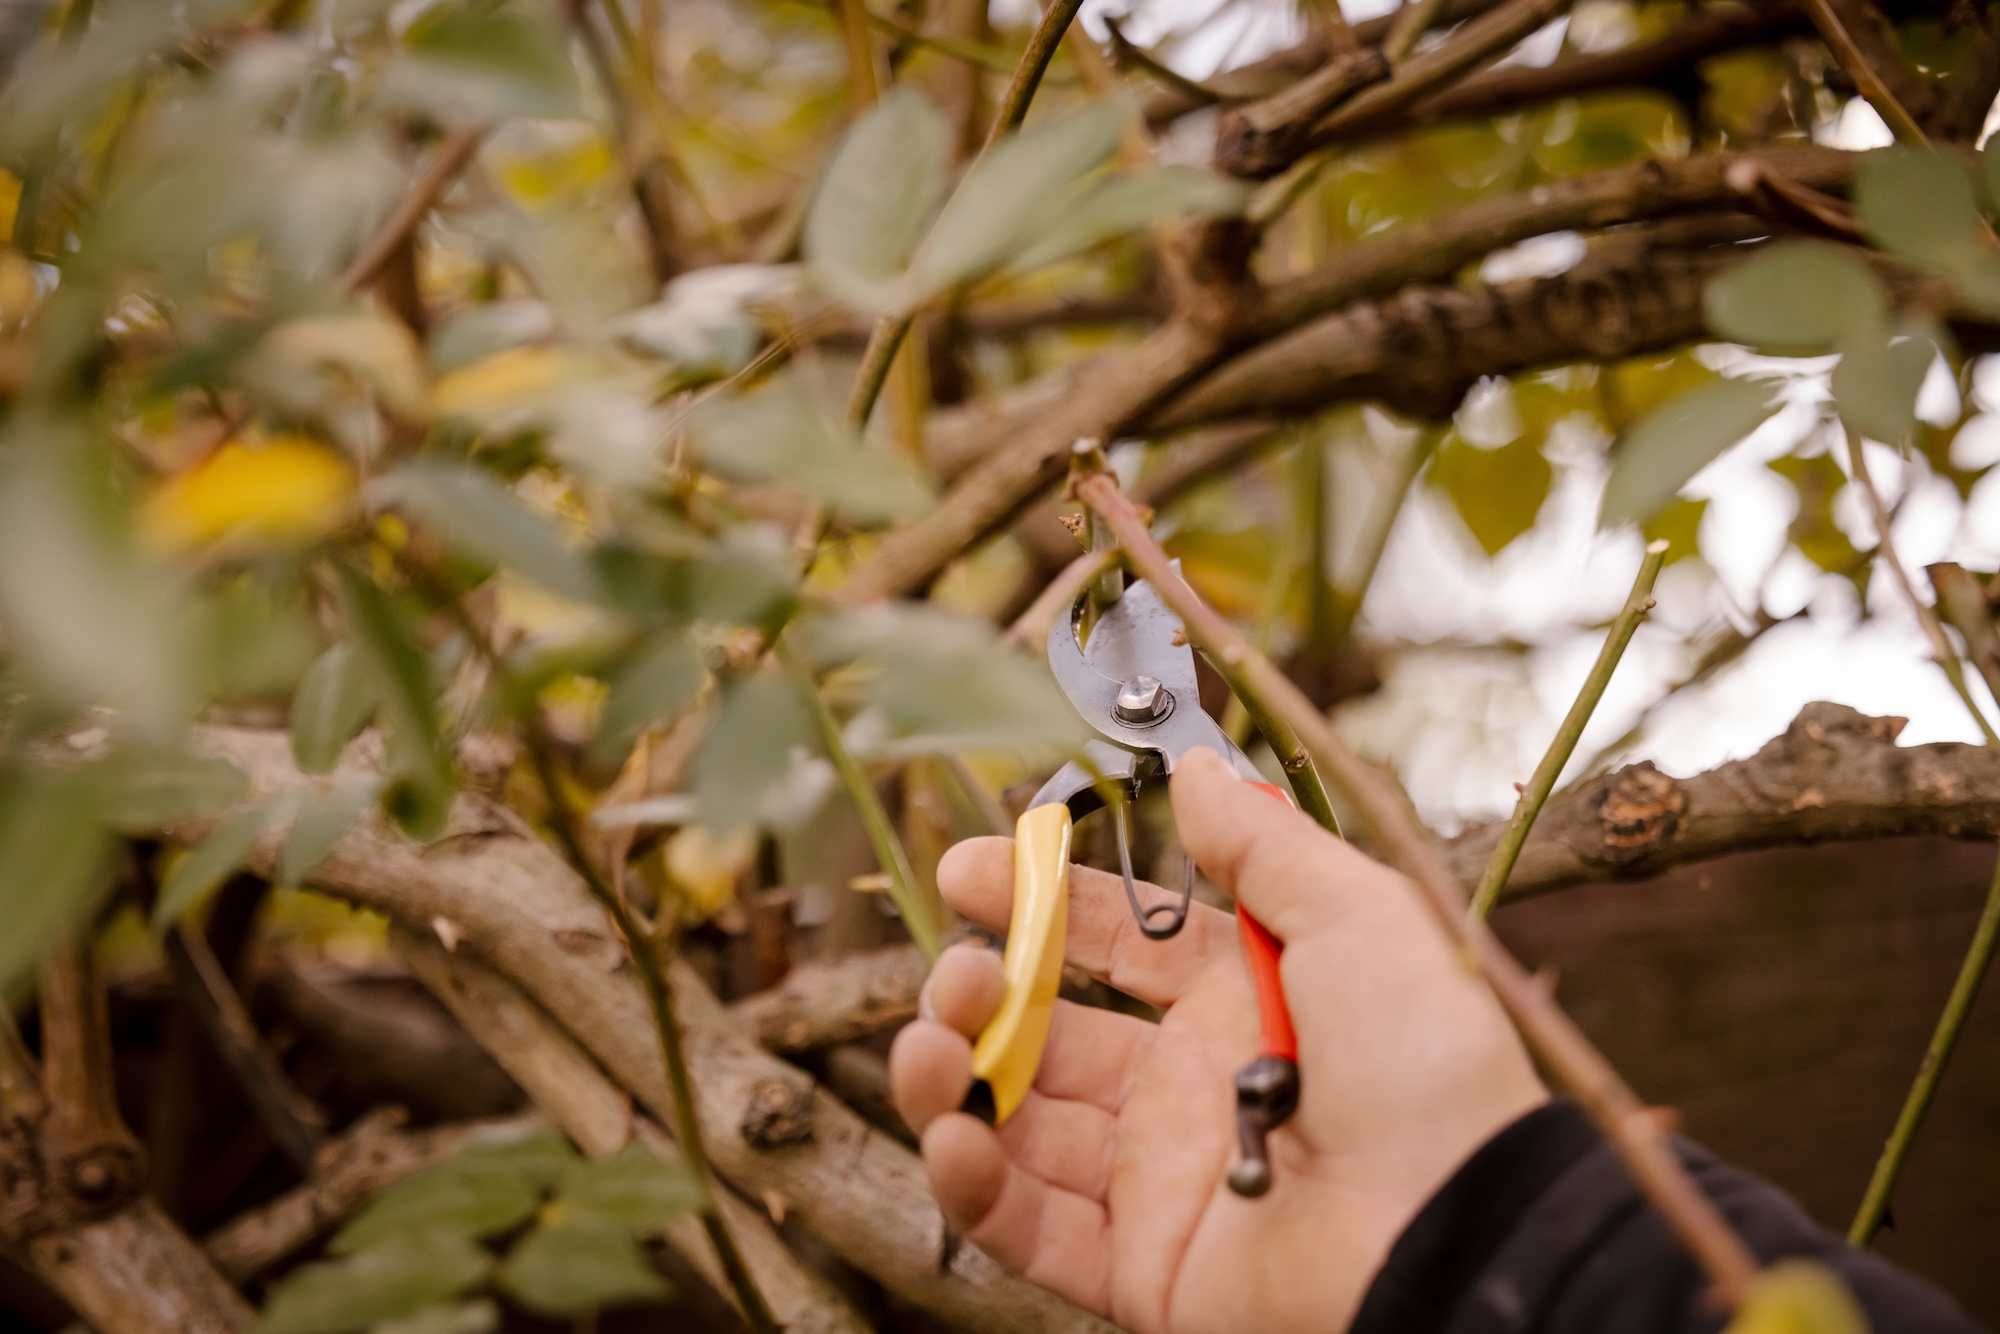
You don’t need to memorise dozens of pruning techniques. Most jobs come back to three simple cuts:
A thinning cut
– removes a branch completely back to where it began. I use these whenever I want to open up a plant without changing its natural shape.
A heading cut
– shortens a stem back to a healthy outward facing bud. This encourages fresh branching and helps create fuller growth.
Renewal pruning
– is exactly what it sounds like. Older stems are removed altogether to make way for younger, more vigorous growth. It’s one of the easiest ways to keep many shrubs looking fresh year after year.
Once you understand these three cuts, the rest starts to make a lot more sense.
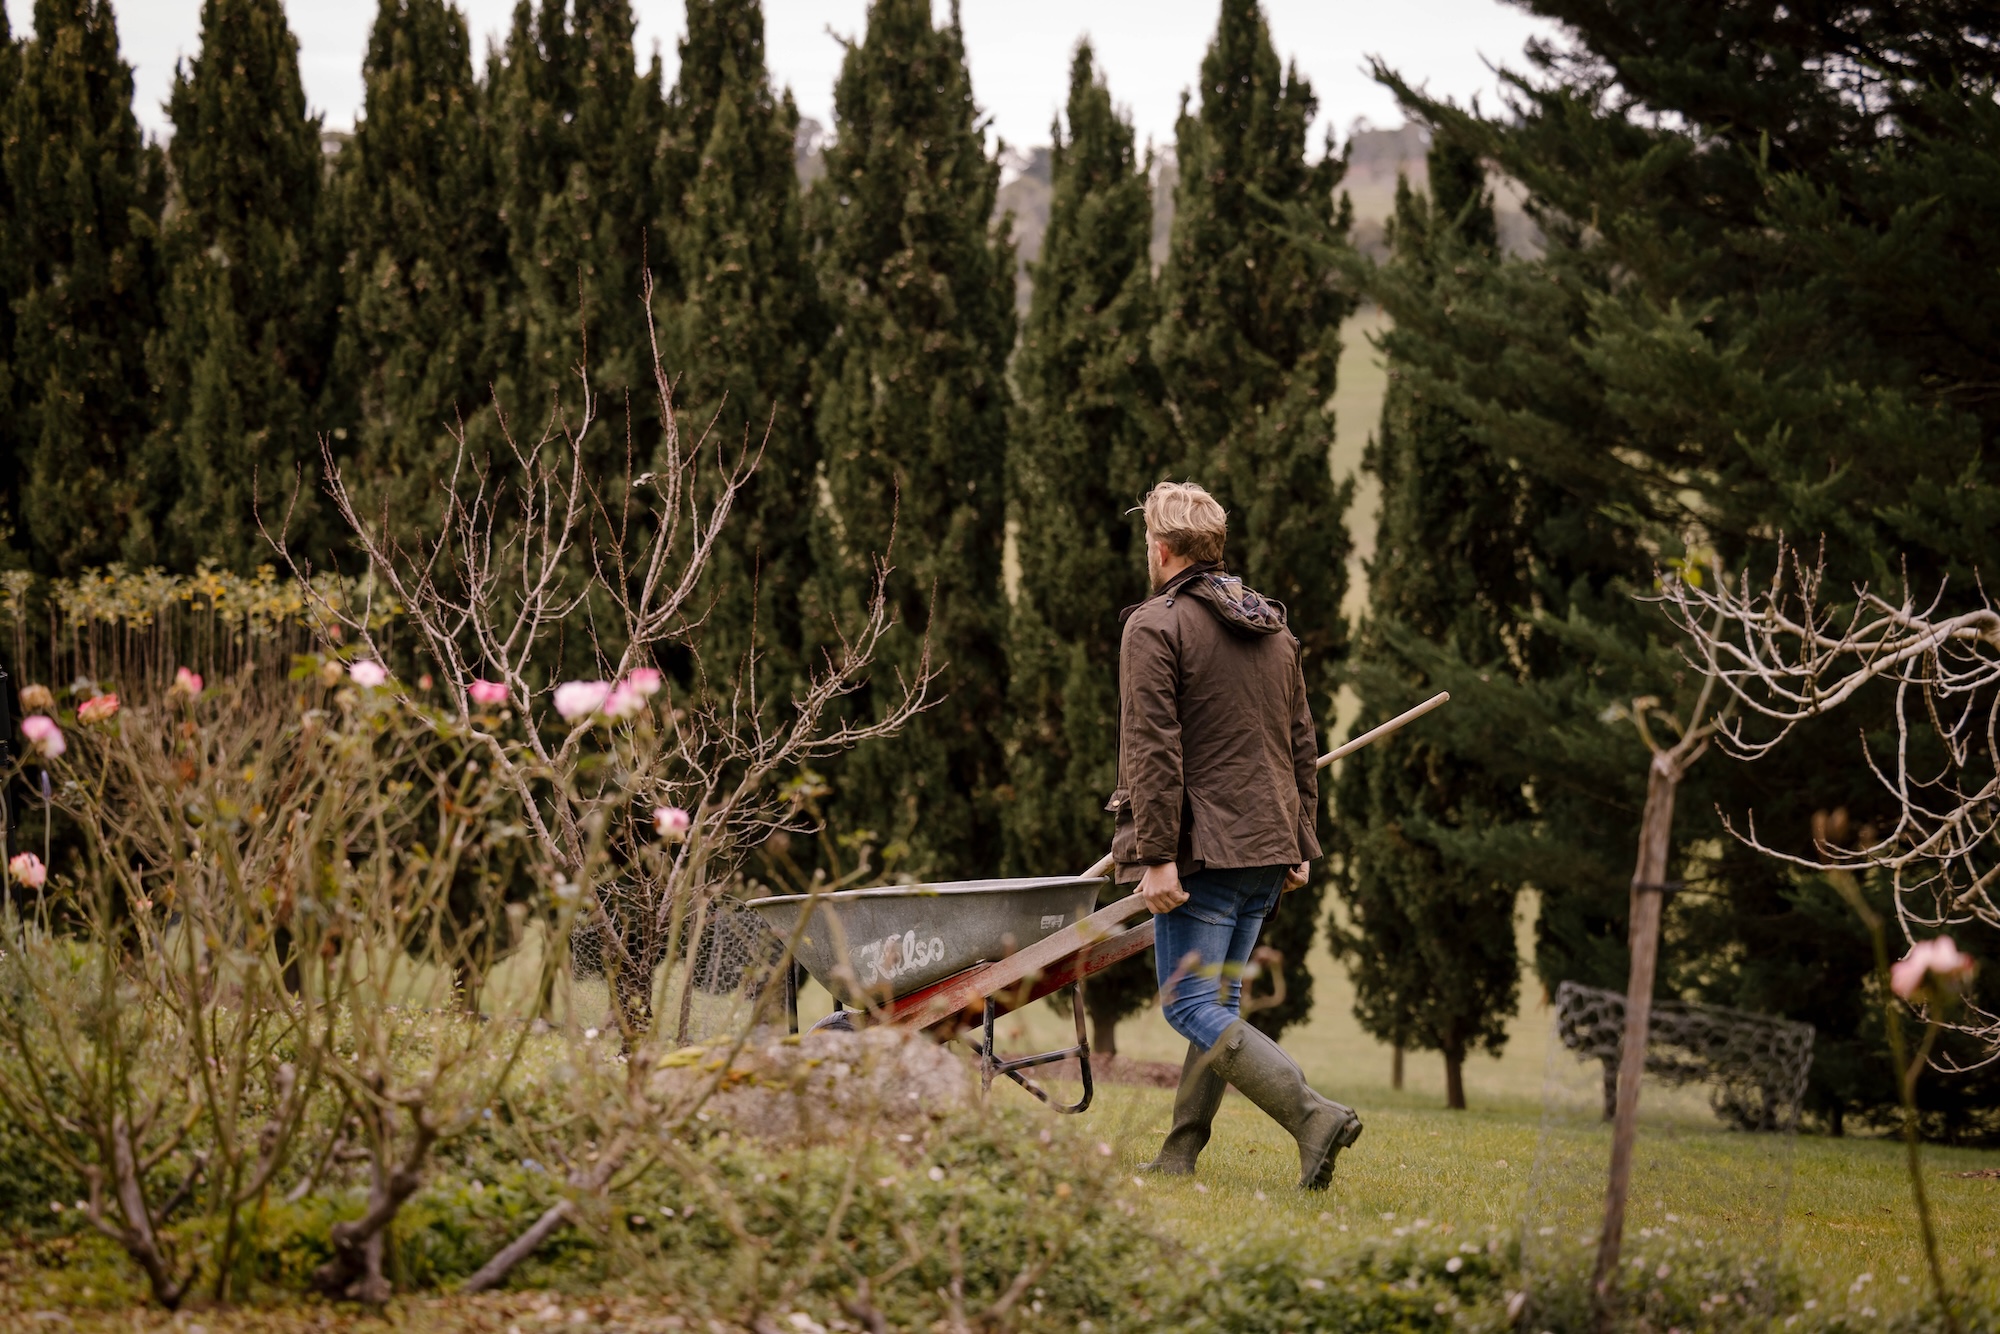
Pruning guide –
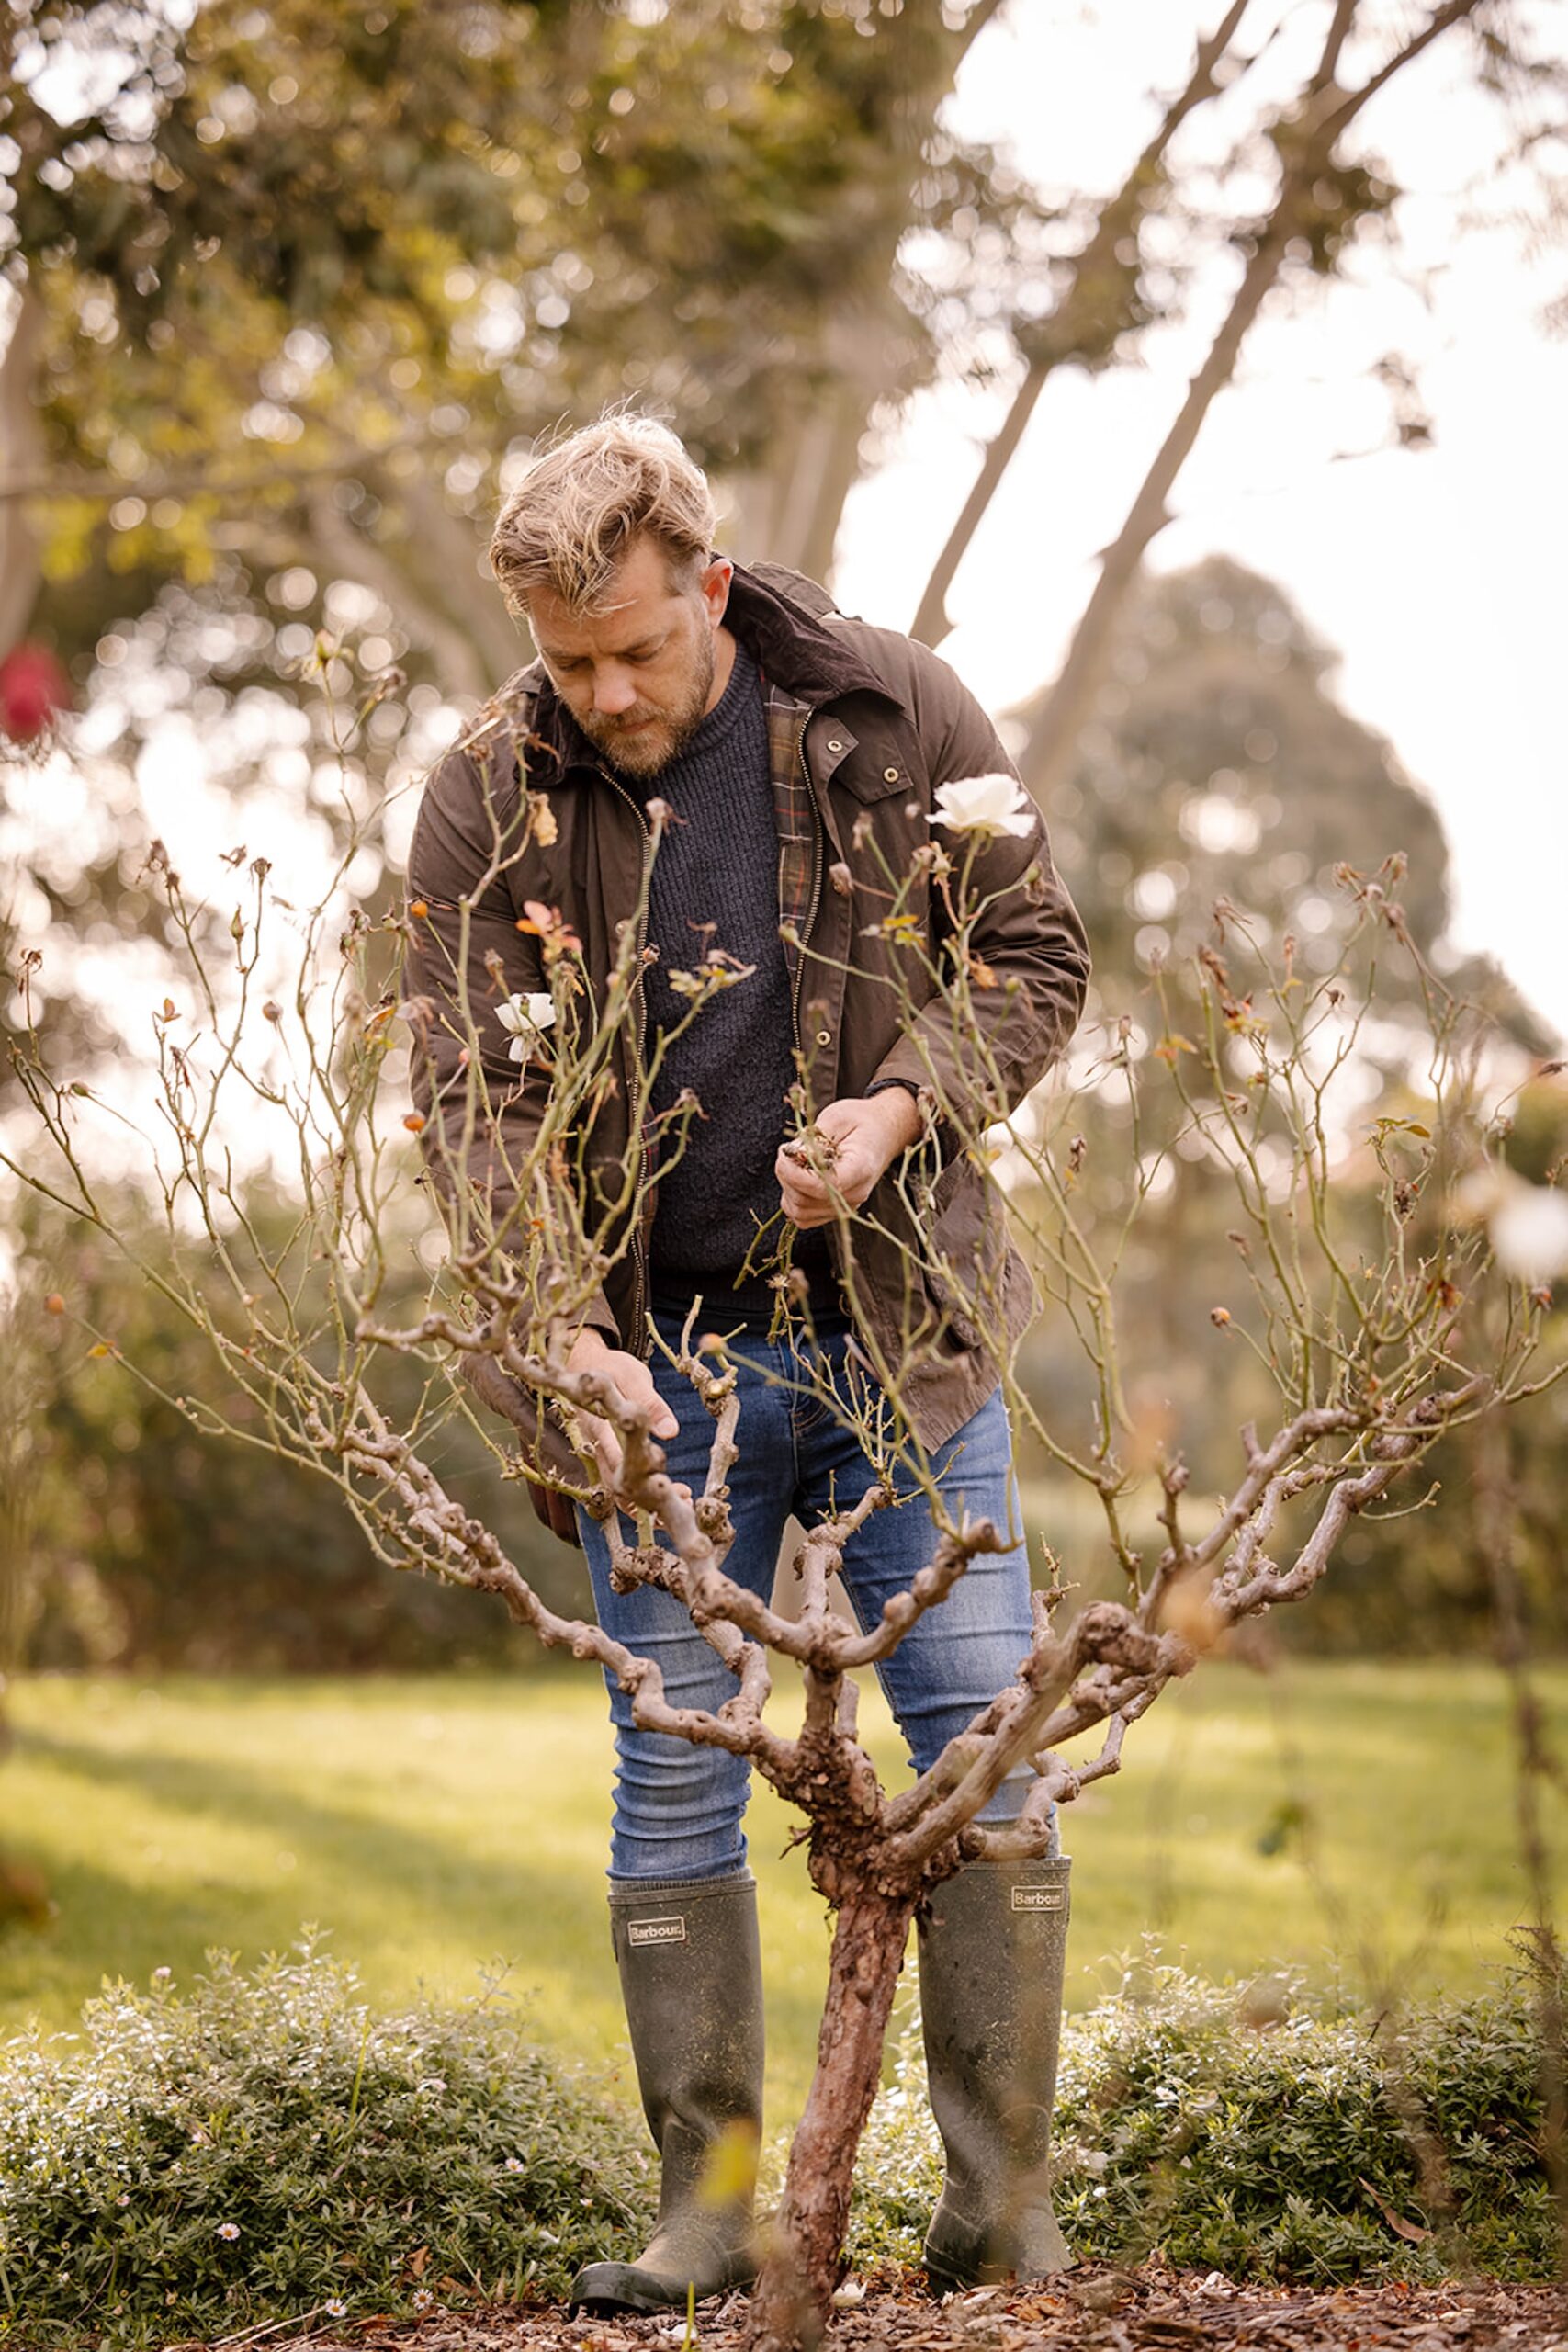
Standard roses
Start by removing anything that’s dead, damaged or diseased, followed by any stems that cross through the middle of the plant. You’re aiming for an open framework that lets sunlight and air move freely through the centre.
From there, shorten the remaining stems by about half, sometimes a little more depending on the rose. Always cut just above an outward facing bud so the new growth heads away from the middle rather than back into it.
I’ve learnt that roses are much tougher than people think. Every winter someone tells me they’re worried they’ll prune too hard. More often than not, we do the opposite. Healthy roses respond incredibly well to a confident prune.
Climbing roses
Climbing roses play by slightly different rules. The long structural canes are the backbone of the plant, so they usually stay. Instead of cutting those back hard every winter, tie them in as horizontally as you can. It’s one of those little tricks that makes a huge difference because horizontal stems produce far more flowering shoots.
Once the framework is in place, shorten the side shoots that flowered last season back to two or three buds.
If your climbing rose has been growing for years, don’t be afraid to remove one of the oldest canes every now and then. It keeps the plant young and encourages fresh replacement growth.
Hydrangeas
Hydrangeas have probably caused more pruning confusion than almost any other garden plant. The first thing to know is what type you’re growing.
Mophead and lacecap hydrangeas flower on old wood, which means next season’s flower buds are already sitting on the stems through winter. Remove the old flower heads by cutting back to the first healthy pair of buds and take out any dead stems at ground level. Resist the temptation to cut harder or you’ll also remove next summer’s flowers.
Panicle and smooth hydrangeas are much more forgiving. They flower on new growth, so winter is the perfect time to cut them back and encourage strong fresh stems.
Fruit trees
Winter is the traditional time to prune apples and pears. Begin by removing dead, damaged and crossing branches before thinning out crowded growth through the centre of the tree. Good airflow and sunlight are just as important in a fruit tree as they are in an ornamental garden, and they’ll usually reward you with healthier fruit.
Keep an eye out for vigorous upright shoots as well. Unless you need one to replace an old branch, they’re often better removed. There is one important exception: avoid pruning stone fruit such as peaches, nectarines, apricots, plums and cherries during winter. Cool, damp weather increases the risk of disease entering fresh cuts. They’re much happier being pruned after harvest while the weather is still warm enough for wounds to heal quickly.
Wisteria
If you’ve ever inherited an old wisteria, you’ll know they’re wonderfully enthusiastic. Left to themselves, they’ll climb into gutters, over roofs and quite happily take over anything that stands still for too long.
Fortunately, they’re also easy to manage. In winter, cut back all of last summer’s long whippy growth to two or three buds from the main framework. Those short spurs are where next season’s flowers will appear.
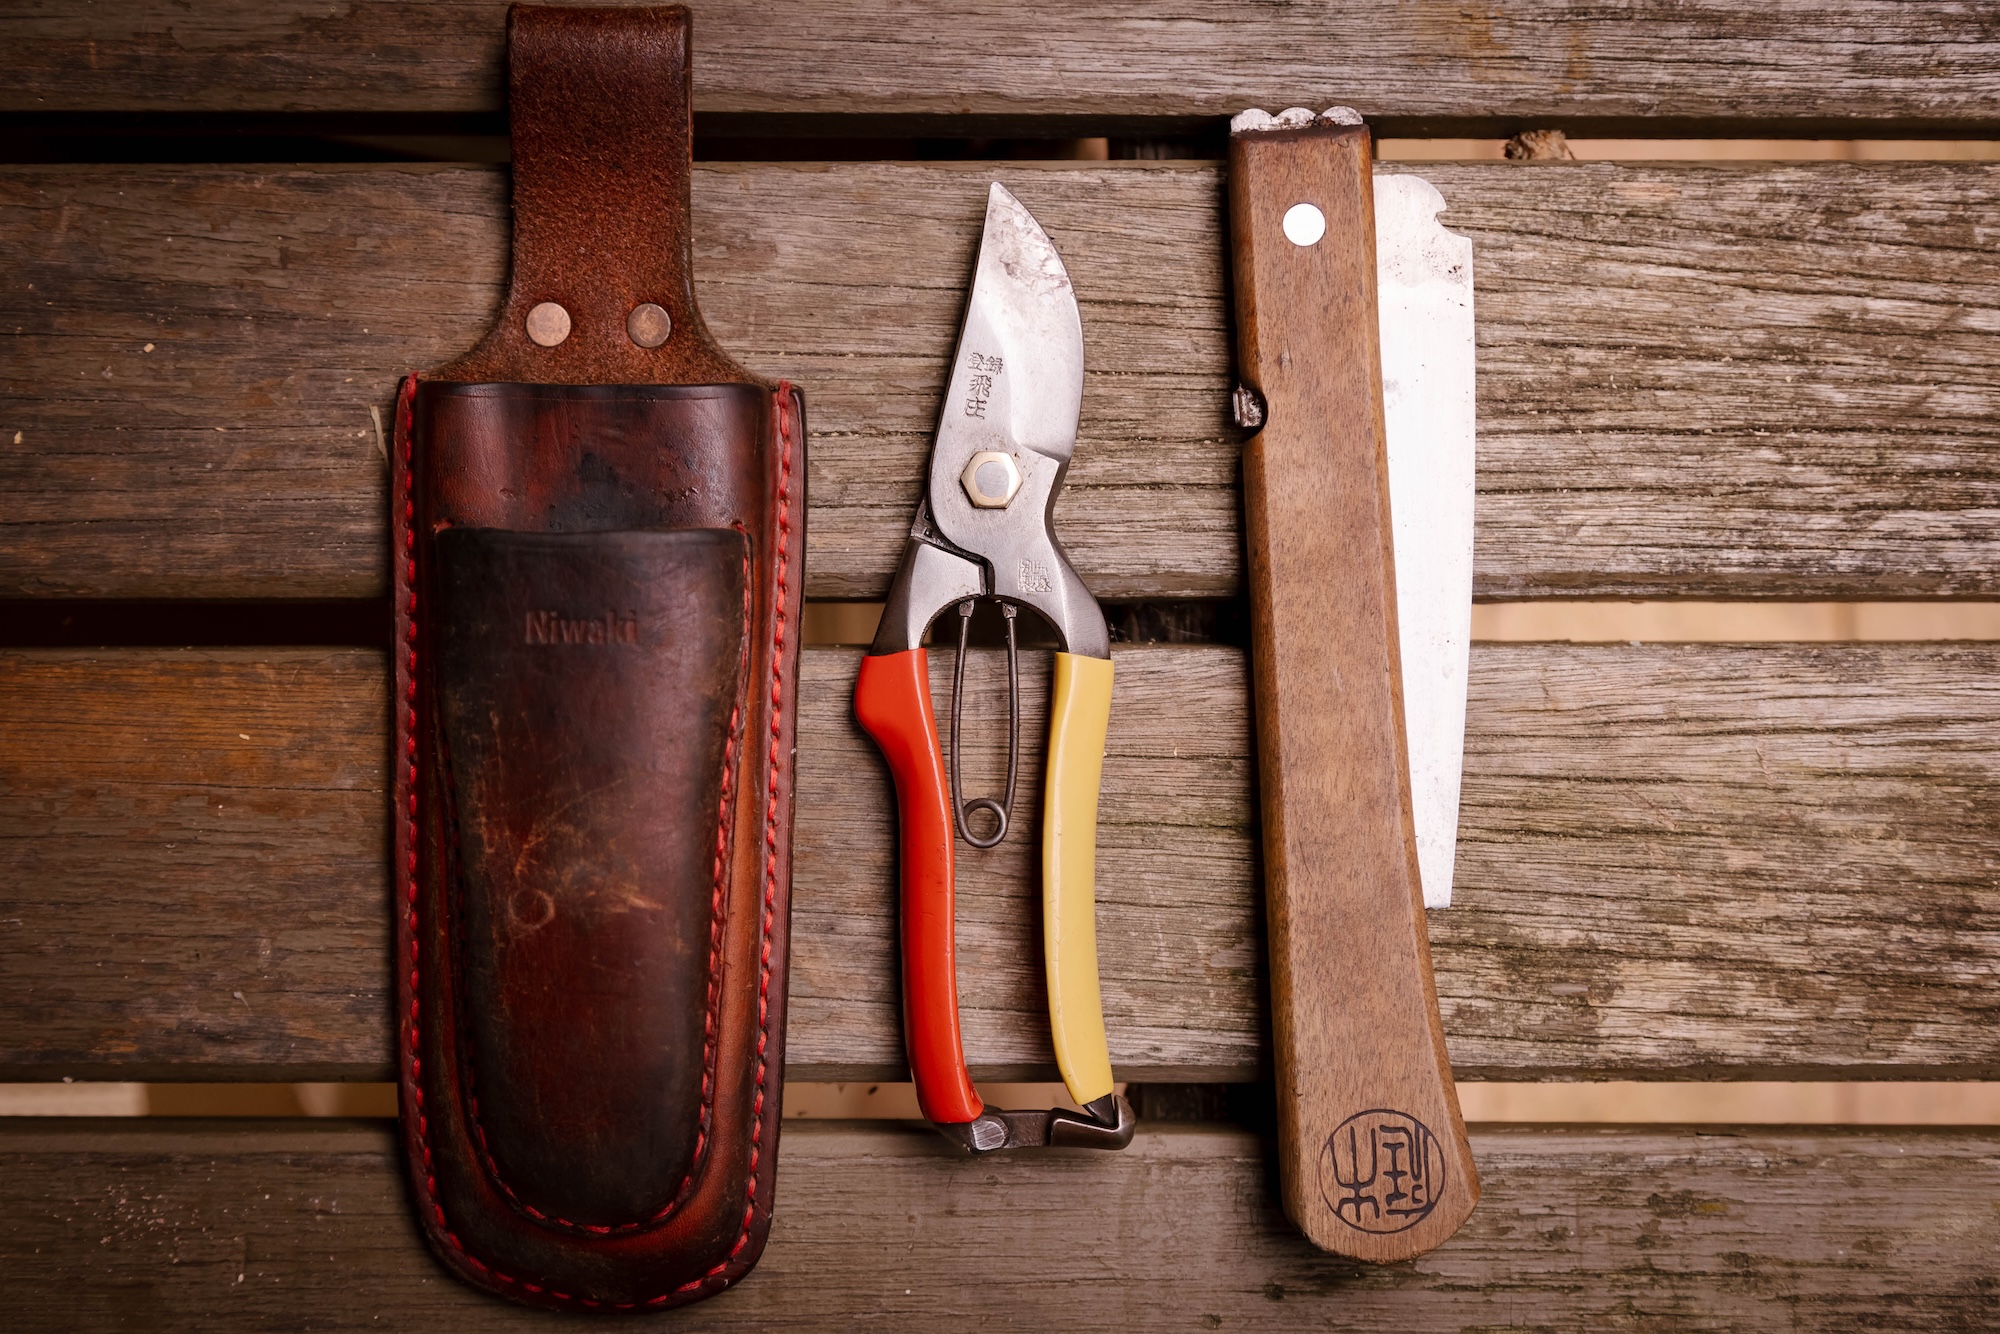
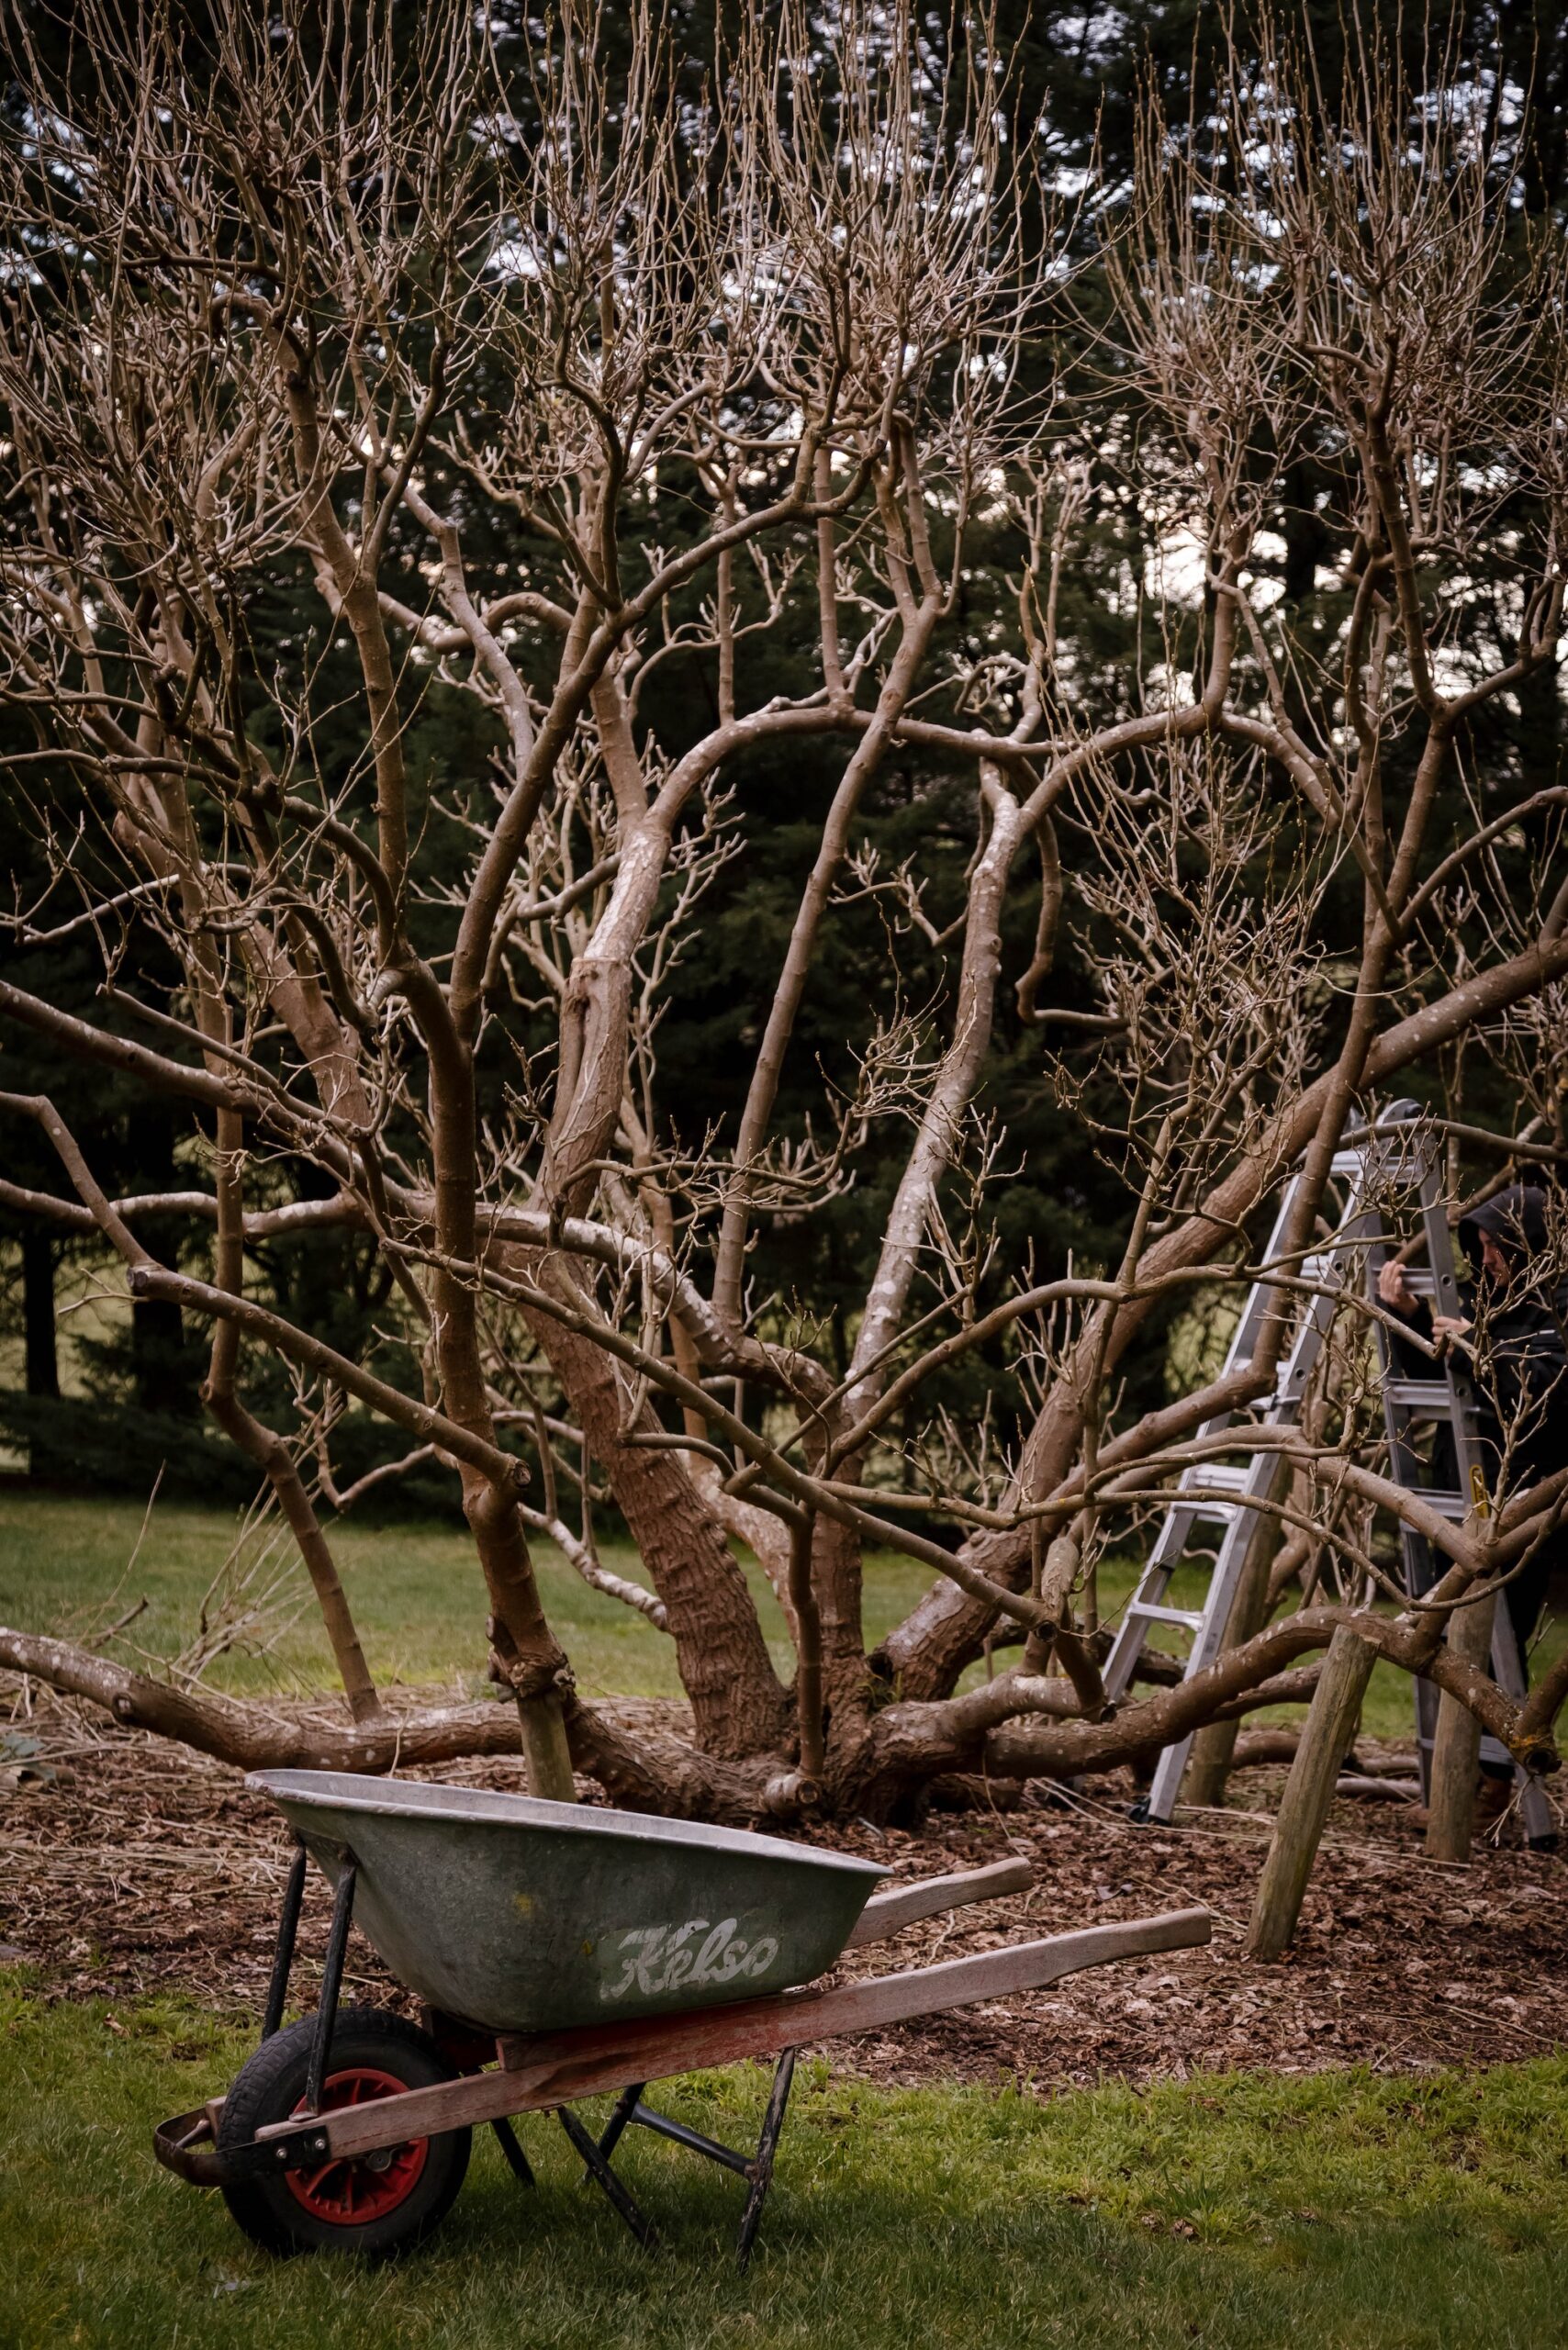
Pruning tools I wouldn’t be without
Winter is probably when my tools see the most action, so I’m a little particular about what I use.
My secateurs are a pair of Tobisho and I genuinely don’t think I’d be without them. They’re beautifully balanced, hold an exceptional edge and leave wonderfully clean cuts. They’re certainly an investment, but one I’ve never regretted.
For anything larger, I reach for either my Niwaki folding saw or one of my Hishika hand saws. Both are well made and make surprisingly light work of larger branches without tearing the timber.
Good tools don’t just make the job easier. They make better cuts and better cuts heal more cleanly.
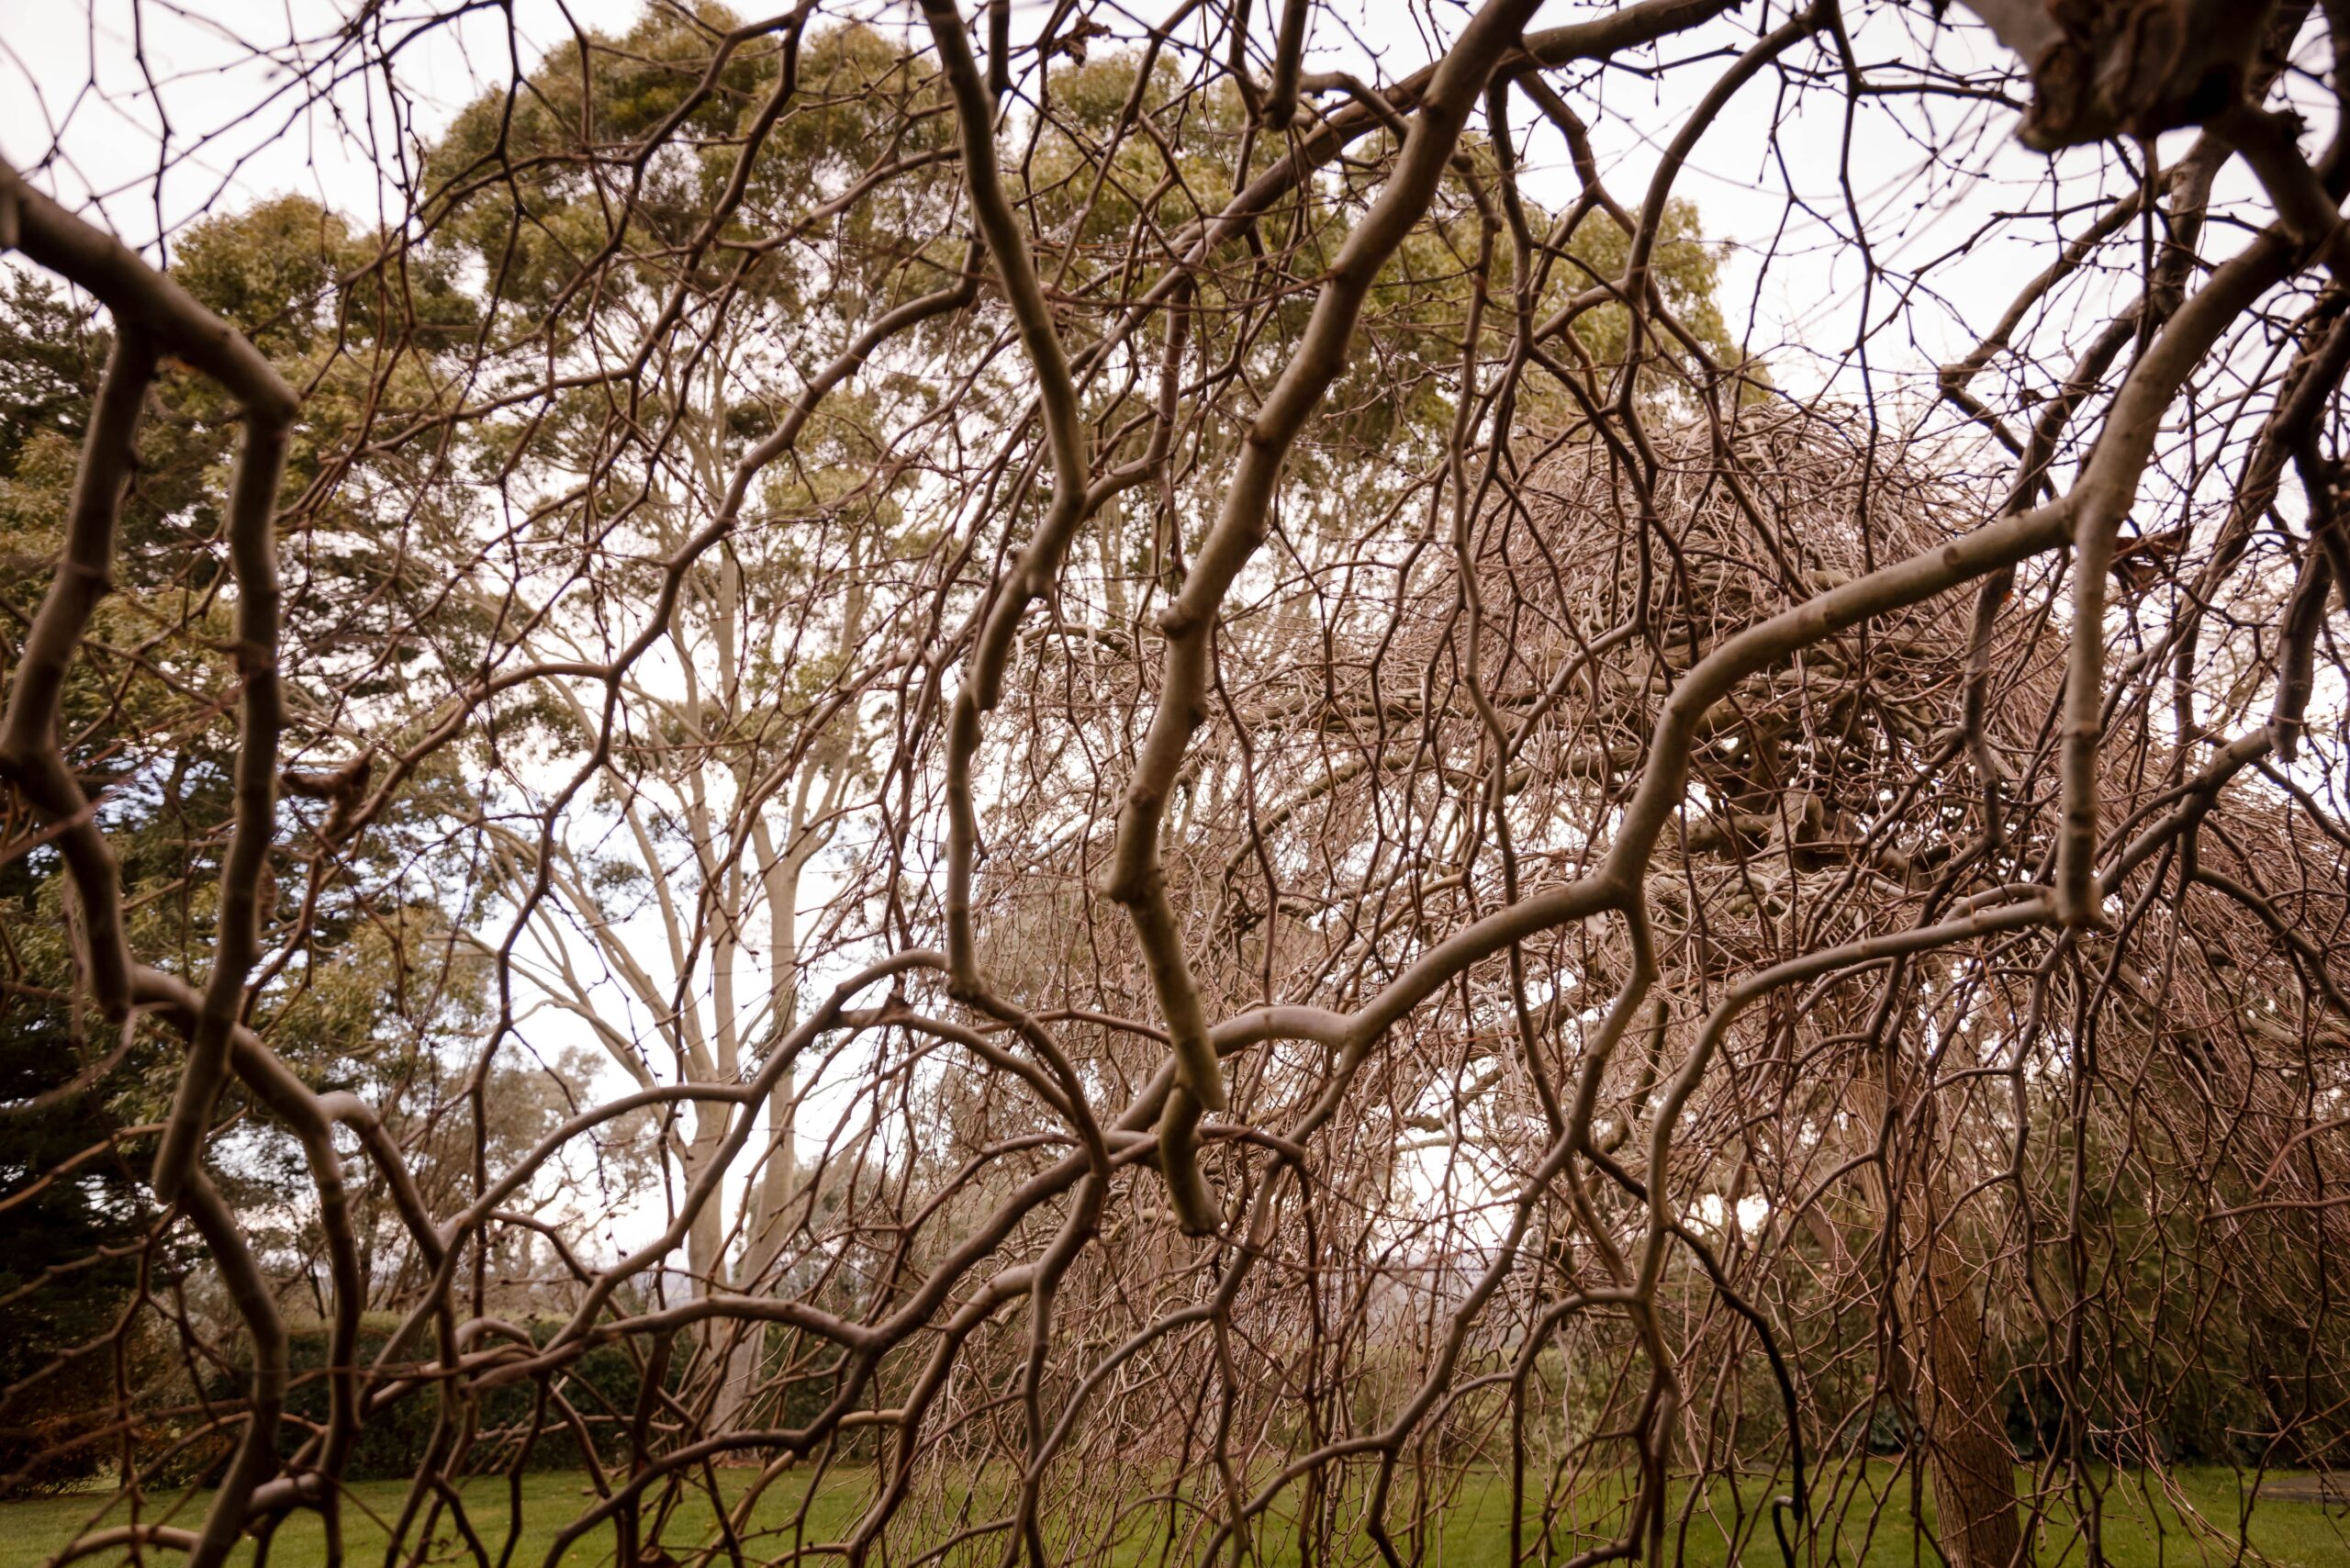
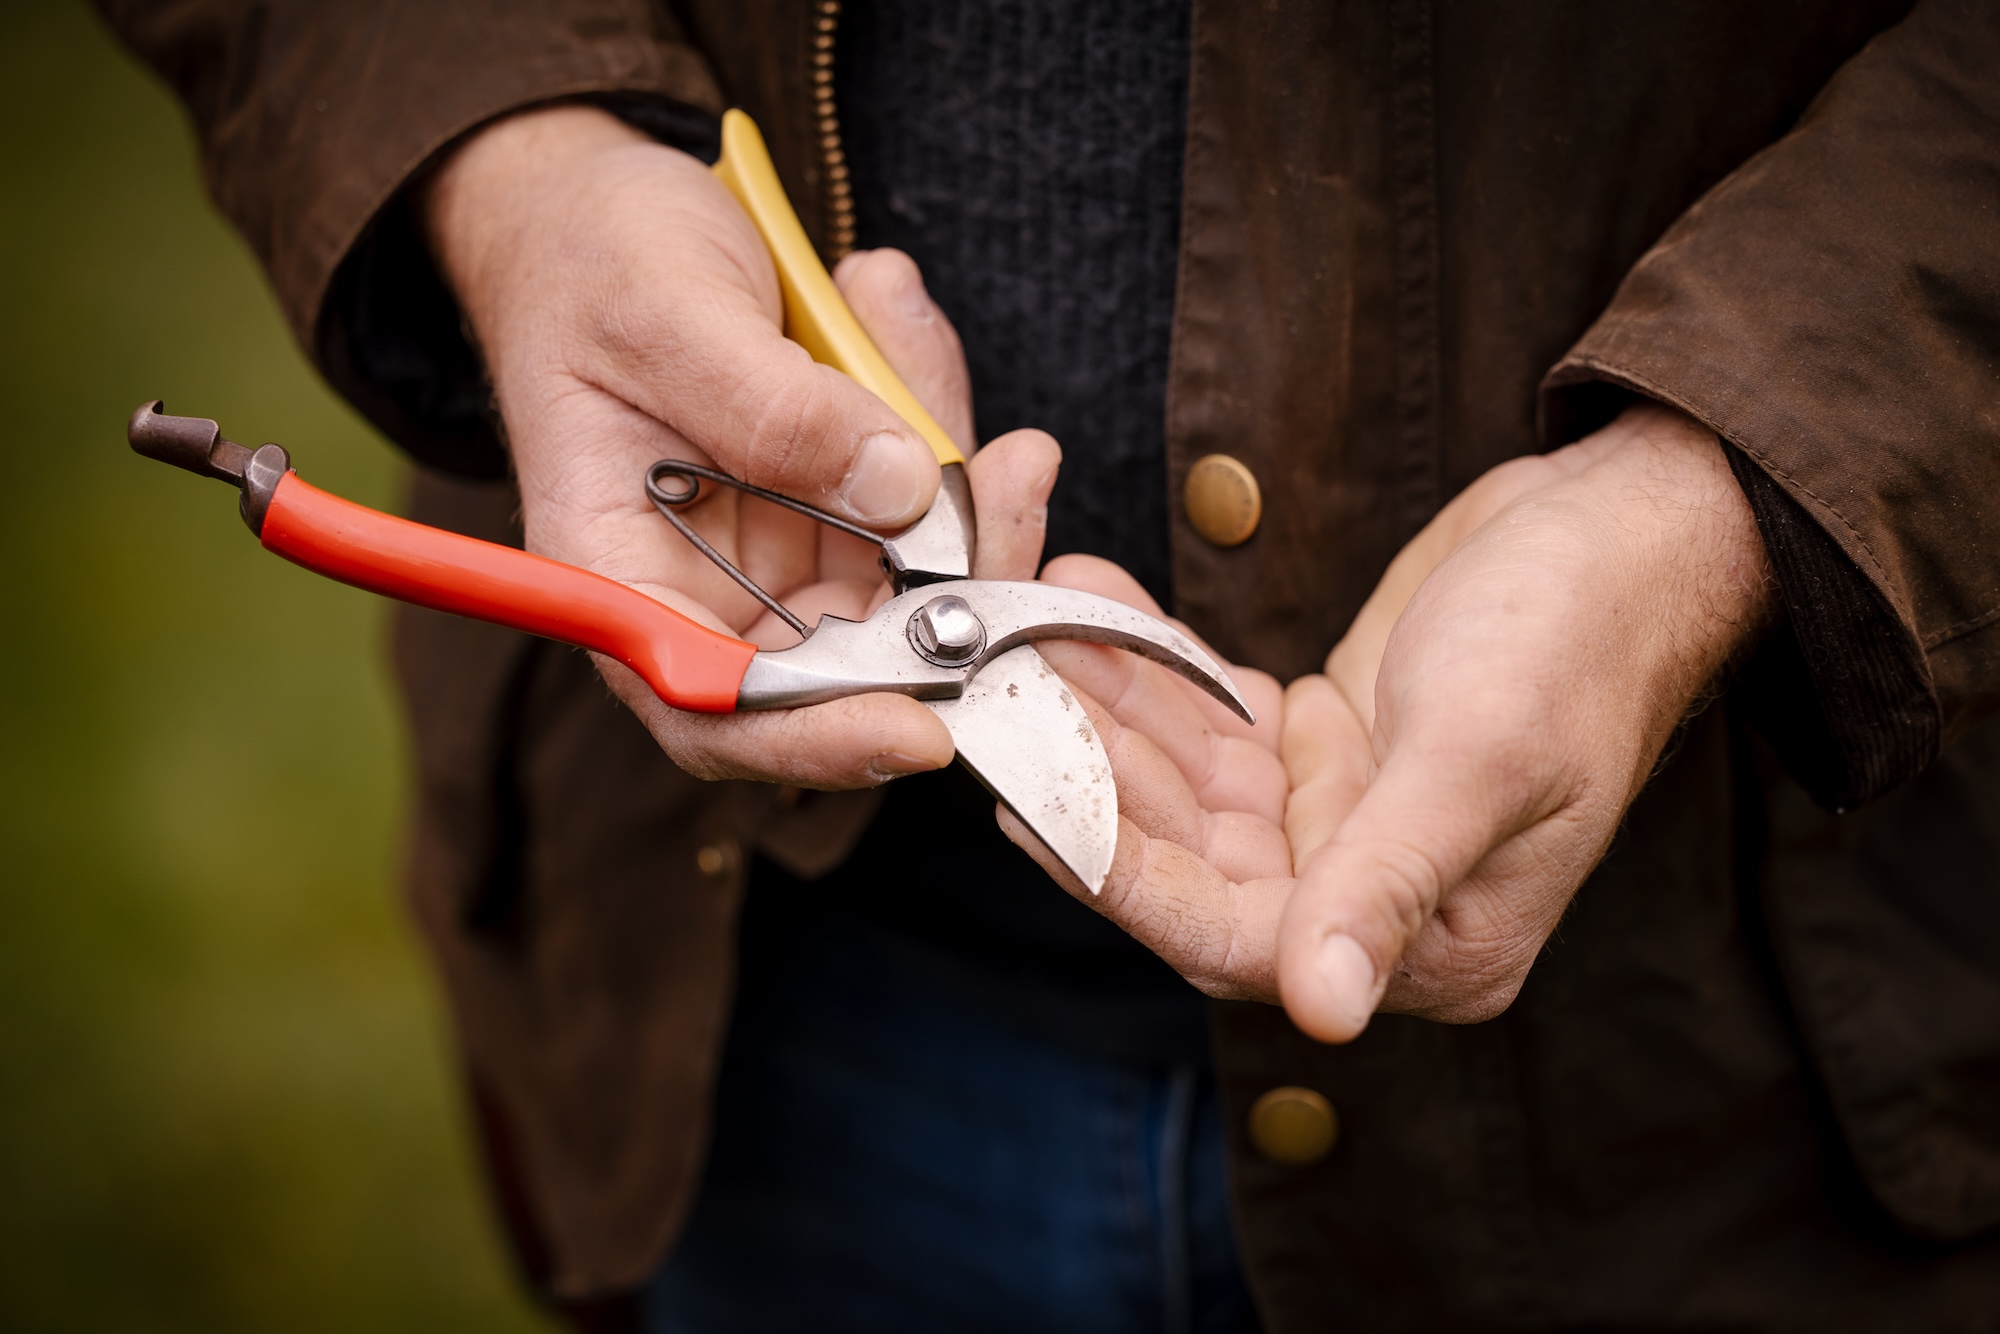
Looking after your garden pruning tools
Sharp tools are one thing, but clean tools are just as important. Sap, resin and old plant material build up surprisingly quickly through winter, so I regularly clean my secateurs and saws with Crean Mate. It’s a simple habit that keeps the blades working properly and helps reduce the chance of spreading disease from one plant to the next.
Before everything goes back into the shed, every blade gets a light wipe with camellia oil. It keeps rust at bay, protects the steel and means the tools are ready to go the next time I head into the garden. It’s a small ritual I’ve come to enjoy almost as much as the pruning itself. Looking after my tools feels like a fitting way to end a day spent looking after the garden.
In many ways, that’s what winter pruning is all about. It’s taking the time to care for something now, knowing the reward won’t come until much later.
Winter pruning is about understanding plants – standing back, reading their shape and making a few thoughtful decisions that will carry them through another growing season. By the time the first signs of spring begin to appear, the hard work is already done and the garden simply gets on with the rest.
–
Field Note: I’ve never met a gardener who regretted buying good secateurs, but I’ve met plenty who wished they’d done it sooner.