

— An excerpt from The Productive Garden Companion by Natasha Morgan
Healthy soil is a living structure. The less you disturb it, the better it performs. No-dig gardening is the practice of building and protecting that structure by adding organic matter on the surface, then letting soil life do the mixing for you. The result is better drainage, steadier moisture, fewer weeds, stronger roots and an easier garden to live with and to love. No-dig visionary Charles Dowding has even put it to the test with ten years of data proving that no-dig gardening is the best style. But you don’t need to be obsessive about it. Some crops, such as potatoes (Solanumtuberosum), have to be dug from the soil. That’s the reality of growing them.
For decades, Charles has shown that the lightest touch can produce the most abundance. No-dig gardening isn’t a trend; it’s a commitment to soil structure, fungal networks and time saved on weeding. Here’s how no-dig gardening works:
- It protects soil crumbs and fungal networks so water and air move freely.
- It feeds the soil community steadily with compost and mulch.
- It keeps weed seeds buried where they are less likely to germinate.
- It turns routine care into a light seasonal rhythm rather than heavy reworking.
- Compost is the engine: thin, regular top-dressings maintain a steady ‘diet’.
- You can start anywhere, even on lawn or rough ground. Lay down cardboard, add a layer of compost and a layer of mulch, then plant into the bed.
My no-dig beds read as finished elements: consistent edges (timber and steel), permeable paths for quiet movement, and a mulch plane tying productivity to beauty.
Charles Dowding’s no-dig work has long shaped the way I think about soil and structure, not just in theory, but in how I live with my garden. In speaking with him, what struck me was the clarity and humility he brings to decades of careful observation.
What follows is drawn from that exchange: grounded, practical and permission-giving.
Charles Dowding
No-dig gardening as layered care
Charles Dowding has spent more than 40 years refining and teaching no-dig gardening principles, pairing a grower’s intuition with careful trials at his Somerset garden, Homeacres. Side-by-side beds there have shown a consistent yield advantage for no-dig gardening of roughly 12–13 per cent over dug beds, results he shares to demonstrate that surface feeding and minimal disturbance build living soil and productivity.
At the heart of his method are two simple ideas. First, disturb the soil as little as possible. Second, feed soil life from the top with compost and mulch. You can still lift potatoes (Solanum tuberosum), make a planting hole for a tomato (S. lycopersicum) or set a tree correctly, but you avoid needless excavation and subsequently keep biology intact.
Charles is equally clear about common misunderstandings. Cardboard is a tool for smothering weeds at the start, not an annual requirement. An initial 10–15 centimetres (4–6 inches) of compost is an investment to establish a clean, fertile surface, not a yearly prescription. Layering undecomposed materials in wet climates invites slugs, so ensure that the surface comprises a finished compost mulch rather than a lasagne of raw organics.
His trials also test widely repeated rules. A ten-year comparison found that forking to aerate soil produced about 8 per cent less food than undisturbed no-dig strips, likely from breaking fungal and bacterial networks. Separate measures at Homeacres recorded higher soil carbon in no-dig beds than in dug ones, reinforcing the long-term fertility gains of leaving soil structure to grow.
What we learn from Charles is as much about practice as perspective. Curiosity beats routine. Observe first, intervene last. In design terms, a composted surface reads as one material across beds, while paths and edges carry the structure. Layered soil care then becomes visible rhythm as well as function. These are the key takeaways from our conversation:
- No-dig gardening involves minimal soil disturbance plus feeding soil life from the surface, applied with common sense rather than rigid rules.
- Use cardboard only to smother weeds when establishing beds, not every year.
- Start with a generous compost top dressing, then maintain with lighter annual additions (2–3 centimetres; 3/4–11/4 inches) rather than repeating the initial depth.
- Homeacres trials show no-dig beds yield 12–13 per cent more than dug beds, with higher soil carbon in no-dig beds.
- Forking to aerate reduced yields in Charles’s ten-year strip trial, pointing to the value of leaving soil networks intact.
- Adapt the method to the climate. In wetter regions, avoid thick raw-material layers (such as straw or hay) that can harbour slugs; favour a 5–7-centimetre (2–23/4-inch) layer of finished compost as mulch.
- Question inherited rules, such as fixed four-year rotations. Observe your site and respond accordingly.
‘You will gain time . . . and you will gain harvests. So it’s just win–win.’

Setting up and maintaining a no-dig bed
To create a new bed on lawn or rough ground:
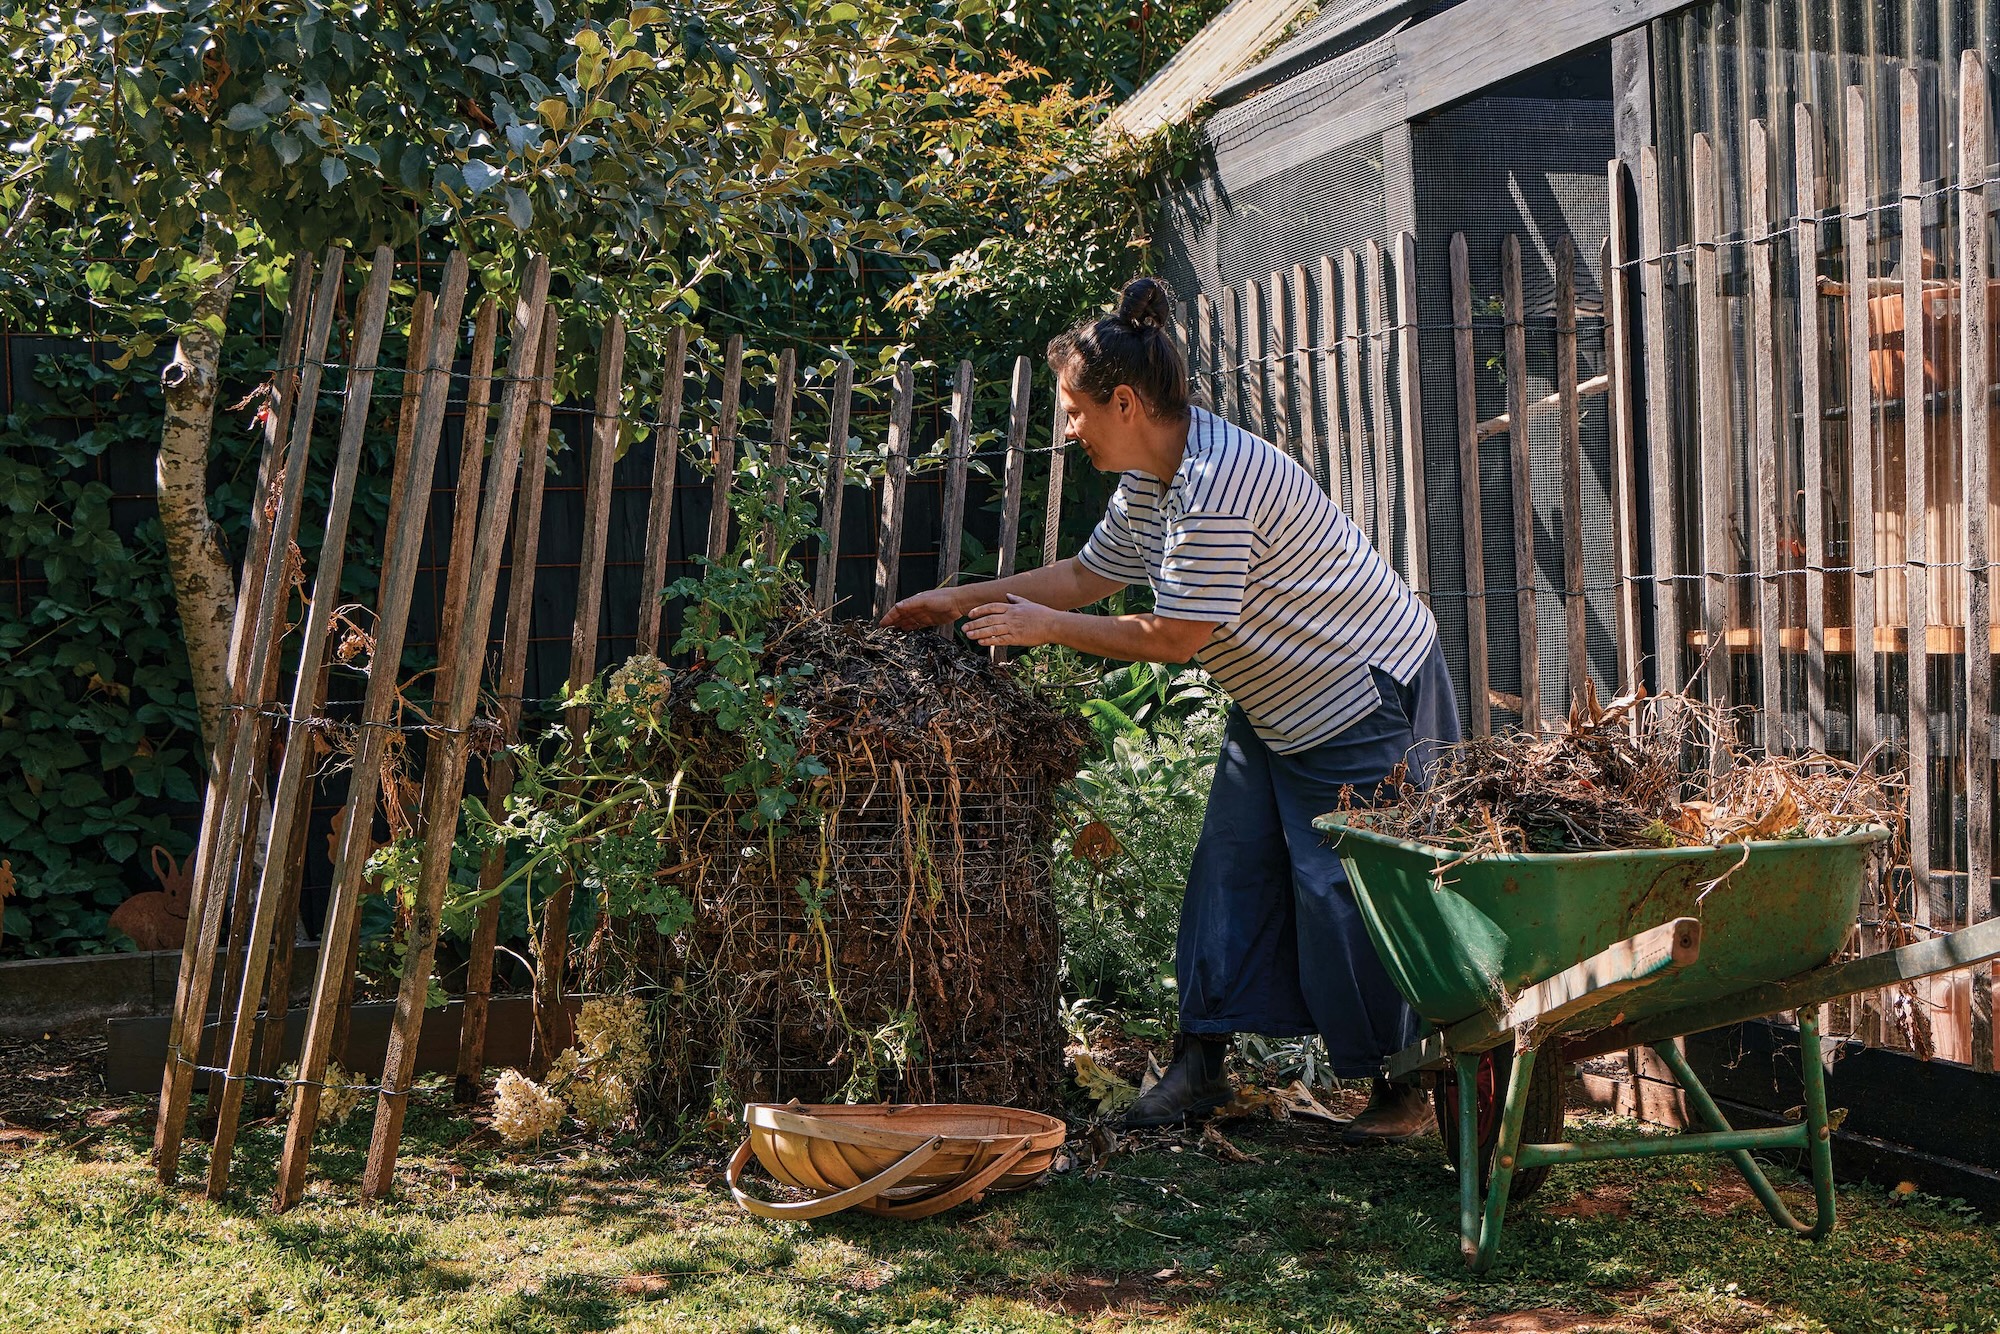
- Mow or slash the grass down to the base. Leave the roots in place to feed the soil as they decay.
- Lay out a well-soaked layer of plain cardboard (no tape or glossy print), with overlaps of 10–15 centimetres (4–6 inches). This will smother any remaining grass and weeds.
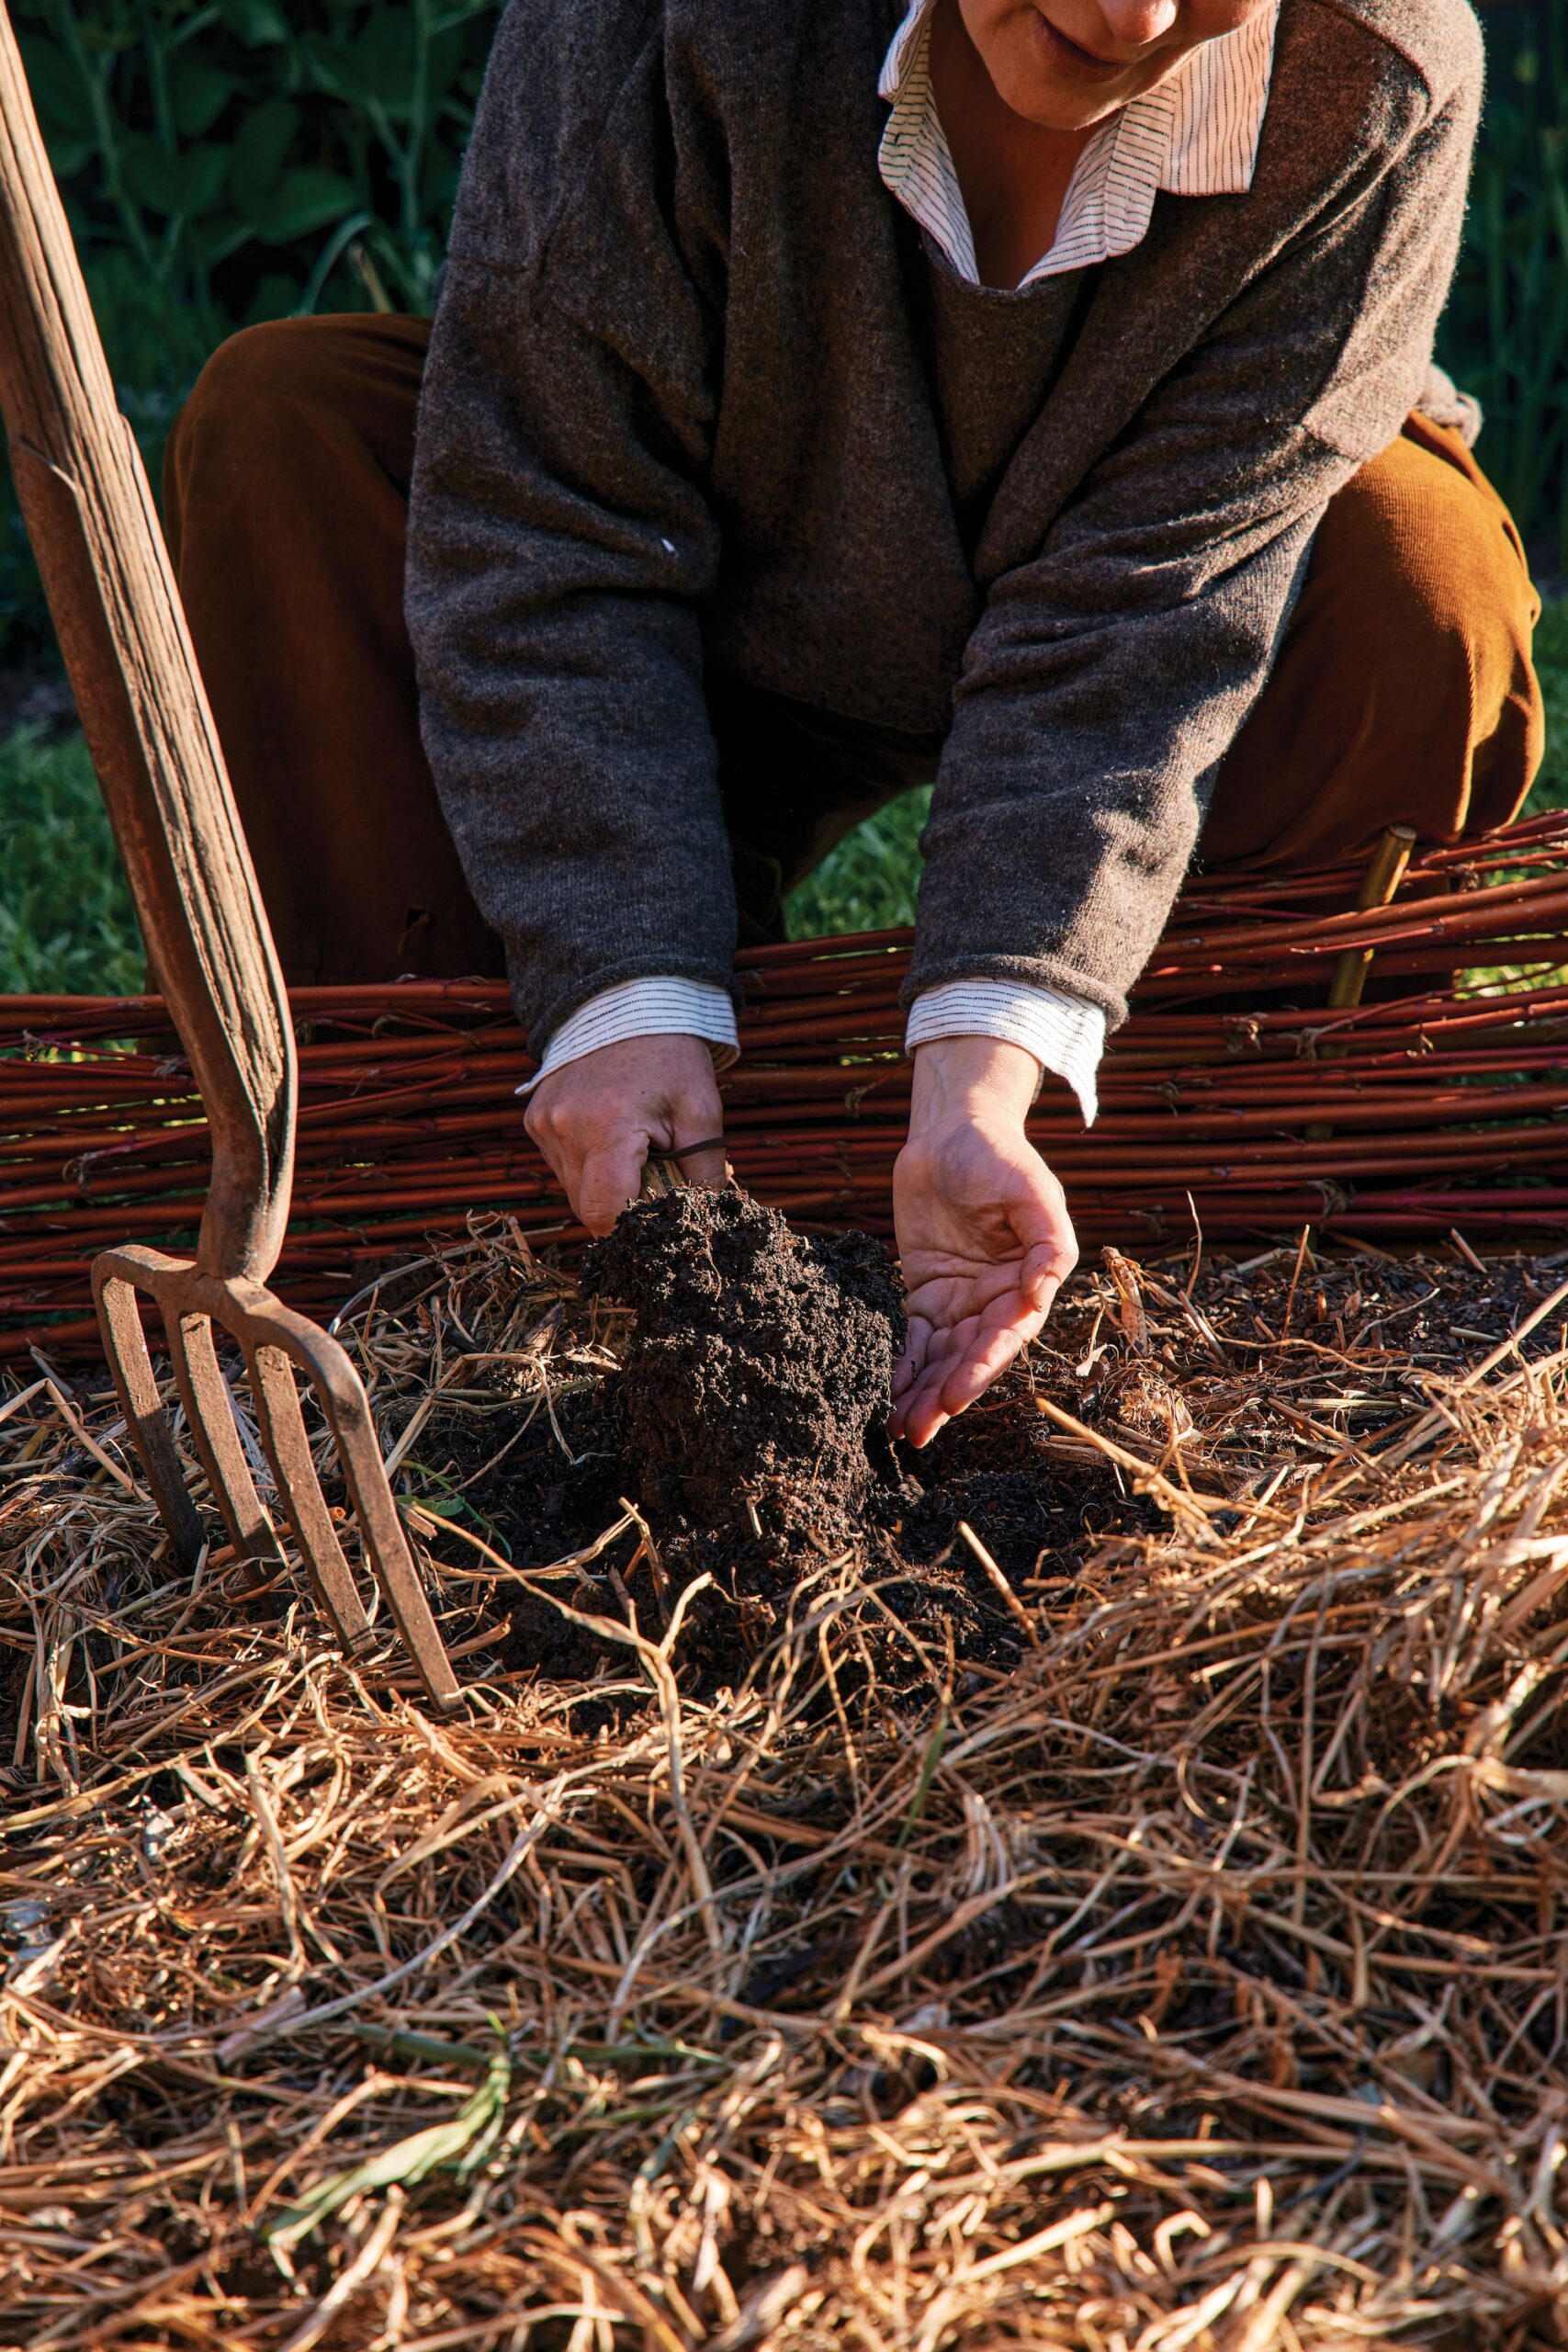
- Add 10–15 centimetres (4–6 inches) of mature compost as the initial surface.
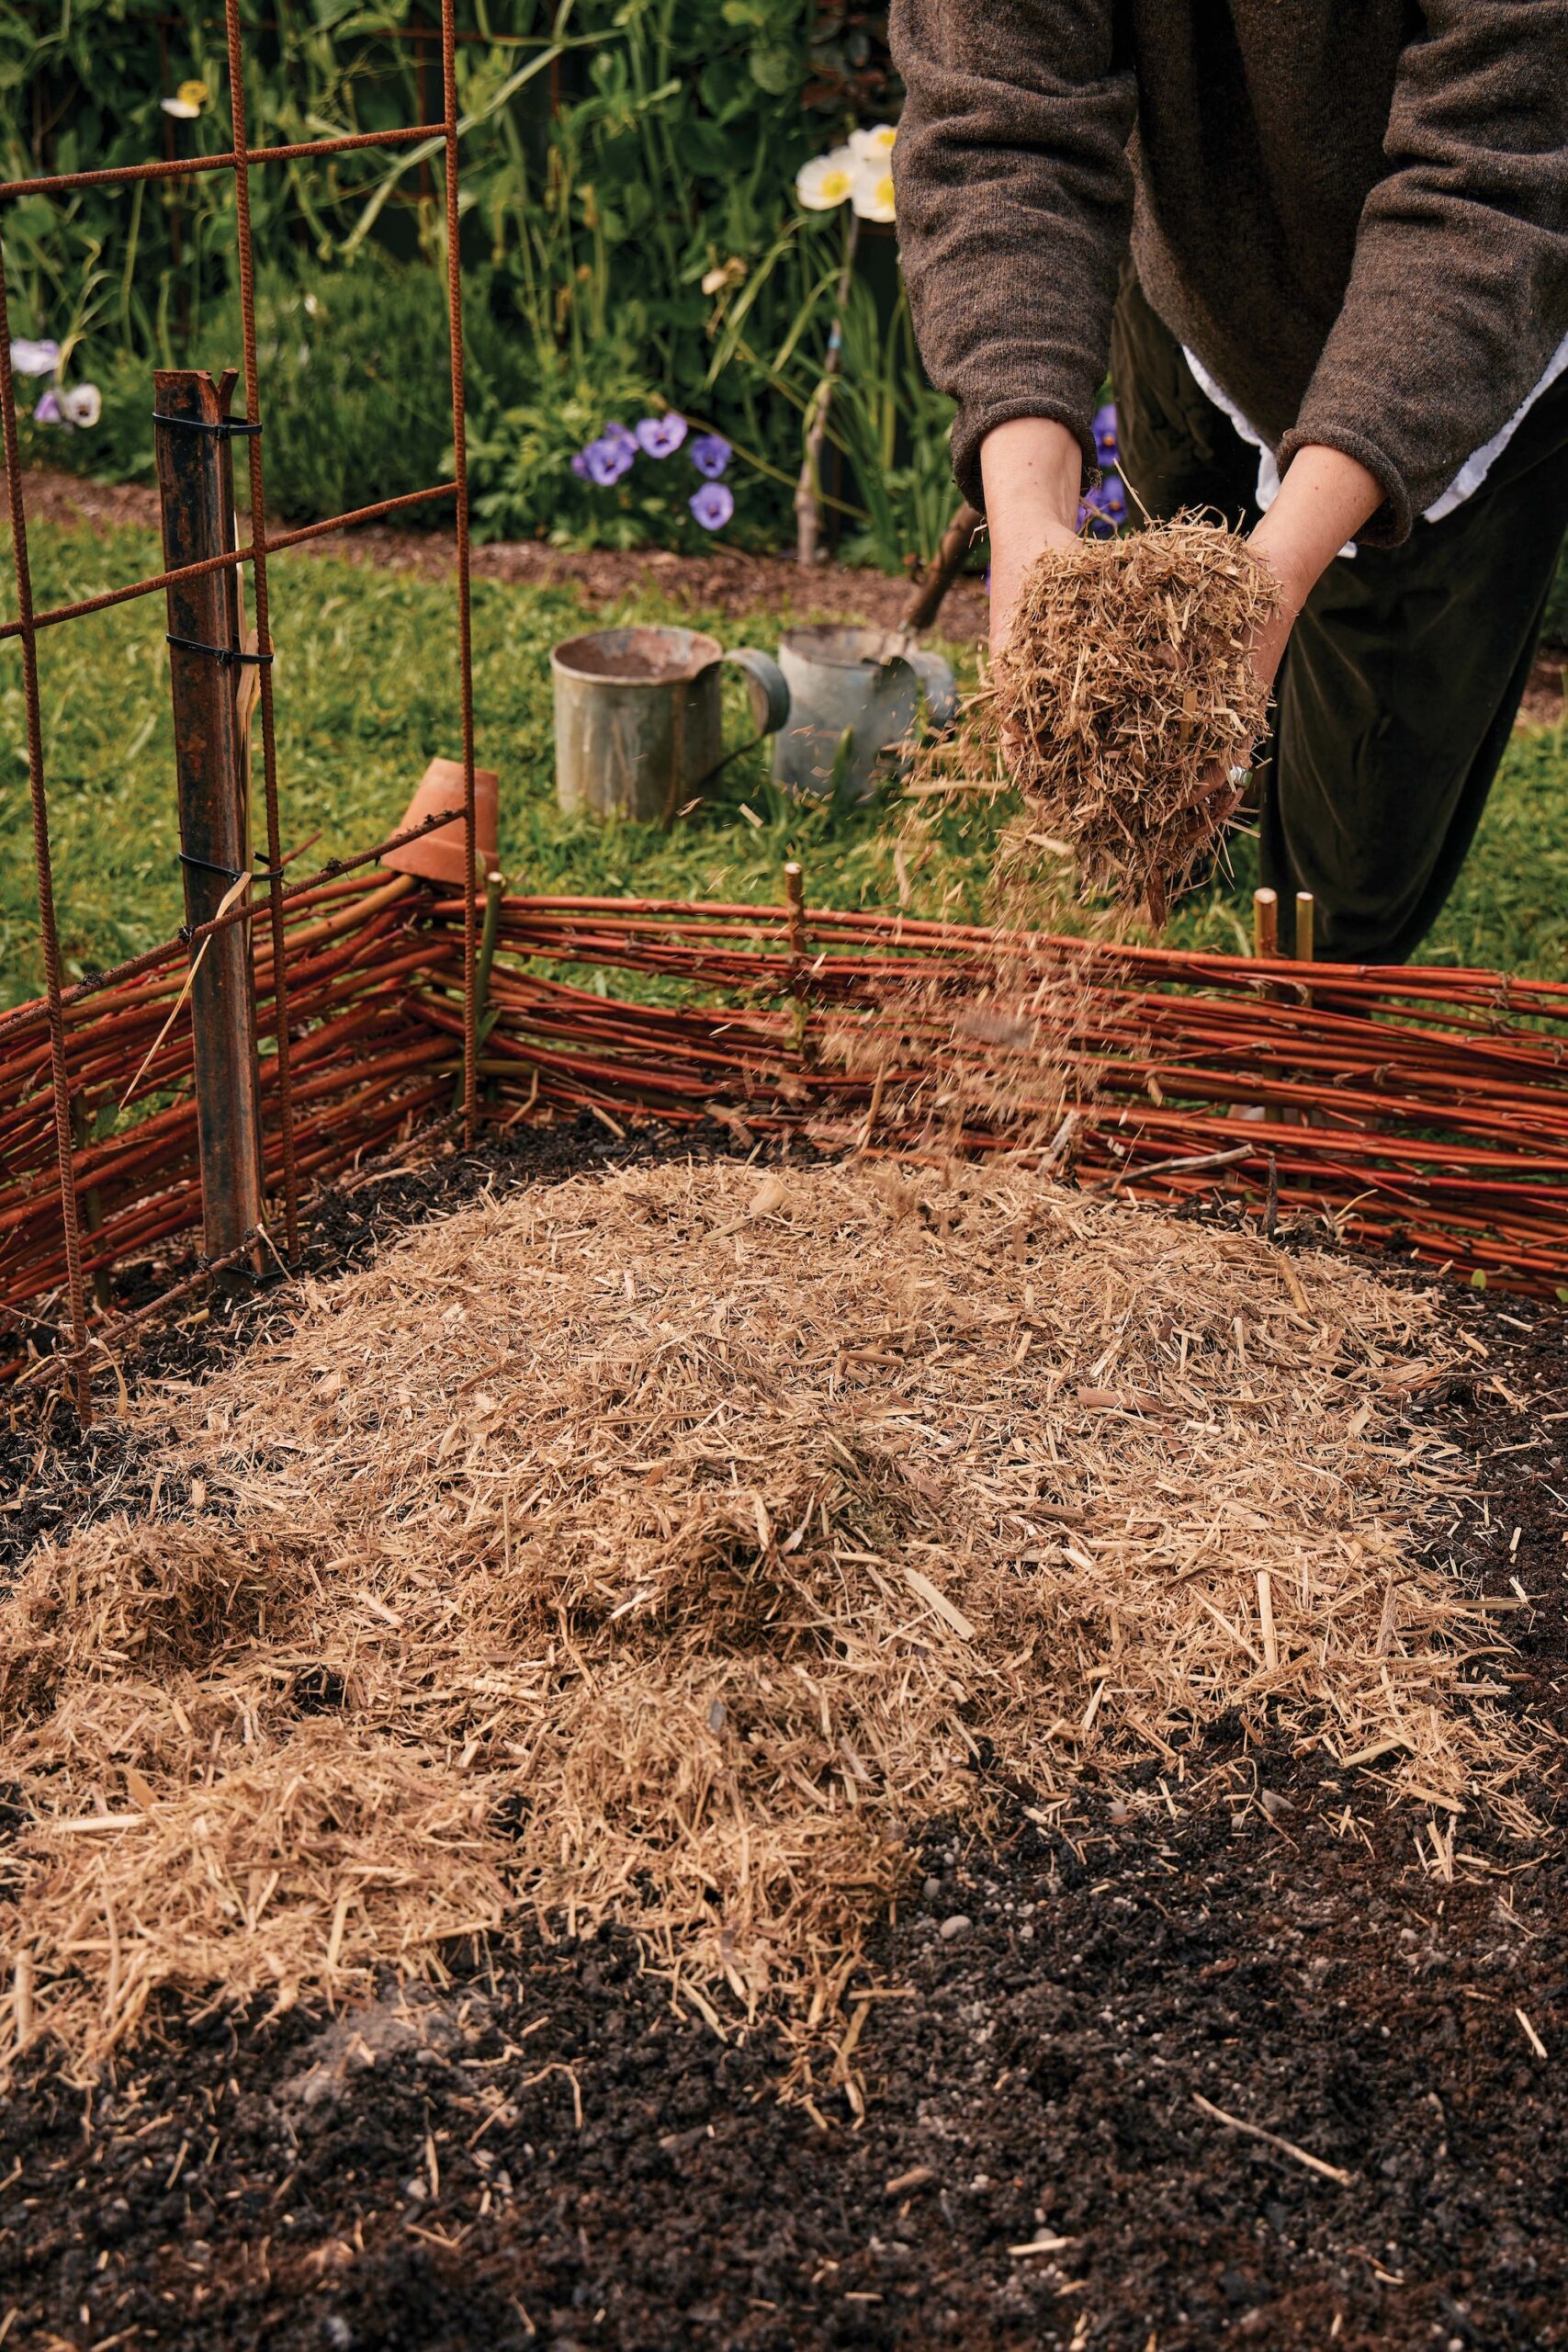
- Top with 5–8 centimetres (2–31/4 inches) of mulch that suits your climate and crop-rotation plan.
To plant in to a no-dig bed:
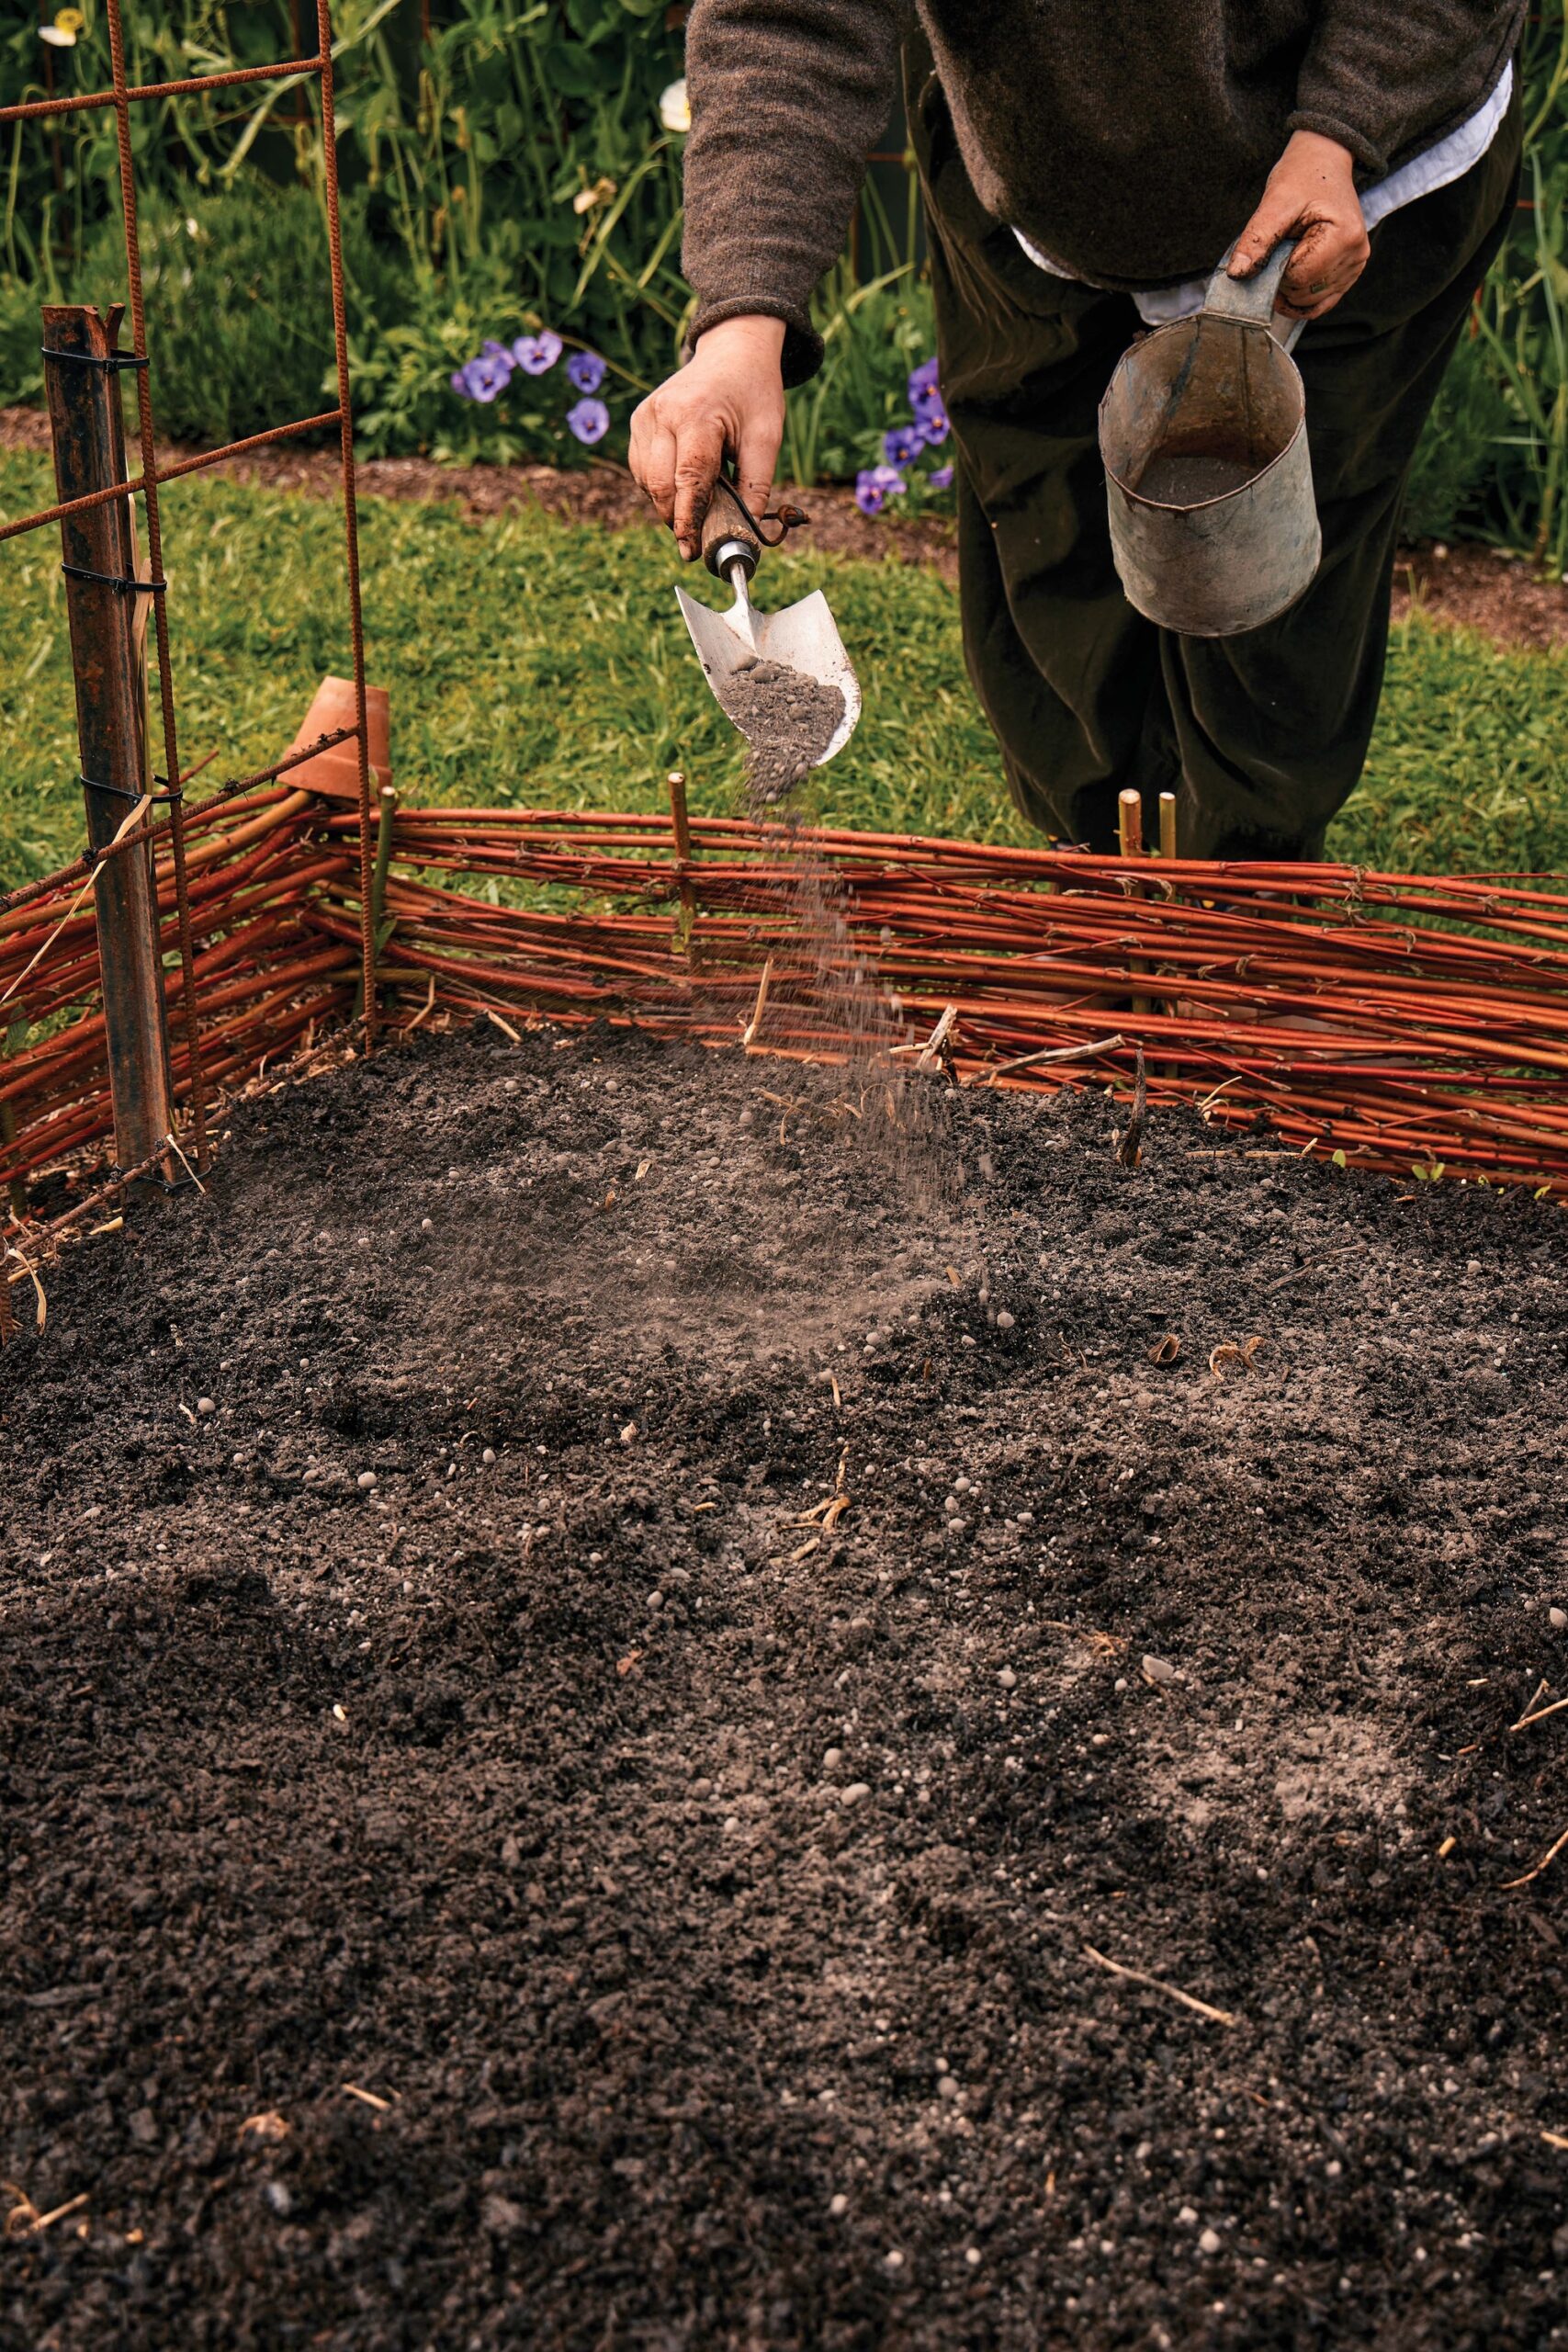
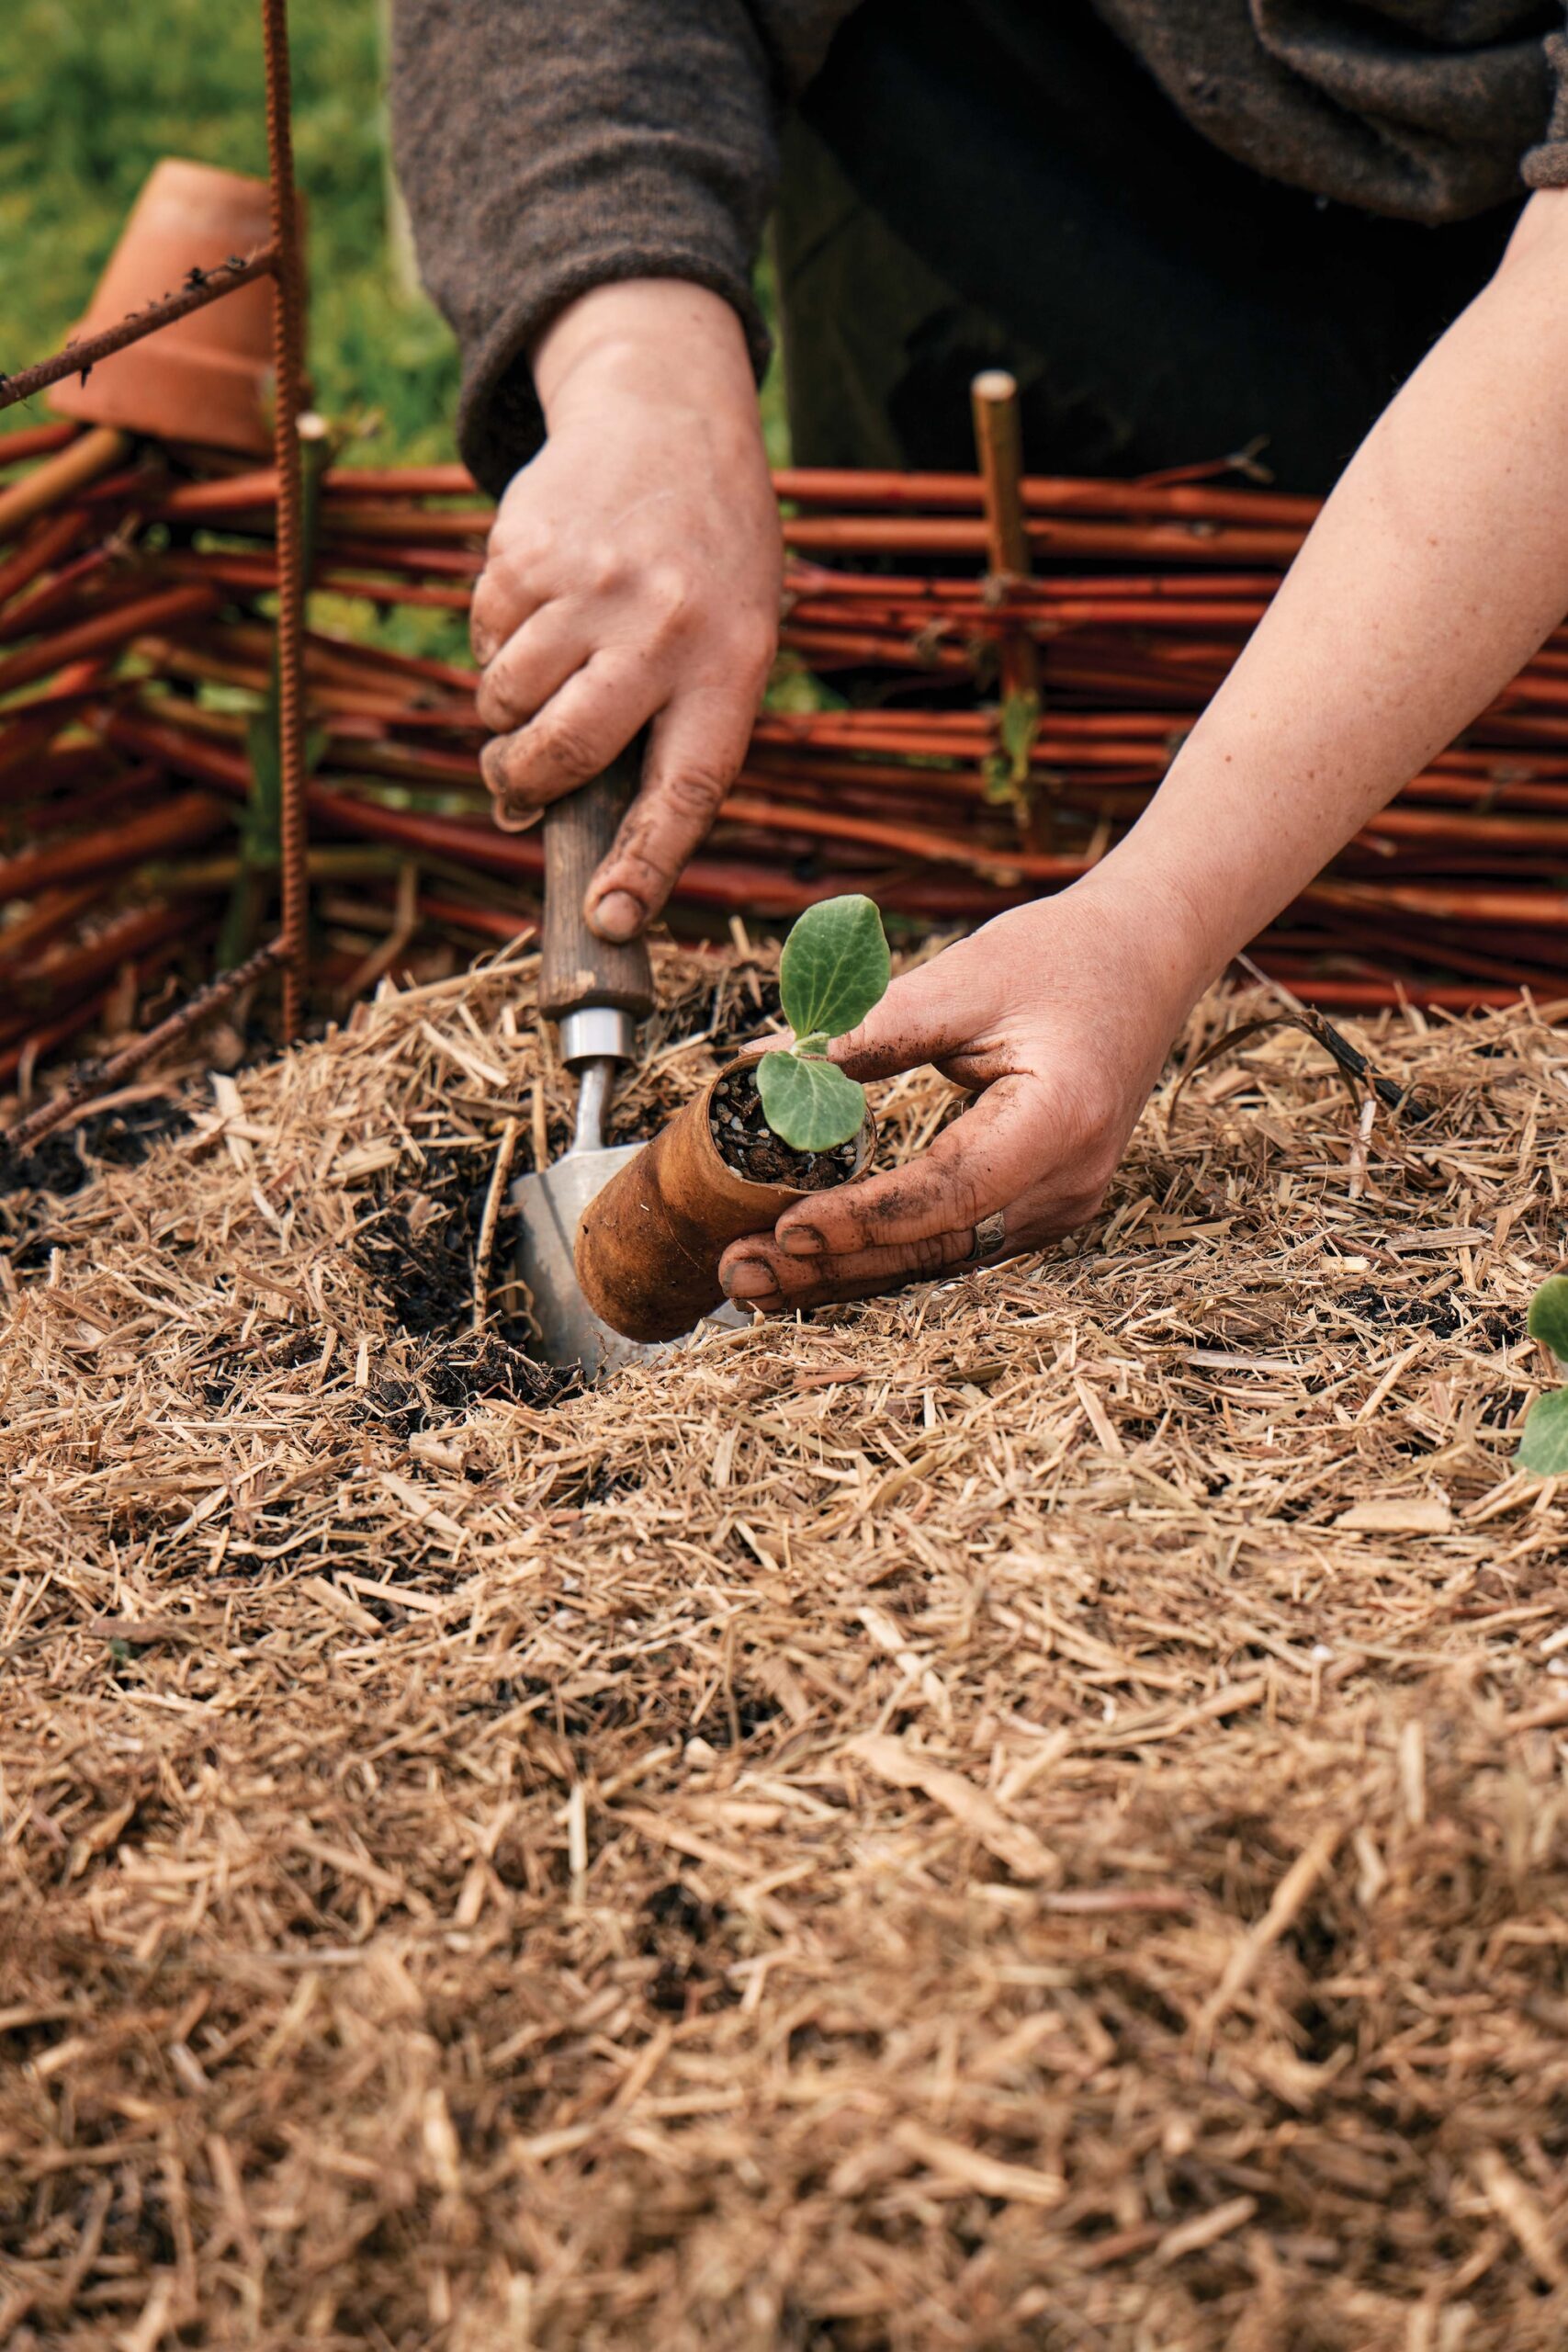
- Seedlings: Part the mulch, tuck the seedling roots into the compost layer, then return the mulch loosely.
- Small seeds: Pull back the mulch to create a narrow strip of exposed compost. Scatter the seeds, and water them in. Once the seeds have grown into seedlings, mulch them very lightly with fine mulch.
- Large seeds: Use your finger or dibber to create holes through the mulch and into the compost below. Place one seed into each hole, cover it with soil or compost and water it in, then return the mulch.
To renew an established no-dig bed:
- Once or twice a year, top-dress with 2–5 centimetres (3/4–2 inches) of mature compost.
- Keep the surface covered with living plants or mulch.
- Avoid empty beds. If a bed needs to rest, then sow a quick green manure or lay a light protective mulch over it.
Materials you can use in your no-dig bed, and why:
- Mature compost is the primary feed; apply it before planting or as a 2–3-centimetre (3/4–11/4-inch) top dressing. Aim for a material that smells earthy (like mushrooms) rather than sour, ammonia-like or rotten.
- Use a 5–10-centimetre (2–4-inch) layer of leaf mould as a gentle conditioner to improve moisture-holding.
- Place a 5–10-centimetre (2–4-inch) layer of straw or shredded prunings as a protective blanket. Choose clean straw that is free of seed heads; soaking straw in water for a week can start breaking it down and encourage any seeds to sprout, so you can remove them. (Avoid straw in wet climates because it can harbour slugs and snails.)
- Well-rotted manure is ideal for hungry crops; use it sparingly and always cover it with compost or mulch.
- Avoid fresh lawn clippings in thick layers because they can mat and become anaerobic. Use thin layers, mixed into other mulches.
Troubleshooting for no-dig beds
Here are the most common problems associated with no-dig beds, and what you can do about them:
- Slugs and snails in thick mulch: Use simple barriers around seedlings, create dry zones around slug-prone crops, and encourage predators by adding habitat. Eggshells or coffee grounds make great slug and snail deterrents. Beer traps attract slugs, which then drown. I also use iron-based snail pellets sparingly; they are an eco-friendly and animal-friendly alternative for controlling infestations.
- Nitrogen drawdown after heavy straw mulching: Nitrogen drawdown occurs when microbes use up nitrogen in the soil while breaking down carbon-rich materials such as straw or sawdust, leaving less available for plants. To remedy this, add a thin layer of compost under the straw, or water the bed with diluted worm liquid.
- Persistent perennial weeds under the cardboard: Double the size of the overlaps, leave the cardboard in place for a longer period before adding soil or mulch, and hand-pull any shoots that appear.
- Waterlogging on heavy clay: Increase the amount of organic matter, raise the bed height by a few centimetres, add surface drains in winter, and keep off the soil when it is wet (use paths or boards to spread the weight).
- Slow soil warming in spring: In cold or persistently wet climates, thick mulch can delay soil warming. Pull back mulch temporarily in early spring to let the soil absorb warmth, then replace it once growth is underway.
Climate and scale adaptations
These quick notes will help you no matter where you live:
- Hot and dry climates: Use deeper mulch. Ensure that there is afternoon shade for tender crops. Deliver water slowly to the root zone.
- Cold and wet climates: Build no-dig beds higher, and improve drainage. Hold back on spring mulch until the soil warms.
- Balcony or courtyard: Your containers become your no-dig beds. Top-dress with compost, keep the surface mulched with fine materials, and refresh little and often.
- Larger plots: Repeat basic modules of bed and path so maintenance stays human-scaled.
Design integration and beauty
No-dig gardens can be elegant and visible. Use a consistent material palette for edges if needed, and incorporate compost bays and worm tunnels to blend with the garden’s language. Let mulch become a ground plane that visually sets off foliage and bloom.
In highly visible zones, choose a finer textured mulch for a considered finish, and repeat it so the space feels unified. Paths should be permeable and generous so that moving through the garden is effortless.
The Productive Garden Companion by Natasha Morgan
Images and text from The Productive Garden Companion by Natasha Morgan. Photography © Emily Weaving 2026. Murdoch Books RRP $65.00