
— An abridged excerpt from Growing Vegetables: A Simple Guide for New Zealand Gardeners by Sarah O’Neil
This is the most anticipated month of the whole calendar for the keen gardener. Finally, winter has been overthrown, and spring is now upon us with its daffodils and tulips, baby lambs and the hope of an entire season resting on its fragile shoulders.
But be warned, spring is a tumultuous season with the most unreliable weather of all. One moment it seems like the heady warm days are with us and it doesn’t seem possible that it could change anytime soon. The next moment we are thrust back into the freezing cold gloom of winter and any gains made in the garden can quickly be lost. Spring is not your friend — don’t trust it!
September vegetable gardening: What to do now
Sow seeds
- Indoors — beetroot, broccoli, cabbage, cauliflower, celery, cucumber, eggplant, leek, lettuce, melon, peas, peppers, potatoes, silverbeet, tomatoes and turnips
- Outdoors — beetroot, broccoli, cabbage, carrot, cauliflower, leek, lettuce, peas, potatoes, radish, silverbeet and turnips
Plant seedlings
- Beetroot, broccoli, cabbage, cauliflower, celery, leek, lettuce, peas, potatoes, silverbeet, strawberries and turnips
Harvest
- Beetroot, broccoli, cabbage, carrot, cauliflower, celery, leek, lettuce, peas, radish, silverbeet and turnips
Tasks
- Keep weeding to remove all trace of the weeds.
- Continue preparing the garden and enriching the soil ready for planting.
- Do not cultivate wet, boggy soils.
- Boost existing plants with a feed as the weather begins to warm up.
- Apply a deep mulch around existing plants.
- Control slugs and snails.
- Make sure greenhouses are well secured and have good airflow on hot days.
- Construct sturdy frames and structures to support vegetables.
- Install irrigation and test it works.
Getting started for spring in your vegetable garden
Sowing seeds for a fabulous season
Surprisingly enough there is a lot of advice out there on how to get the best out of sowing seeds. It can seem daunting, but it is actually quite simple. The bonus is there is a lot more variety to choose from, it is much more affordable than seedlings, and a lot more rewarding. It gives you something to do while you wait for the weather to be warm enough to actually plant things in the garden.
The best advice is: Don’t start too early!
In your enthusiasm to get going, it can be tempting to start everything at once as soon as you can. This isn’t such a good idea as each plant has different requirements around getting started.
Peppers, eggplants and celery really appreciate a long head start in late winter, so they are big and strong enough to be planted out in the garden once there is no longer a risk of frost.
However, pumpkins, zucchini, cucumber and beans only really need 4–6 weeks to get going before they outgrow their pots and start flowering on your windowsill.
The seed packet may say it can be sown from early spring, but it may not be the case in your area. If you sow seeds too soon, you will be left with large seedlings desperate to go out into the garden well before the conditions are suitable outside. Most seedlings need about 6 weeks to go from seed to being a good size to plant outside in the garden.
Traditionally the dates where the risk of frost has passed: in the North Island it is Labour Weekend in October and in the South Island it is Canterbury Show Weekend in November, although these dates can shift from time to time by almost a week!
There is always a risk of frost beyond these dates, so it is important to watch the weather forecast.
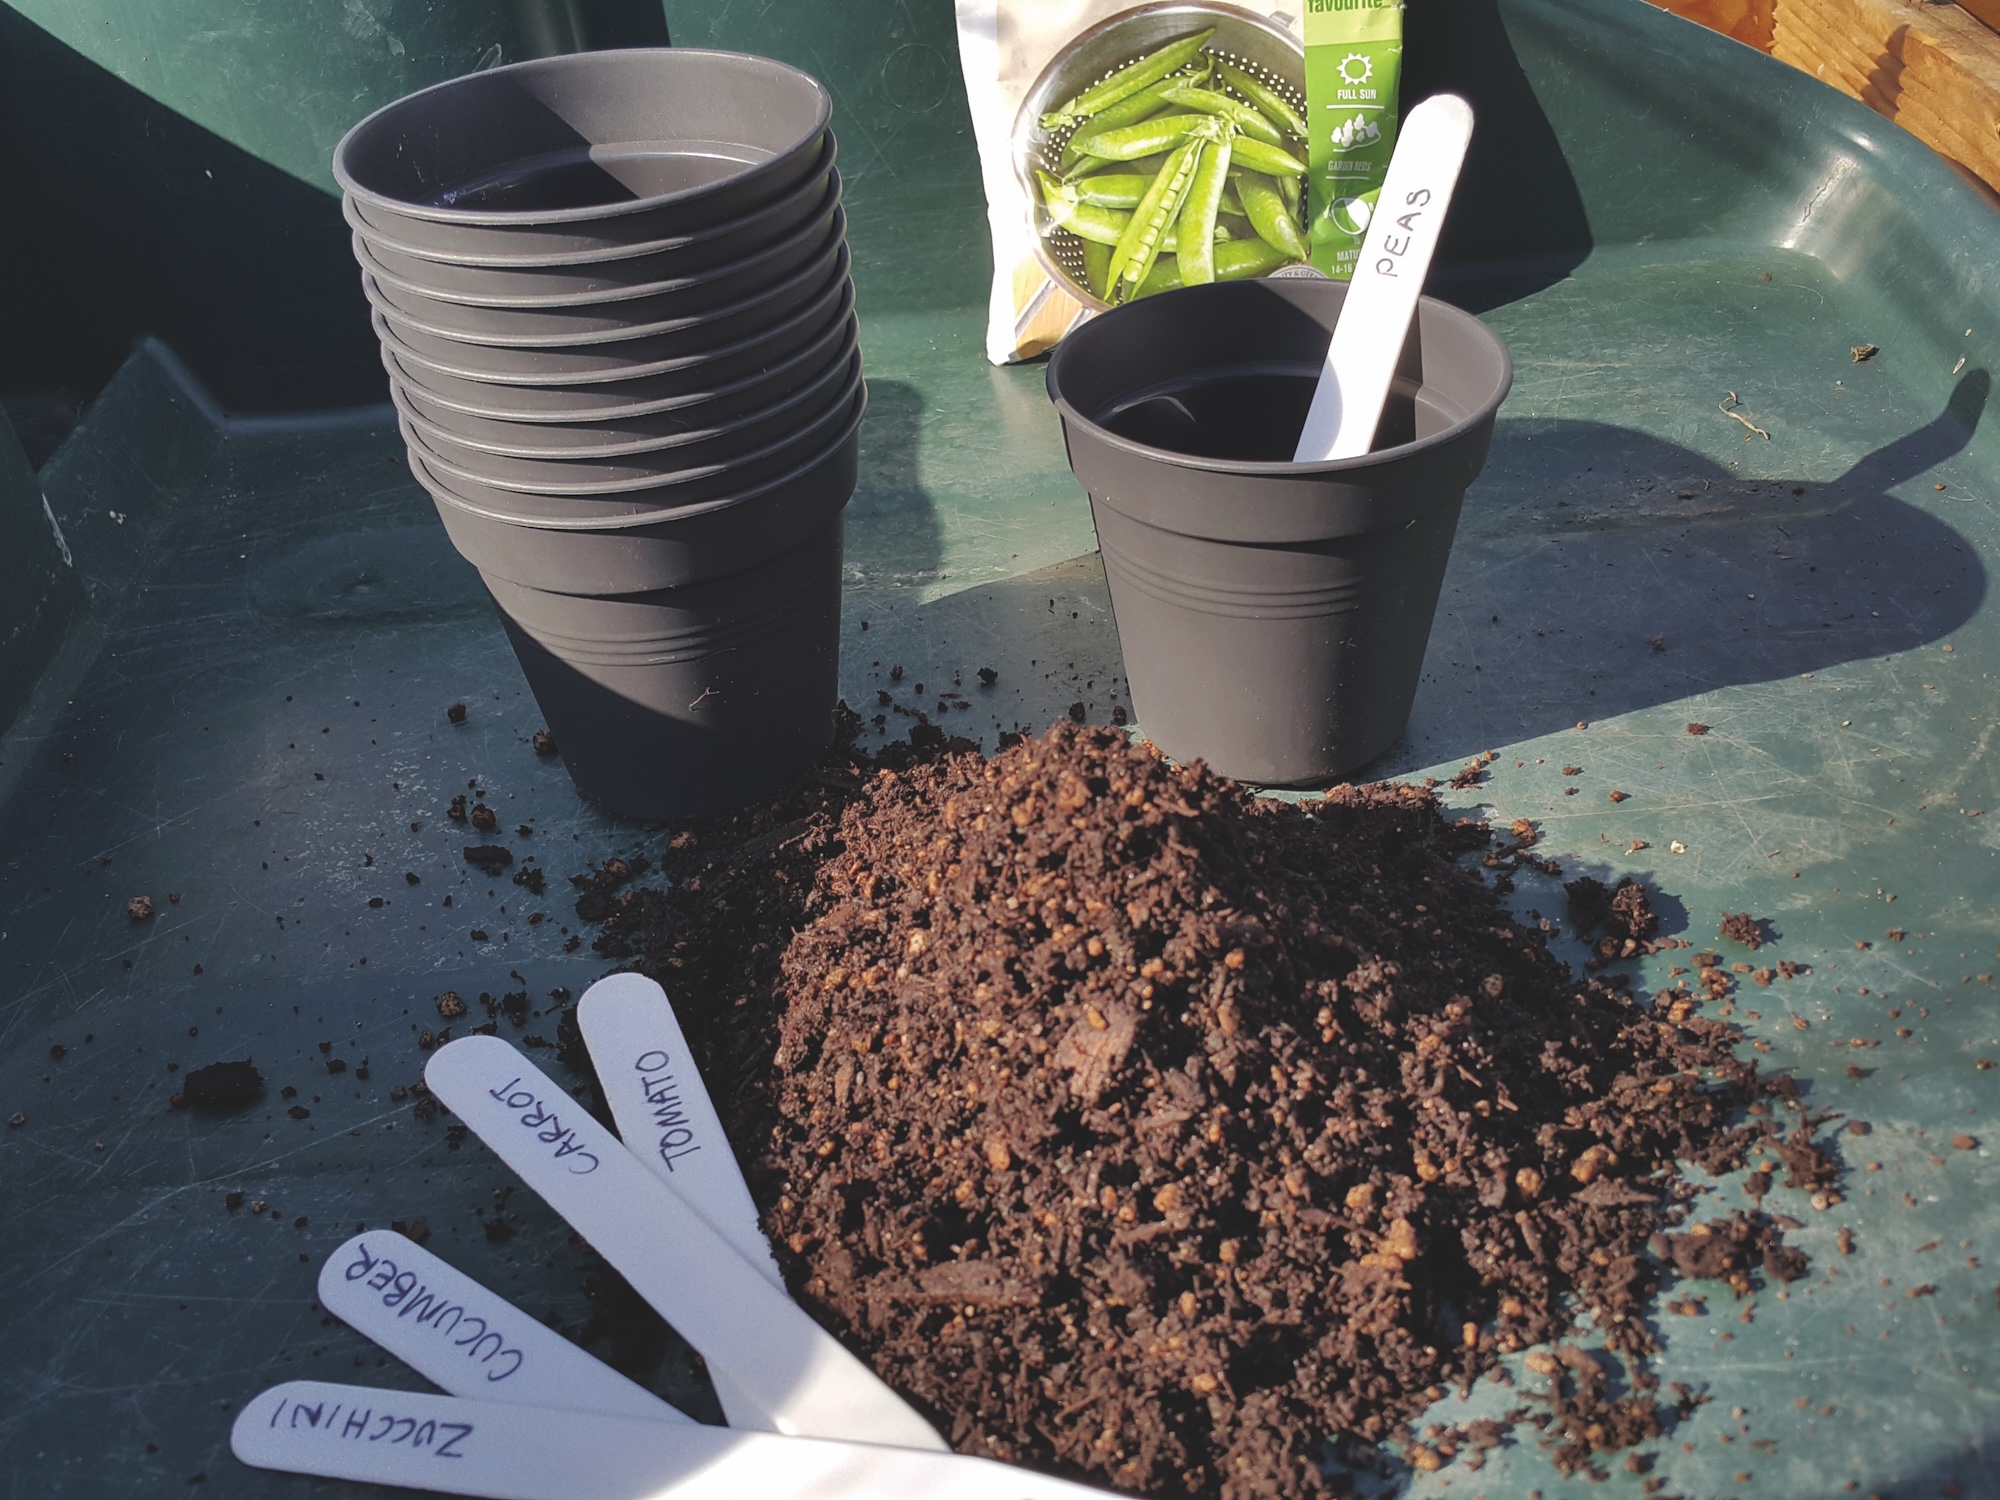
What you need to sow seeds
Containers —
All you need is a suitable container with holes in the bottom for essential drainage. They can be purchased specifically for the task or upcycled from your recycling bin. Just make sure your containers are very clean. Hygiene is actually really important. They don’t need to be very deep — about 5cm is a good depth for most seedlings.
Paper and cardboard pots are good alternative containers, but they can ‘wick’ the water away from the soil.
Soil —
Seeds don’t need a full nutrient-rich soil. Everything they need to get started is already in the seed, like a packed lunch. If the soil is too rich it can harm the fragile seedling. It is best to start with a low nutrient soil blend. I would recommend a specialist seed raising mix to grow your seeds as it is free from pests and disease and is made of exactly the right mix of ingredients that will help your seeds germinate successfully. Some even contain a mild fungicide to prevent premature death of your seedlings. It has the perfect texture and is light and free from large lumps so the seedlings can break through to the surface easily. Soil straight from the garden is not suitable for indoor sowing and not recommended at all.
Labels —
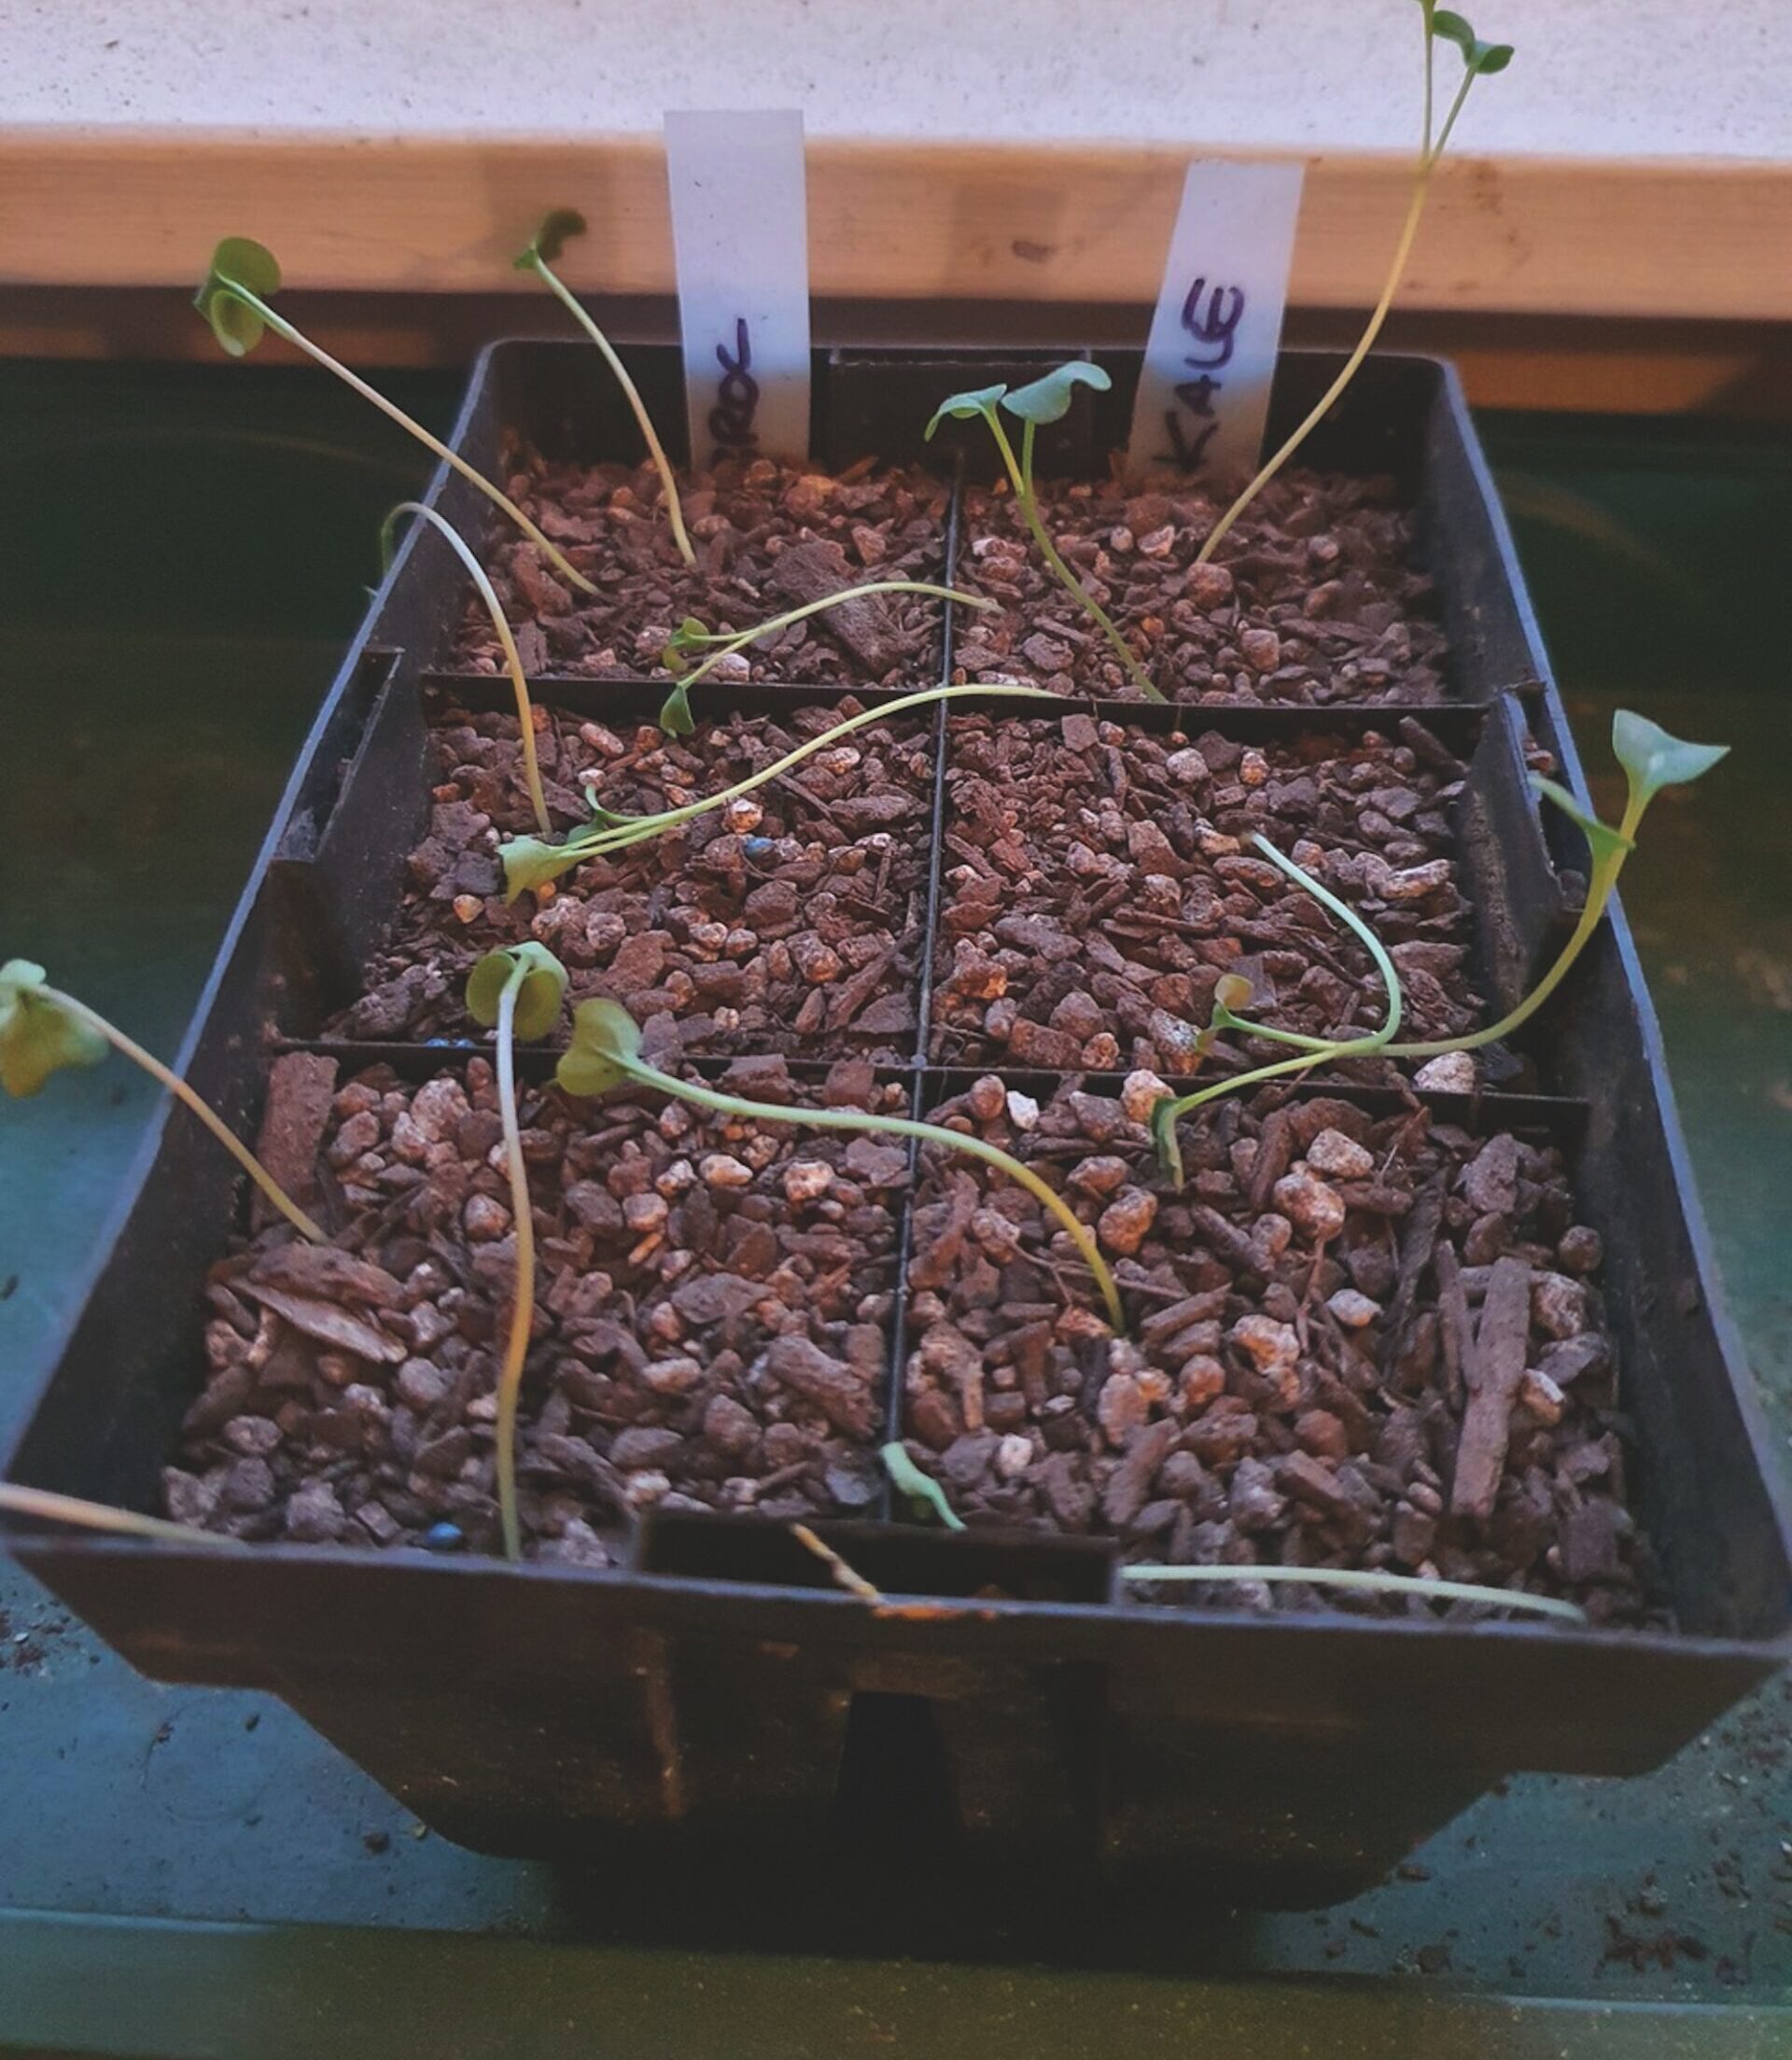
Importantly, don’t forget to label your seeds.
How to sow seeds
1. Fill your container with moist seed-raising soil and gently firm down.
2. Sow your seeds. Lightly scatter seeds on the soil, pop one or two seeds in a hole or sprinkle thinly in a row depending on the size of the seed and the instructions on the packet.
3. Cover the seeds with seed-raising soil to the right depth. Check the seed packet for exact instructions. The general guidelines are as deep as three times the height of the seed.
4. Firm gently to make sure the seed has good contact with the damp soil so it can begin to grow.
5. Put the container in a warm place and wait for the seedlings to emerge. Most vegetable seeds should sprout within 14 days, although some may take longer.
Don’t overdo it
Space out the seeds well, as crowded seedlings will have reduced airflow around them and are at risk of dying.
You don’t need to sow too many more than you need. If you want one plant, sow four seeds — an heir and a spare and an extra set of seeds. Once all danger of frost has passed and everything you need is growing well, you can give your spare seedlings away to friends and family. Watch out for damping off. This is a disease caused by a range of different fungi that live in the soil and kills small seedlings in overcrowded situations with poor airflow, or if it is too wet or cold.
Watering
Keep the soil moist. Not too wet and not too dry. A spray bottle is really useful here and should be used little and often. If it gets too wet your seeds can rot and seedlings may die. A plastic cover is a great way to keep the moisture in the seed tray. Once the seedlings appear, open the vents or remove the cover completely for good air flow and to avoid a humid environment that can invite fungal diseases.
Warmth
Heat mats can help provide consistent warmth for germinating seeds but are only needed for seed starting. Remove the seed tray from the heat once the seedlings emerge.
Light
When the seedlings emerge, put them in a warm, sunny spot and continue to keep the soil damp. Seedlings without enough light will go yellow and leggy (long, thin and weak). Leggy plants often struggle and are never really healthy.
On a windowsill, turn the pots every day so they don’t lean off in one direction as they grow towards the light. Or pop them in a greenhouse or cold frame.
Putting a mirror behind your seedlings on the windowsill reflects the light from the window back at the seedlings from the other side, and prevents them leaning off towards the light.
Sowing outdoors
Not all plants like being started in pots indoors. Some don’t mind it but prefer to be planted directly into the soil. This commonly applies to carrots, parsnips and other root crops and can affect the way they grow. Check on the seed packet.
Sowing seeds out in the open is quite easy. Make sure the soil is warm enough. Seeds will rot away in cold, wet soil and you will have wasted your efforts. Generally, the temperature you are looking for is about 15°C, but warmer is better. There are always exceptions so look into what your seeds prefer.
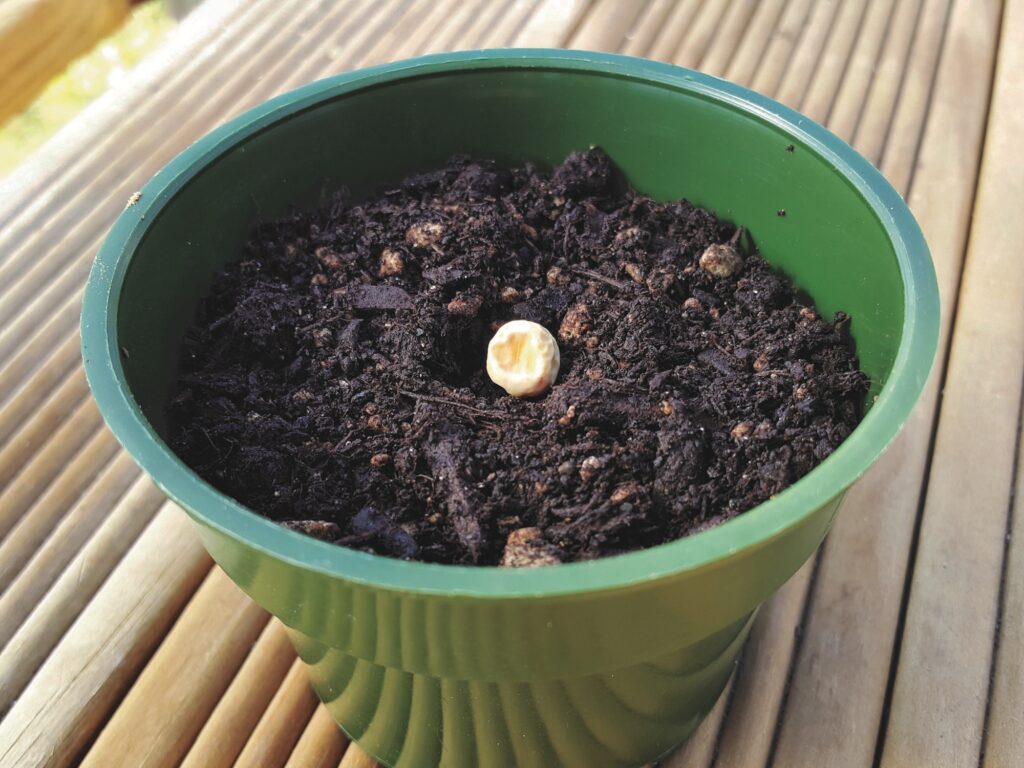
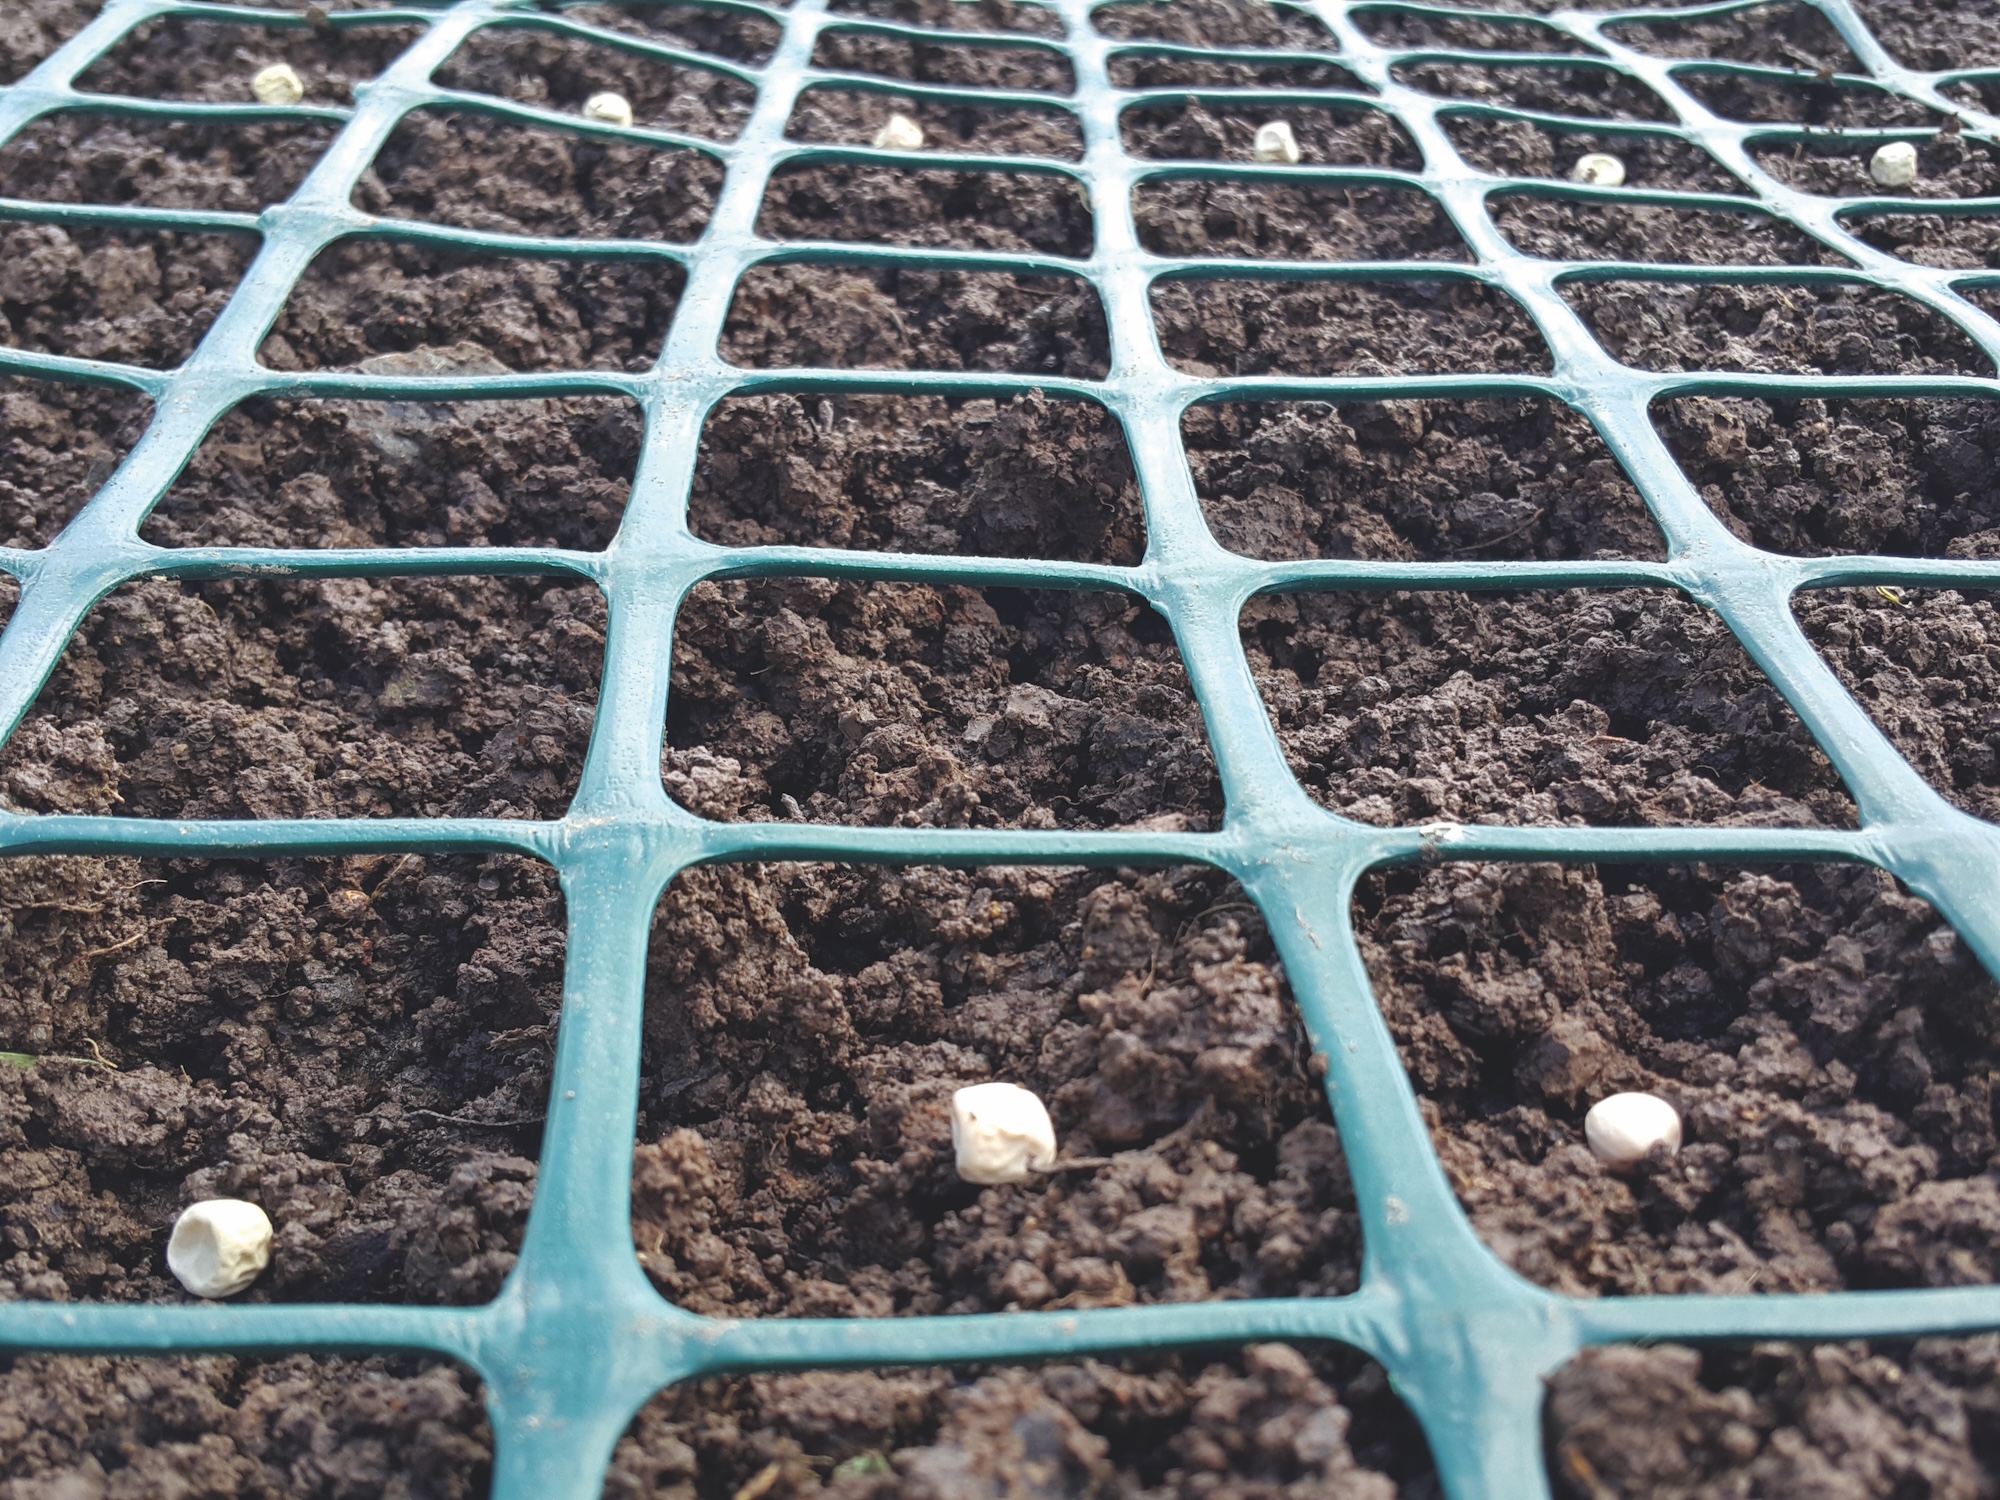
Focus on your spacing, and don’t sow seeds too deep. Peas, beans and sweetcorn can be laid on the soil so you can see the spacing and then you can gently push the seed into the soil with your forefinger to a depth of your first knuckle and pull the soil over the top.
Make sure the seeds have good contact with the soil and water lightly.
Growing Vegetables: A Simple Guide for New Zealand Gardeners by Sarah O’Neil
An abridged extract from Growing Vegetables: A Simple Guide for New Zealand Gardeners by Sarah O’Neil, $39.99 RRP, White Cloud Books from Upstart Press