How to prep your soil and plant garlic. Including maintenance, fertilisation, troubleshooting & harvesting.
Written by Elly Keen.
Traditionally the rule for garlic is to plant on the Winter Solstice (shortest day of the year) and harvest on the Summer Solstice (longest day of the year). But, like many things, there is no hard and fast rule on the subject.
Planting times will differ from region to region, and in New Zealand it can vary from April to August depending on your location and the variety of garlic you are growing.
Seed garlic
Starting with a good quality seed is the best foundation for growing good garlic. Look for reputable suppliers that stock disease and pest-free bulbs. Most commercial varieties are soft necked types that do better in warm climates (these are the ones you see braided for storage).
However, part of the fun of growing garlic is experimenting with different flavours and unique breeds. Look for stockists, like Koanga Institute, that sell a range of heritage varieties. Many heirloom varieties are hard-necked which do well in cold climates.
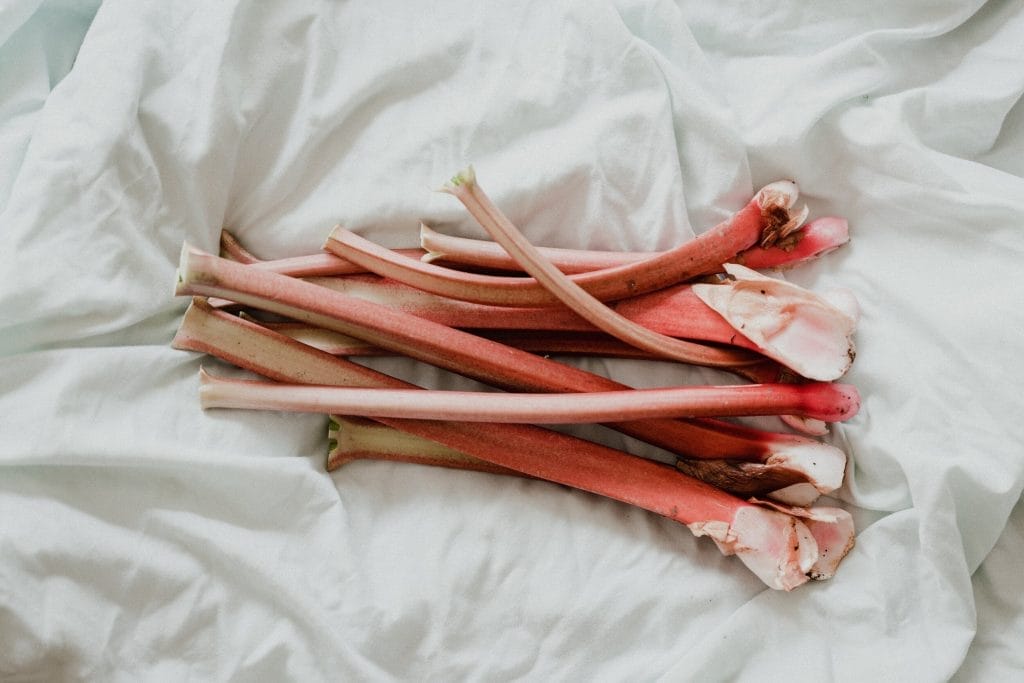
After receiving your bulbs it’s best to divide the seeds (garlic cloves) up and use the smaller ones for cooking, reserving the large cloves for planting. These will grow the biggest and best garlic bulbs by the end of the season.

How to prep your soil and plant garlic
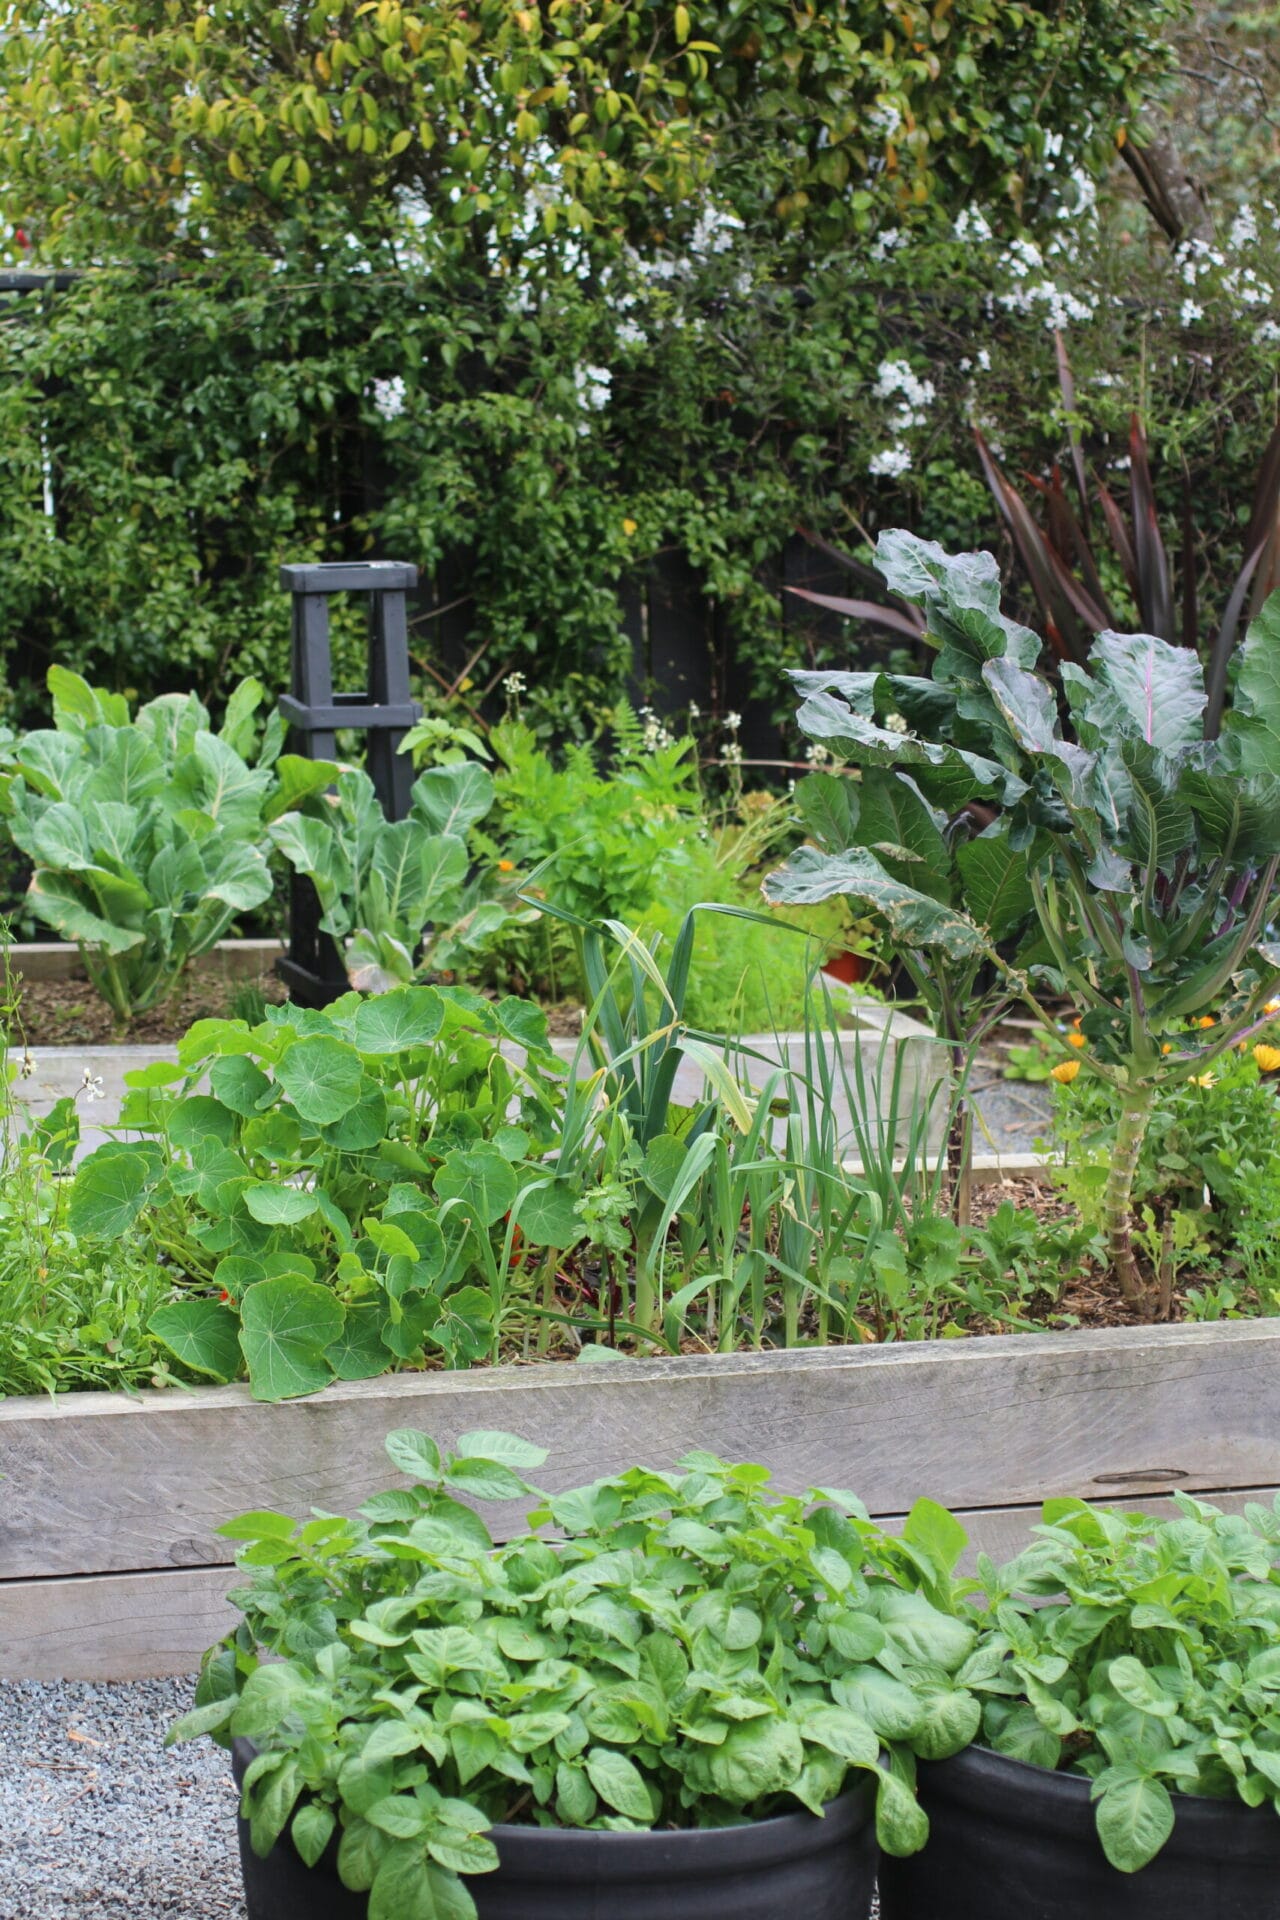
Garlic are hungry feeders, meaning they require a lot of organic matter throughout their growing period. You can prep the bed with compost, well-rotted manure, sheep pellets or worm castings if you have some.
Spacing the seeds out at the right distance is a balancing act – too far and the weeding will become a taxing job over the season, but too close and the garlic’s growth may become inhibited by its neighbour.
Plant each clove pointed end facing up, about 10cm deep and spaced 15cm-20cm apart. You may be able to squeeze them closer together if you have good soil and don’t suffer from rust in your area.
The hardest part will be keeping the weeds at bay. To do this you will need to apply a thick layer of mulch – newspaper covered with peastraw or wool mats can be helpful.
In the past, I have presprouted garlic seeds in pots and transferred them into the garden later in the season. This is an option for those who don’t have the space in the garden while waiting for crops to finish up, but want to get onto planting garlic to avoid rust later in the season.

Maintenance & fertilisation
You will need to feed garlic weekly with an organic liquid fertiliser, like seaweed or fish, for the first few months to boost growth. This should accelerate the leafy growth on top which will eventually go on to form the bulb. Stop feeding about mid spring, when you see the bulb at the base appear. This will allow the plant to focus energy below ground rather than lush top growth.
Garlic needs to be kept well-watered – but if the soil is too sodden you run the risk of rotting the bulb. Check moisture levels with your finger and if the soil is staying too wet you may need to remove some of the mulch layer to dry out. Foliar sprays can help when overwatering is a problem.

Troubleshooting – Pests & diseases
Keep an eye out for pests and diseases such as Black Aphid and Rust. Companion planting can help combat the aphid – calendula or carrots. Another option is a Neem Oil spray if the infestation seems to get out of control.
Rust is a common problem for many gardeners, so experimenting with different planting times and varieties can help to harvest earlier and avoid rust from setting in. A milk spray, diluted with water 1:10 can also be an organic preventative solution.
Harvest & storage
Garlic is ready to harvest when the lower leaves turn yellow and begin to dry out. This usually occurs in summer, around 6-9 months after planting. Garlic must be cured in a warm dry place for 2 weeks before storing. Save the largest and healthiest bulbs for planting next season.