A guide to planting tulip bulbs in pots during autumn to create a magnificent spring display.
After a long, grey winter there is nothing better than seeing that first flower or blossom pop up in the garden in springtime. Spring bulbs are often the first sign of life to arrive early in the season, but their presence is dependent on you as the gardener preparing in the autumn time for their much anticipated arrival.
Related reading: A comprehensive guide to planting & growing spring bulbs
When to plant spring bulbs
Planting of spring bulbs can commence in May. Some bulbs like tulips may benefit from a prechilling period of 6-8 weeks if you live in warmer regions (in New Zealand, this means North of Christchurch).
The most important thing to recognise is that it must be cold enough below the soil level before you start planting, as tulip bulbs are subject to a fungal disease called ‘Tulip Fire’ (Botrytis tulipae) which thrives in warm soil.
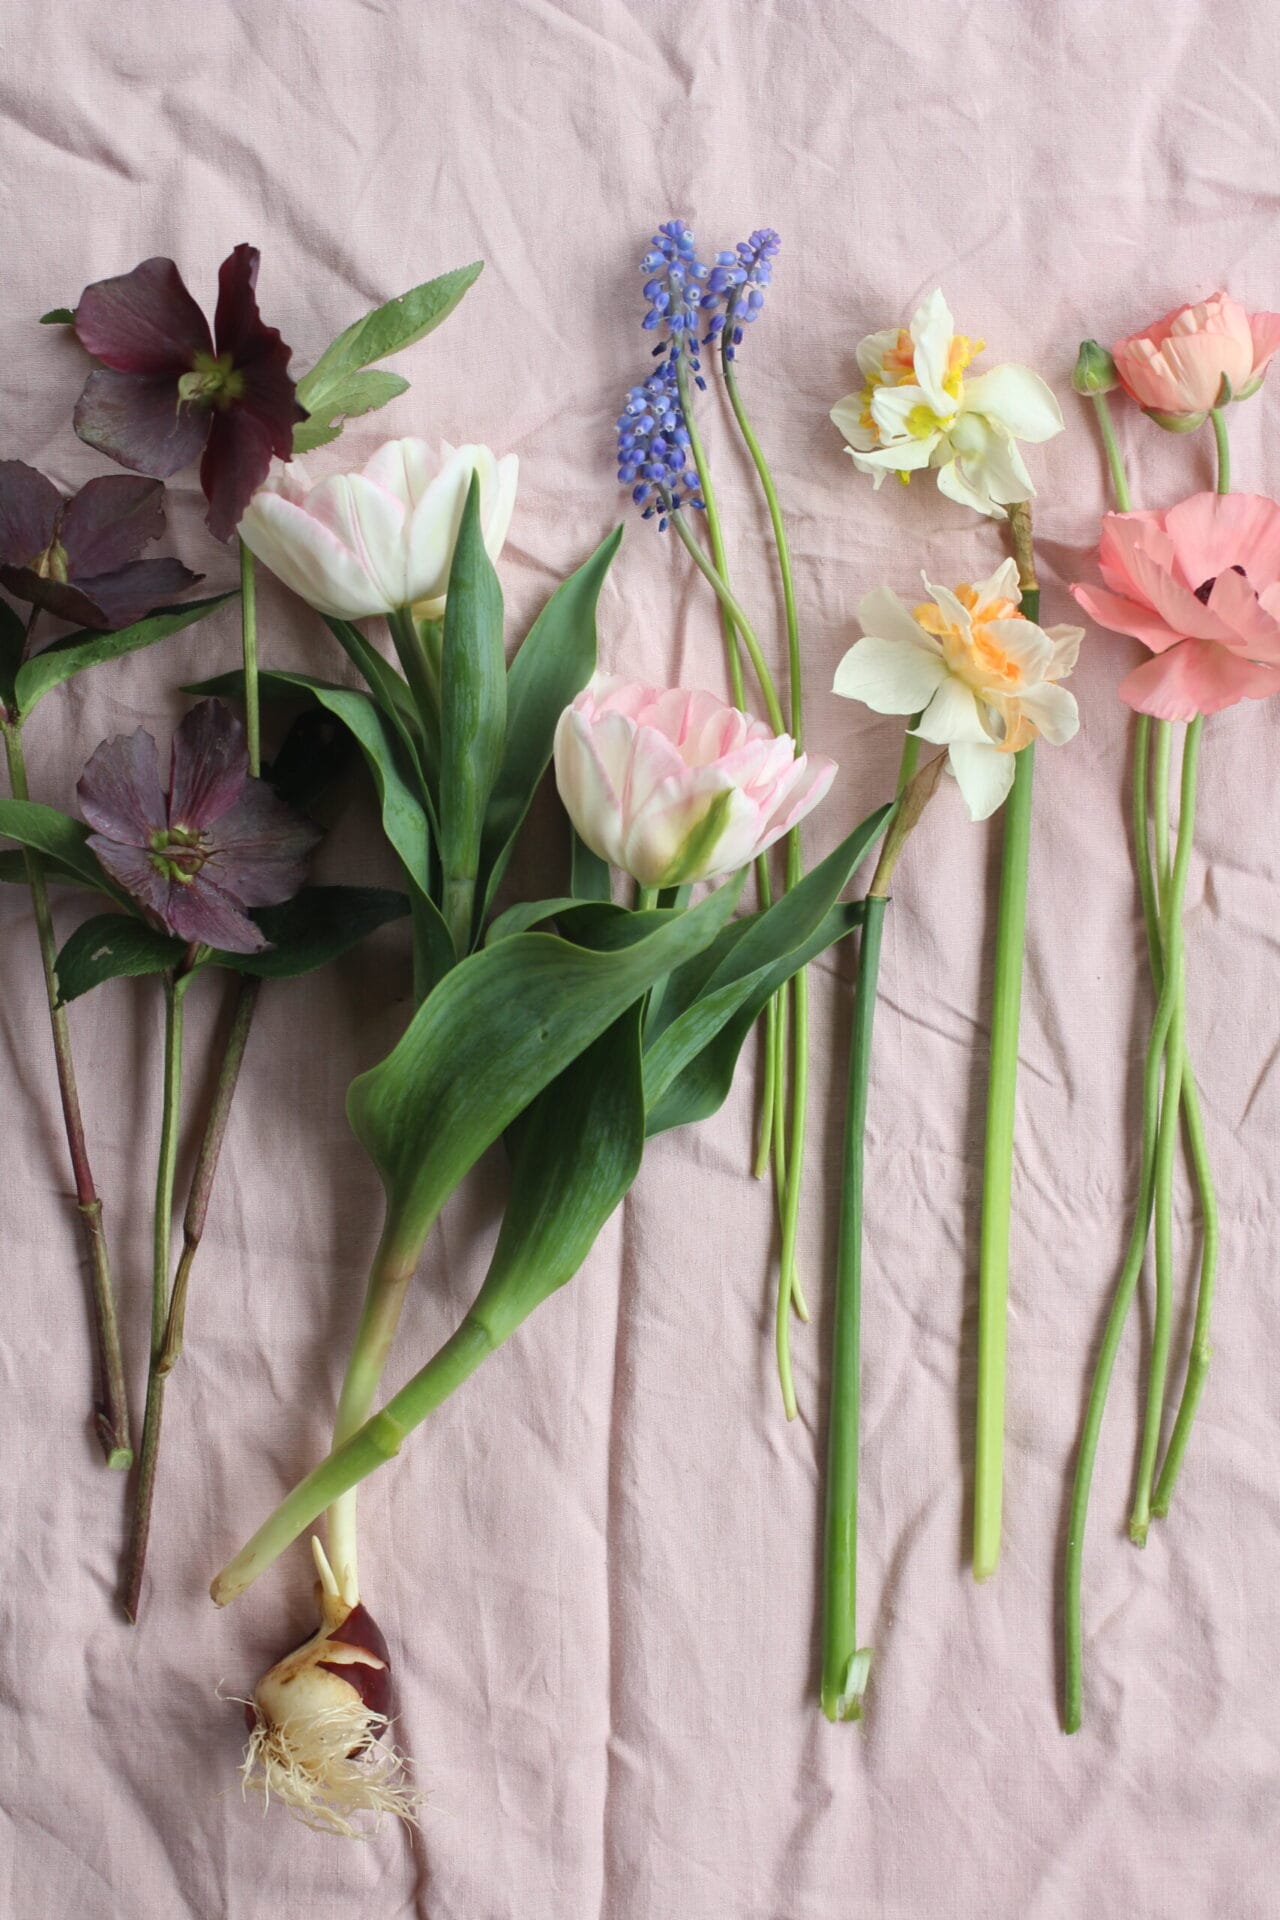
All other bulbs can be planted directly in the ground without prechilling, and left to ‘naturalise’ which means they will multiply and grow year after year. Bulbs like muscari, daffodil, freesia, bluebells or snowdrops are all good options for naturalising within your garden beds.


Tulips
Unfortunately, most tulips only flower spectacularly for one year. This is why tulip bulbs are ideal for creating a potted display as they can be easily lifted and discarded after the first year.
Some may choose to lift, store and then chill again to encourage a reflowering the following season but there is no guarantee the bloom will return with as much vigour. Purchasing new tulip bulbs each year is recommended.
There are certain varieties of tulips, however, that do ‘naturalise.’ These are the Darwin Series which will reflower for up to three years in the garden without lifting. If you wish to plant tulips in your garden beds and guarantee they will return as strong and tall as the first year, then look for this type.

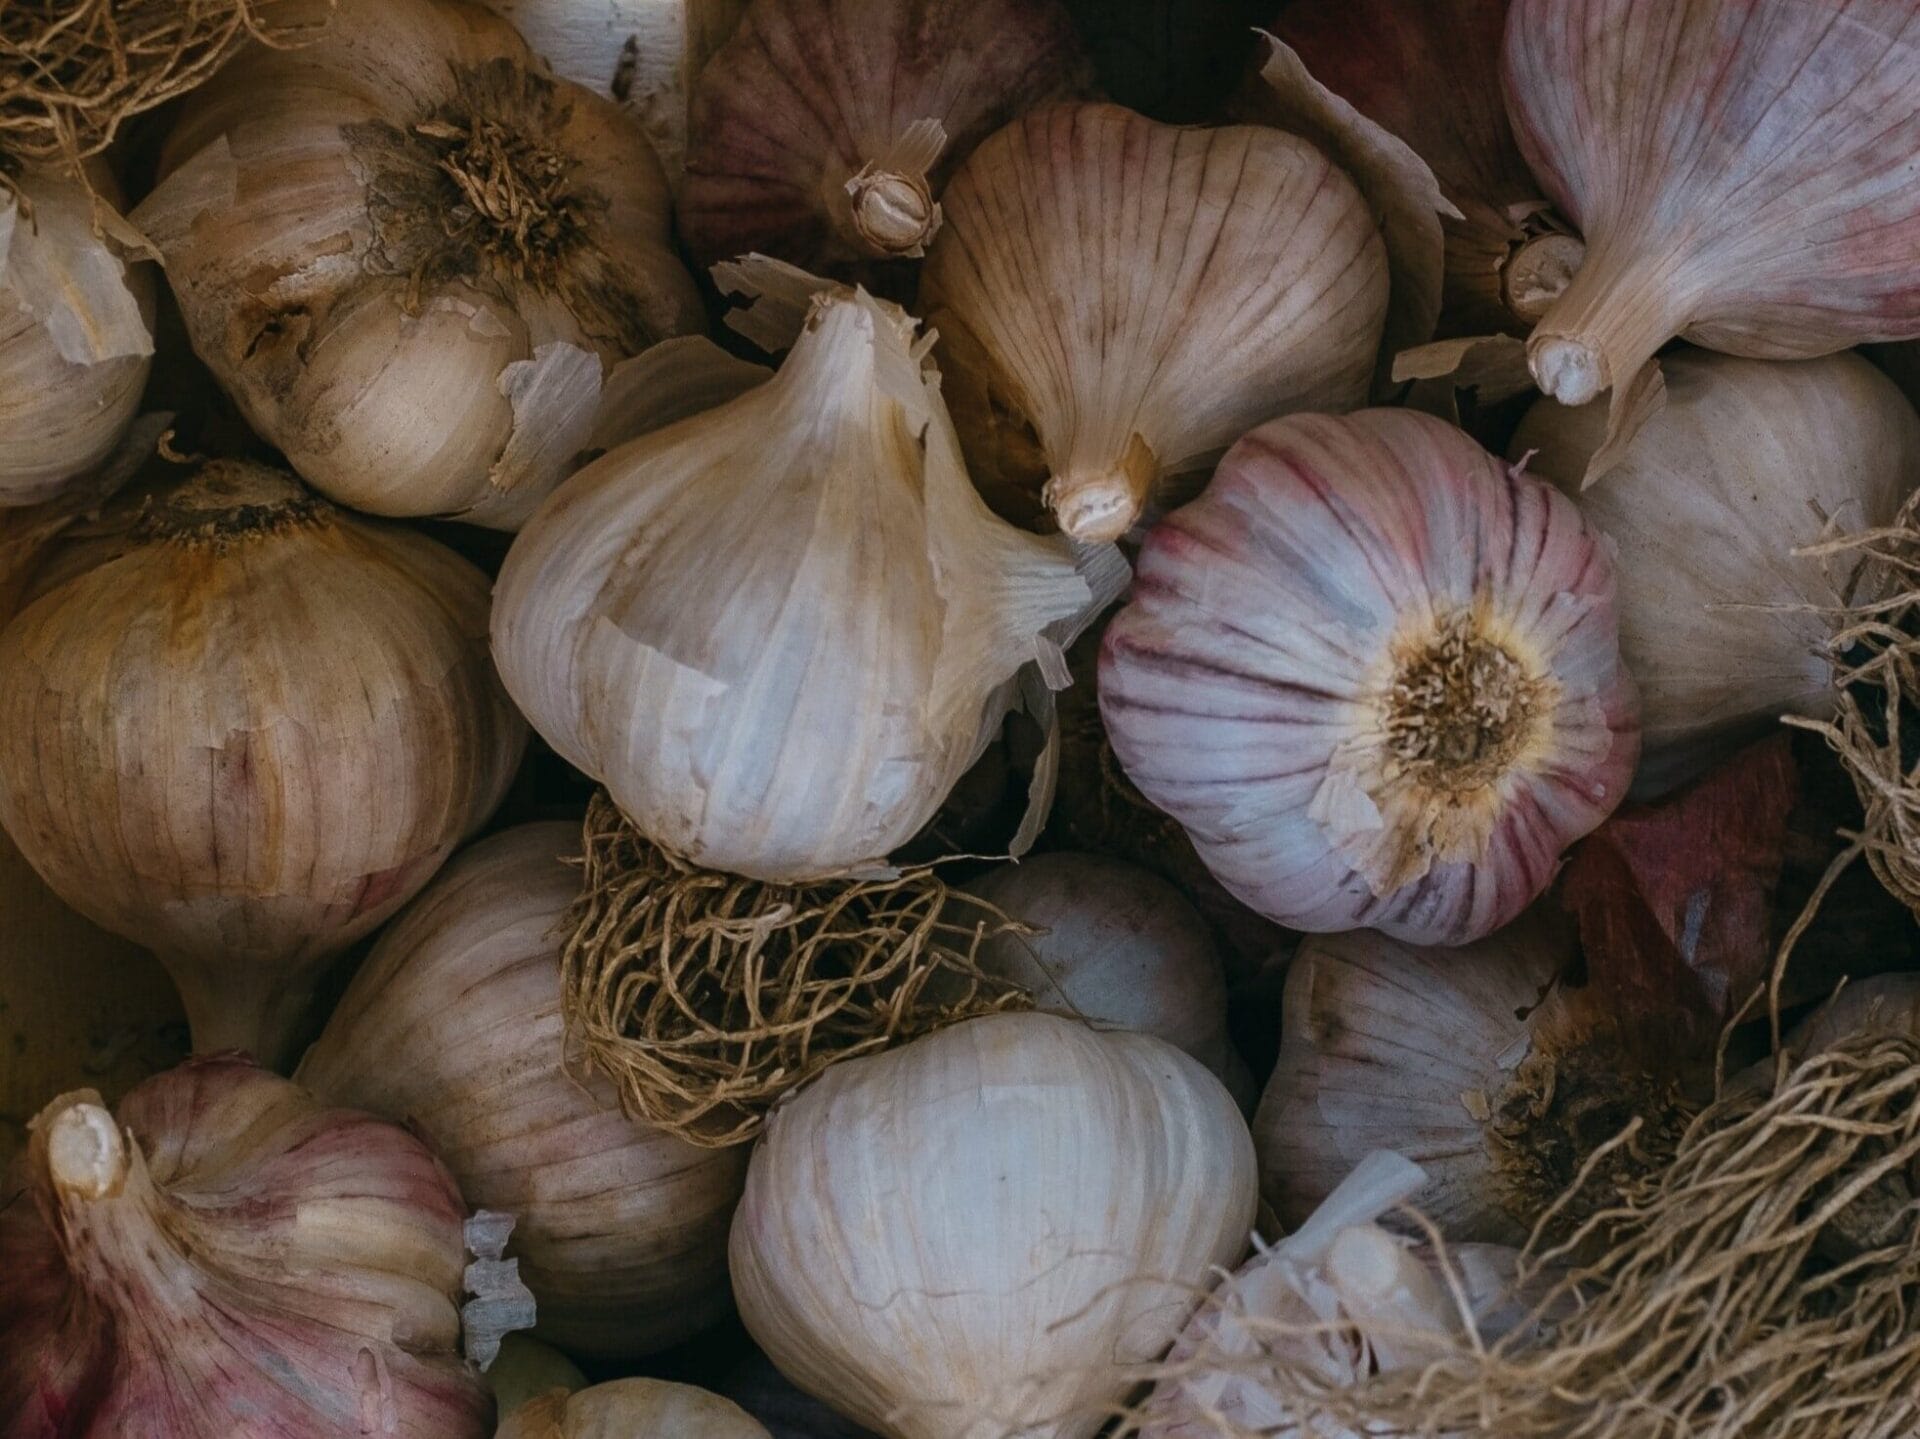
50 tulip bulbs planted in a large tub
How to create a tulip pot display for spring
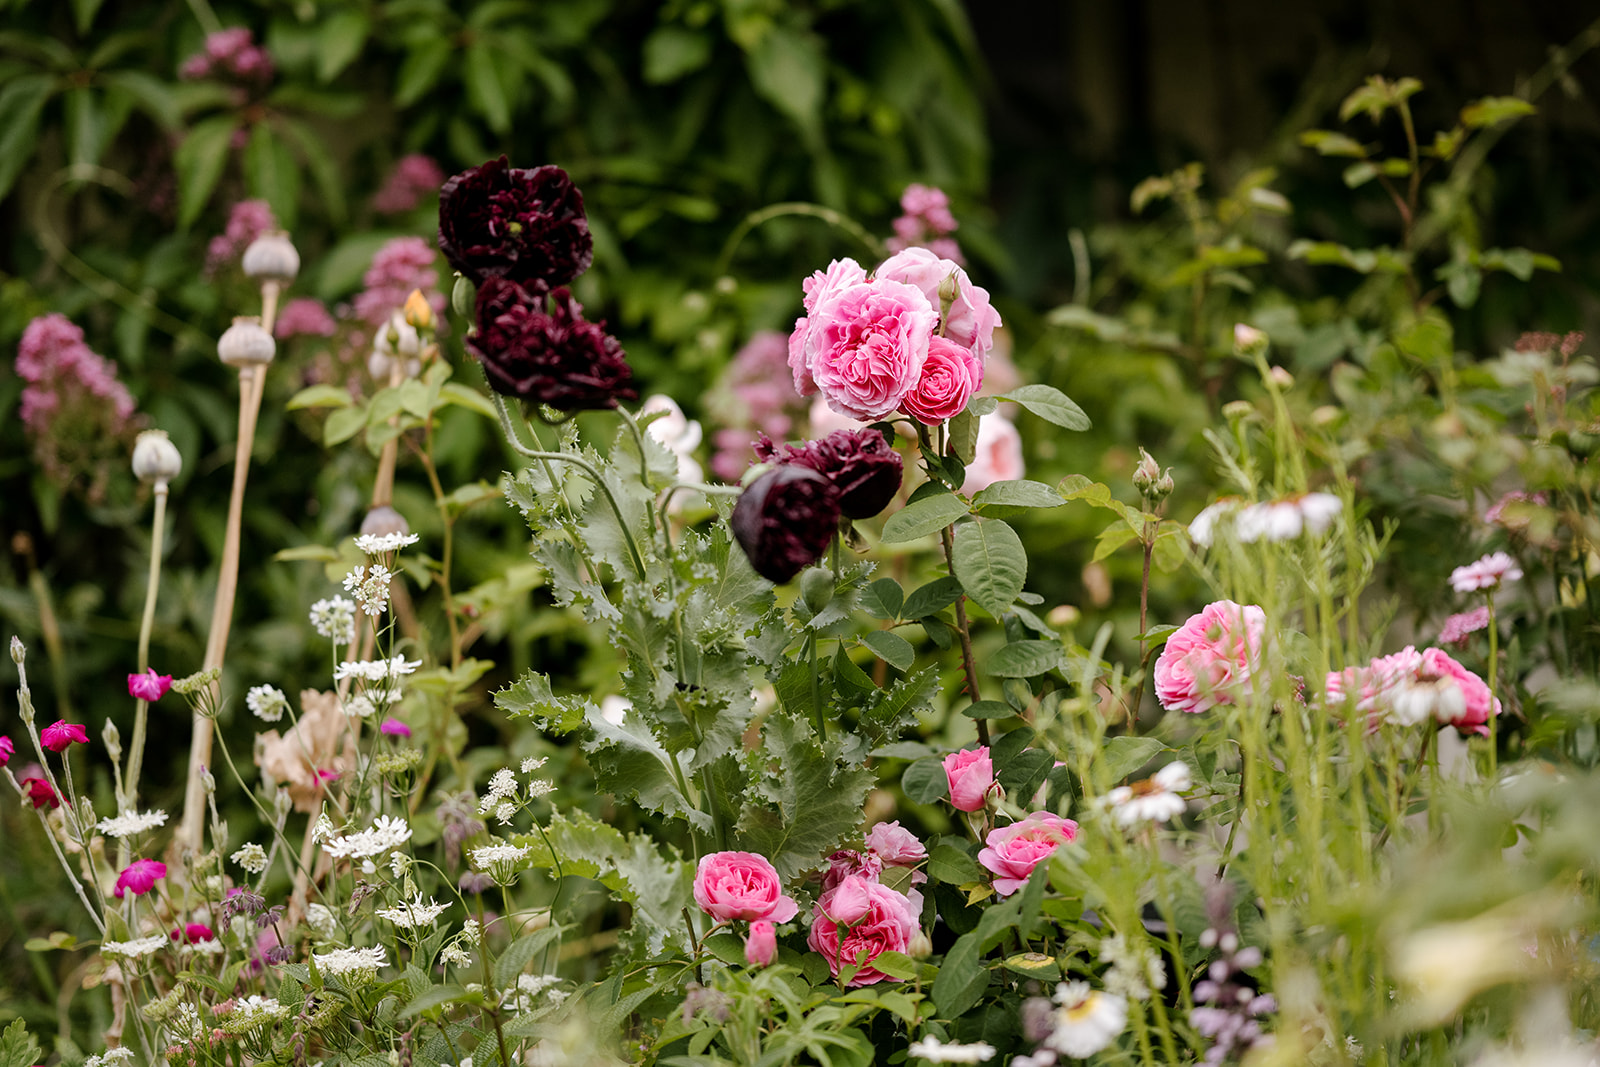
Tulip bulbs are less expensive to buy in bulk and will bring a much-needed injection of colour early in the season. When looking for bulbs to purchase, single varieties are more affordable but the double, or peony-style tulips, are worth it for their sheer beauty. Whether you end up buying a single or double, making sure to opt for a combination of early, mid and late season blooming times is the best way to extend the display.
Planting tulip bulbs in pots is one of the easiest things to do as a beginner because the bulb has all it needs to flower and grow already stored within the bulb. All you need to do is source the materials and await the magical blooms in spring.


Materials:
- Terracotta pots
- Potting mix
- Bulbs
- Bulb liquid fertiliser
- Chicken wire
1. Source old terracotta pots. Op shops, recycling centres and marketplace can be a good way to find ‘rustic’ looking pieces at a lower price. Ensure the pots have drainage holes.
2. Fill the pots halfway with potting mix (mix doesn’t have to be anything fancy, just something with a good amount of grit that is suitable for containers).
3. Plant the bulbs at least 20cm deep and side by side for best effect. A standard terracotta pot should have at least 5-10 bulbs planted inside for a look full. Larger tubs can have as many as 50 bulbs.
4. Cover with potting mix and a mulch (I like to use moss for a whimsical feel) then cover the pots with chicken wire.
Note: Rodents like to eat tulip bulbs and birds can fossick in soil and dislodge them. The chicken wire will prevent this from happening. Once you see the sprouts come up you can remove the wire.
5. The pots can be placed in an area out of the way until it is time for flowering. Somewhere cool with a bit of shade can be helpful as it can prevent the pots from drying out. The bulbs do not need sun to flower but sun can encourage them to flower earlier.
6. Once the pots begin to flower or are close to flowering you can bring them out into a full-part sun position for display. Give them a liquid feed at this stage.
7. As the flowers begin to fade you can snip the heads off to prevent seeds from forming.
8. Feed again and leave the foliage to die back naturally. This will help the tulip to store energy for the following season if you choose to save the bulbs.
9. Tulip foliage can be unattractive while dying back which is another reason why growing in pots works well. Pots can be moved somewhere out of sight for storage.